Recently I received a call from a customer asking if I could mount a scope to a Mosin Nagant. He said he had the scope, the mount, drill bits, everything. He’s bought a nice little kit off of Amazon that had everything you needed. He just needed it mounted. It was to be a Christmas present for his son and he’d watched a YouTube video of how to do it but felt it would be better to have a gunsmith do it.
Having gone back and watched the YouTube video he referenced, I sure am glad he brought this thing to me rather than attempting it himself. Some of the key parts that make the thing work properly aren’t installed by anyone I can find showing their methods on the interweb. Reading through the reviews on some of these things, the expected poor results are all over the internet since people aren’t installing them correctly.
There are three main parts to installing this kit. The bolt, the mount itself, and modifying the stock to accept the new mount.
The bolt
Step one was to change the bolt.
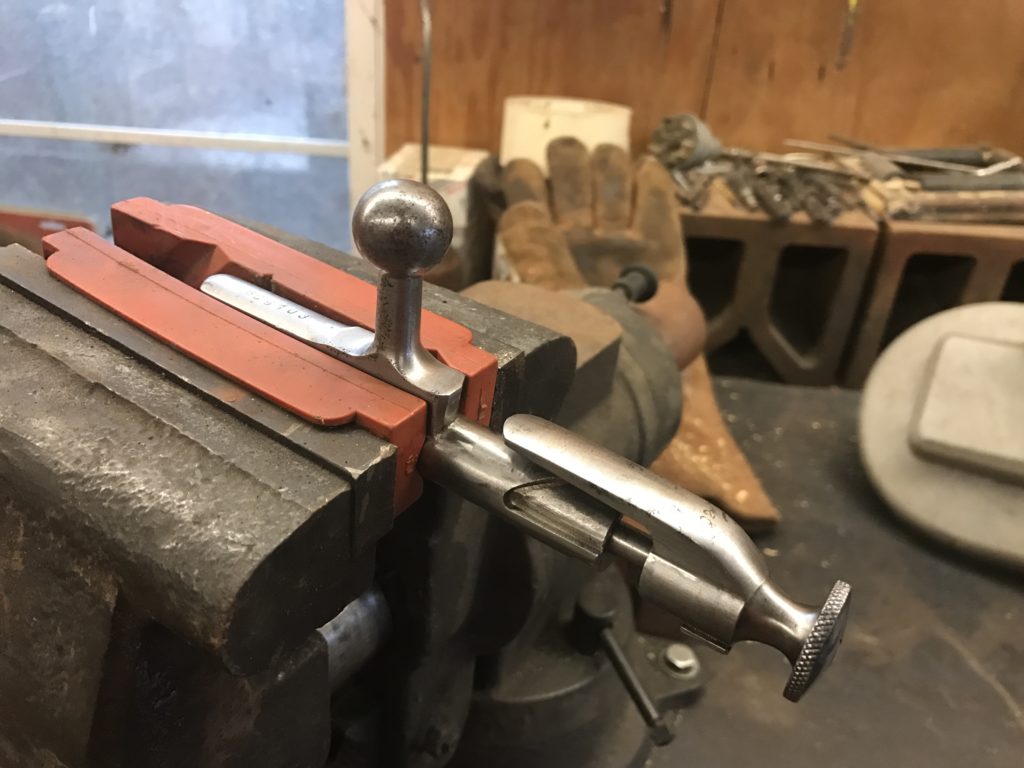
On some rifles you heat and bend the bolt. This gives clearance from the bolt handle to the scope. It also makes the bolts more “Americanized” and more agreeable to an American shooter. This particular bolt has a short body and the kit came with a new bolt so we just lopped off this old one with the trust Porta-band.
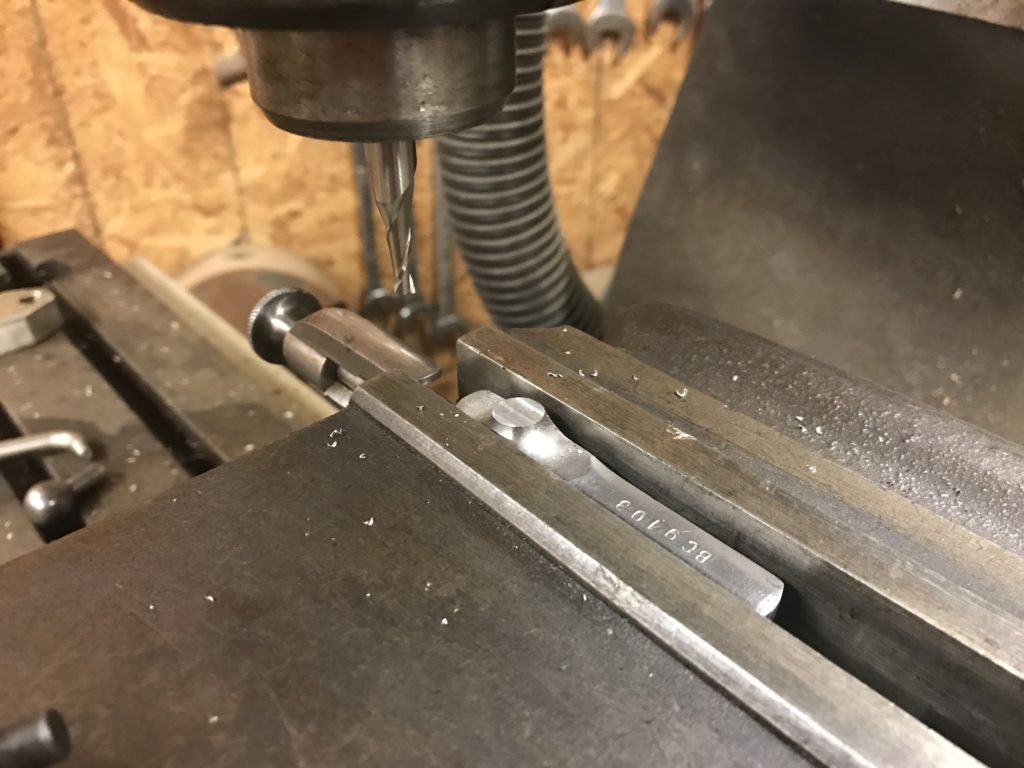
Once the handle was off, I moved over to the mill where I machined the face perfectly flat. This made for proper mating of the faces and also made it look considerably better.
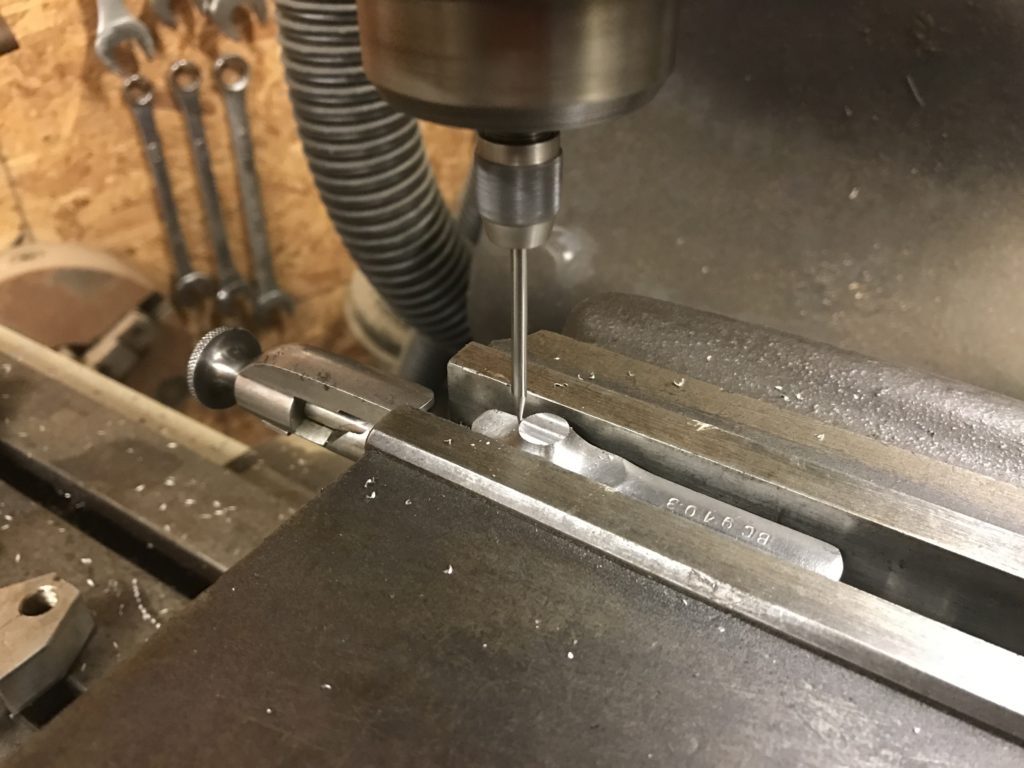
Once it was flat, I had to locate the center of the circle. This was harder than it looked because the metal was not actually round but misshapen somewhat. I got it as close as possible for the condition of the forging. Within a few thousandths.
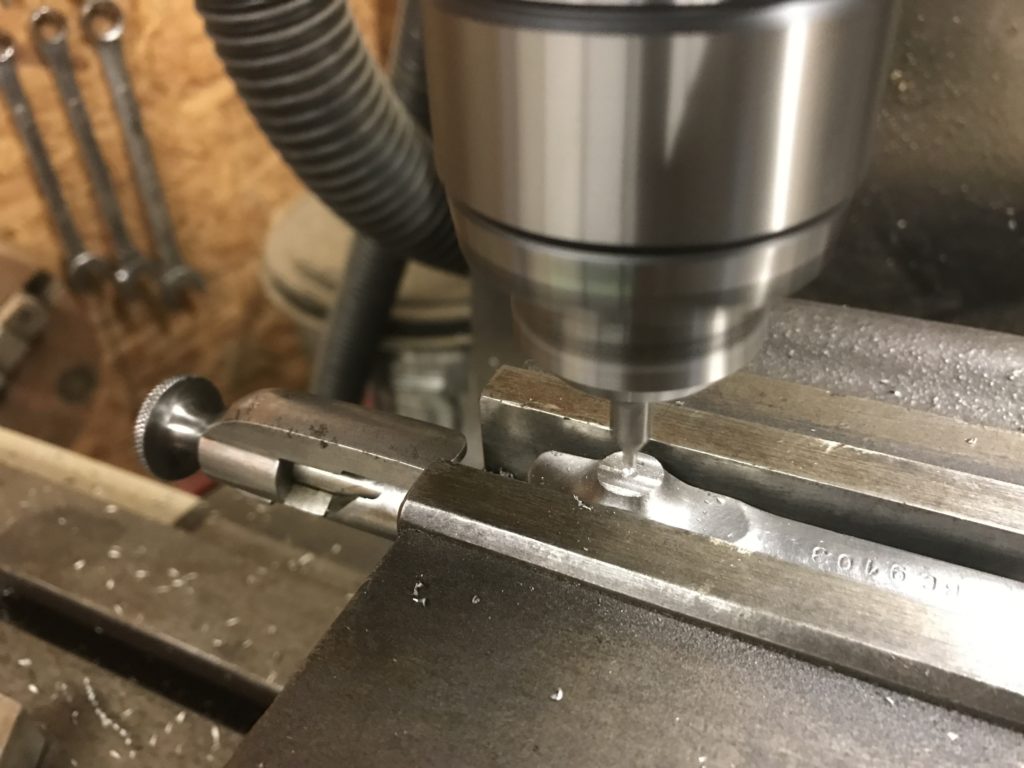
Once the center was located, I locked the mill in place and center drilled the initial hole.
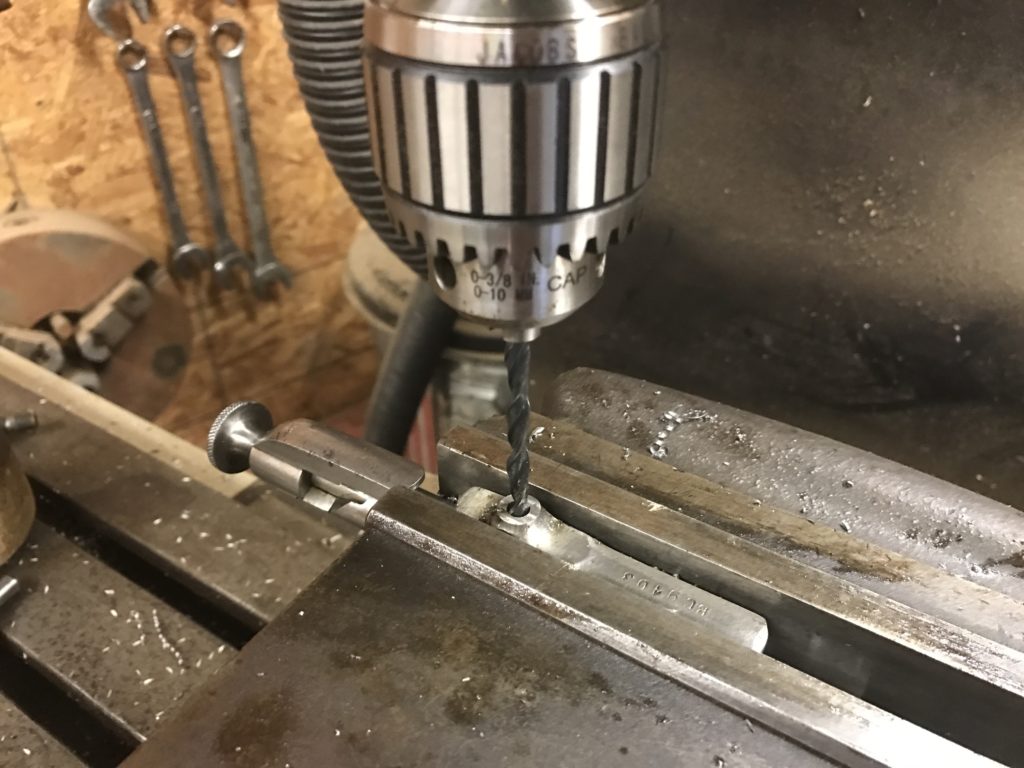
Then I drilled the hole itself. There is a supplied drill bit and tap that comes with this kit. The drill bit cut very poorly and was obviously made of jello or butter or something equally ineffective at drilling metal. I had to take it to the grinder several times to sharpen it in order to get through the few drilling operations of this job. However with sharpening, it did do the job so it was good enough for this kit. I doubt it would have worked for someone trying to do it like on the YouTube video.
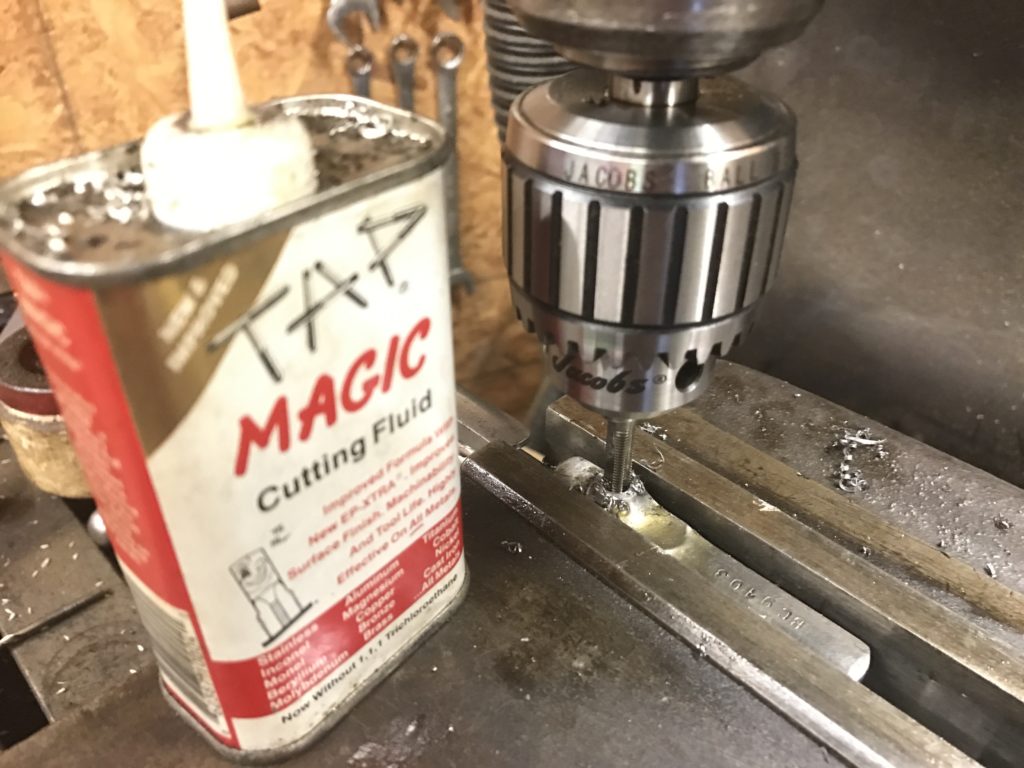
I wasn’t brave enough to power tap this hole. I simply rotated the mill by hand and everything tapped just fine.
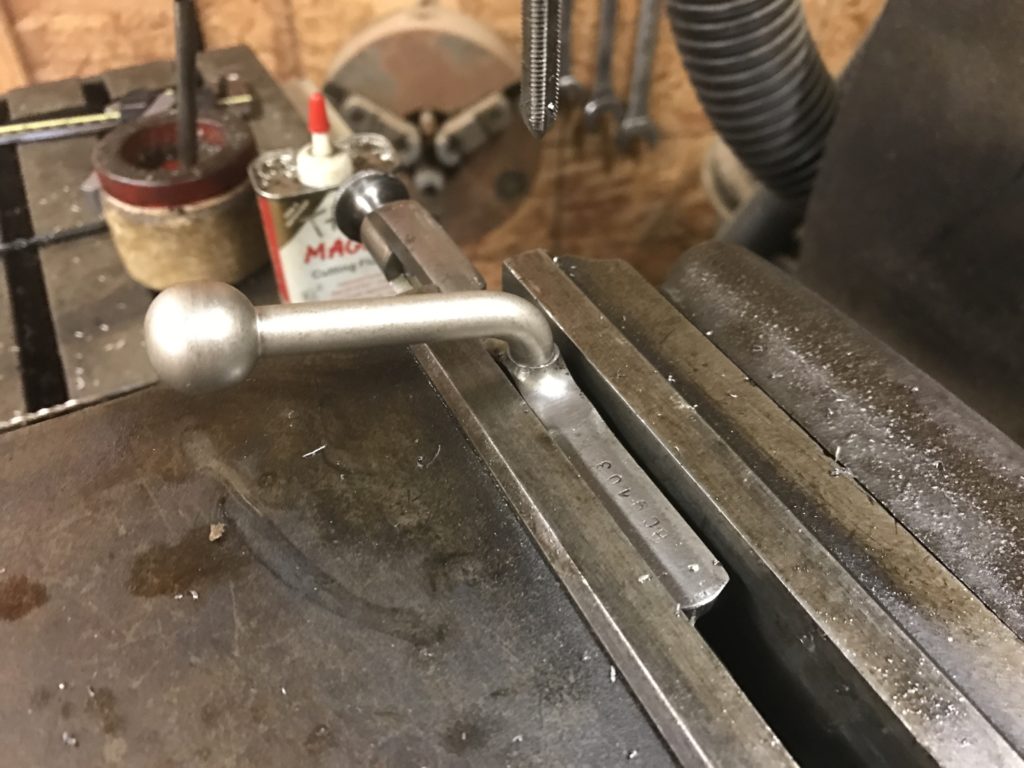
Timing the handle is an issue. It needs to be torqued to the correct spec, and line up at the right position at the same time. I must have been living right this day because it came out perfect on the first try.
I’d given the customer the choice of using Loctite to secure the bolt, or TIG welding it in place. Were it my gun, I’d have welded it but the cost of the extra work was more than he wanted to do. For plinking at the range, a goodly amount of red Loctite will be fine.
The mount
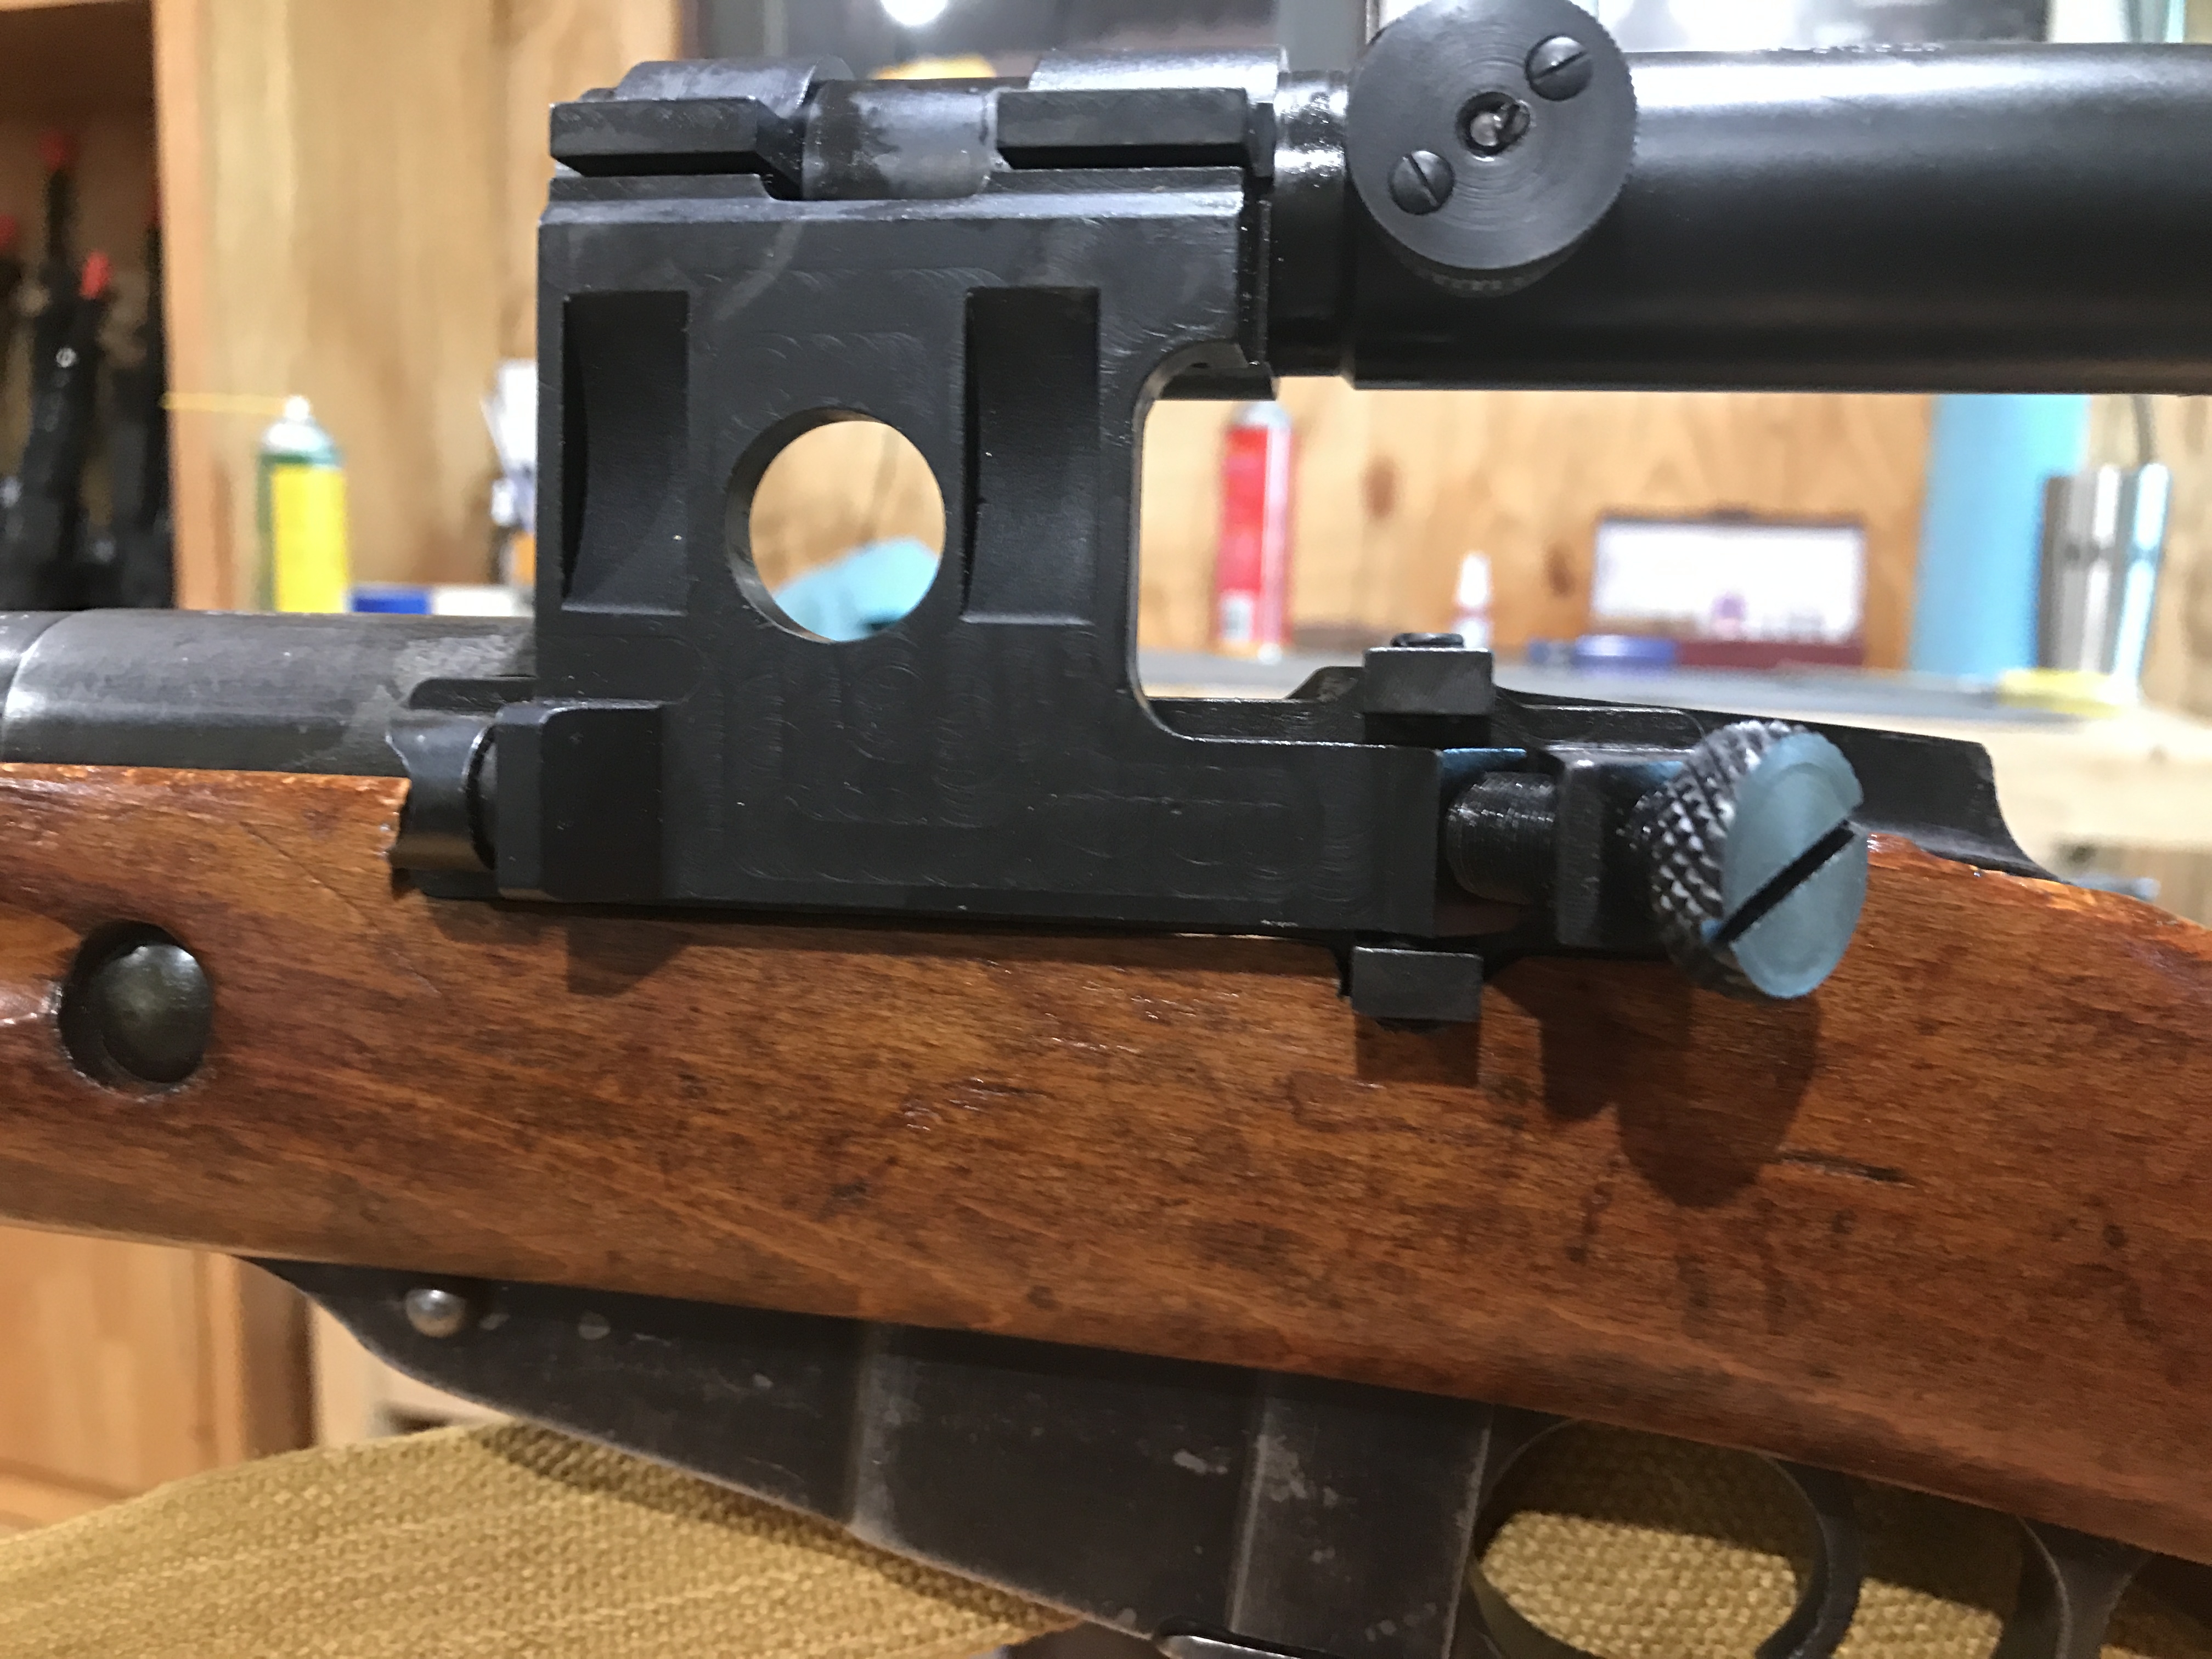
There was a good bit of fiddling with the scope mount to get it in the correct position. This scope mount is made for the eye relief of the standard Mosin Nagant stock. However my customer had added a butt pad/extender to his gun so the eye relief had changed. That meant I needed to move the scope mount back a bit to try and compensate. After positioning the mount about 10 times, I finally had it where I wanted it and marked my position. But first, I had to figure out how this mount was made to go on.
The kit comes with two larger screws, two smaller screws, and two ground stainless pins. There were six holes, and six pieces of something that went into the holes. The larger screws hold the mount to the scope. The smaller screws are mechanical locking screws that hold the large screws in place and keep them from backing out. The pins were index pins that actually hold the mount in place. Easy.
Except the pins didn’t fit the holes. There were no instructions with the kit but the kit is sold as having everything you need to install it. I looked on Amazon for any tips from a previous installer. Nothing.
I watched the videos on YouTube. The pins were shown as part of the kit but they were never installed by the users. I think the assumption is that the screws hold the mount in place and the pins? Meh, must be extra.
Except that’s wrong. The pins are what hold the mount in place. The lock it into one position so it doesn’t move under recoil. The large screws are what keep the mount from backing off of the pins. But they don’t hold the mount in a fixed position. If they did, you’d never get the screws into the holes. They would be too tight. In reality, there is slop in the holes for the screws, as there should be. Without the pins, the mount would shift around under recoil and the gun would never hold a zero. Then the final set of small screws mechanically lock the big screws in place. Kind of a metal version of Loctite. Now that I had a plan, it was onto the work.
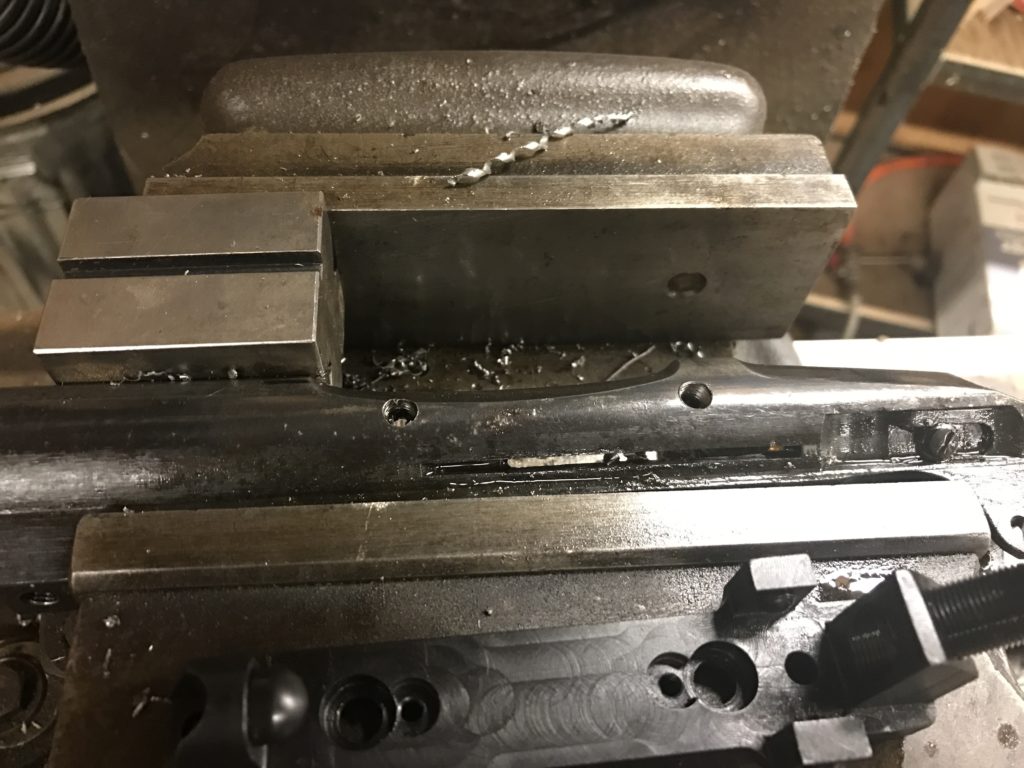
These were located, center drilled, drilled, and tapped just like the bolt hole was previously. Once they were tapped, I could mount the scope base and use it as a guide for the index pins.
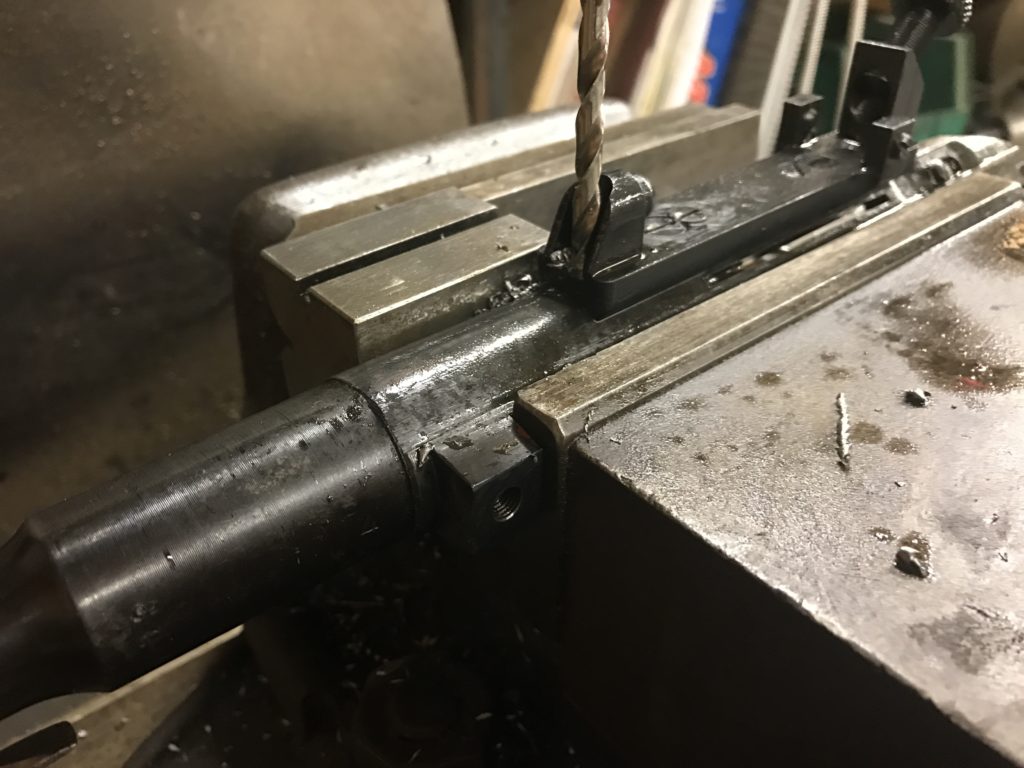
With the mount secured in place by the screws, I drilled through with a #9 drill bit. This bit is .001″ smaller than the pins measured. This was on purpose. We want the pins to be bigger than the hole, but just barely.
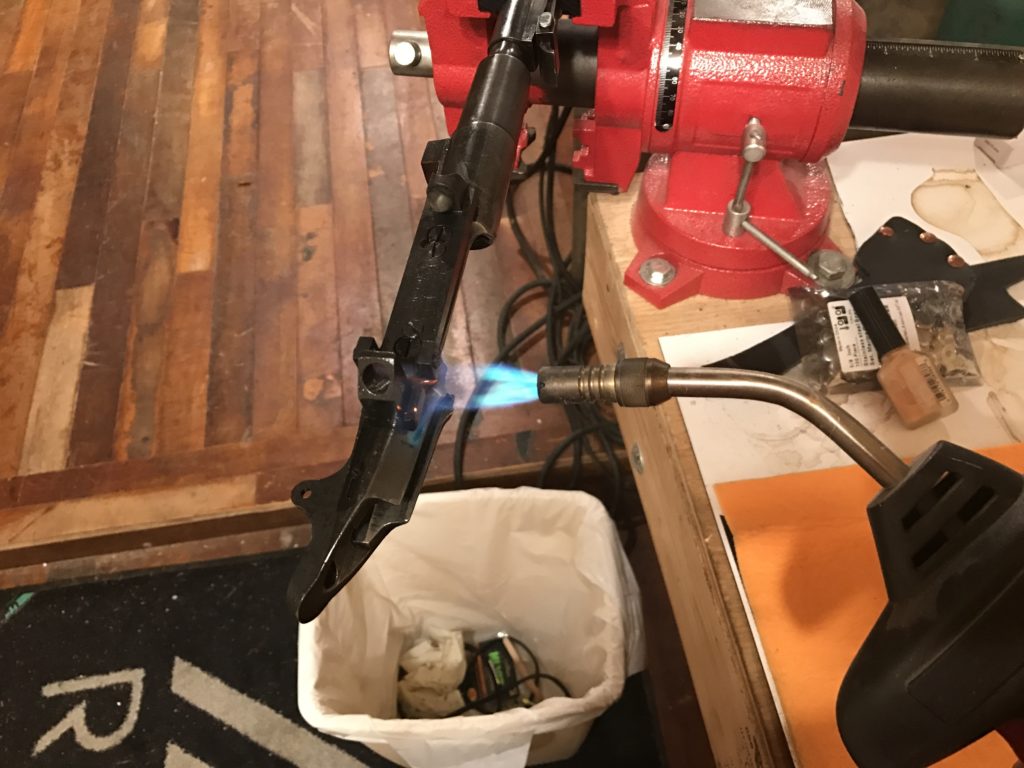
With all the machining done, I went back to my gun room to do final installation. The index pins went into the freezer and the receiver went into the vice. I cleaned up and did some office work while the pins froze. Then I heated the receiver and the scope mount till it was toasty but not glowing red.
With the receiver hot, and therefore bigger, and the pins frozen and therefore smaller, I tapped the pins into place with a small hammer and punch. The just pressed in under force. I then left everything alone to return to room temperature. When everything cooled, the extra size on the pins locked the mount to the receiver as strongly as could be done with this setup. This is the key to this mount. The screws just keep it from backing off. They don’t actually hold it in place.
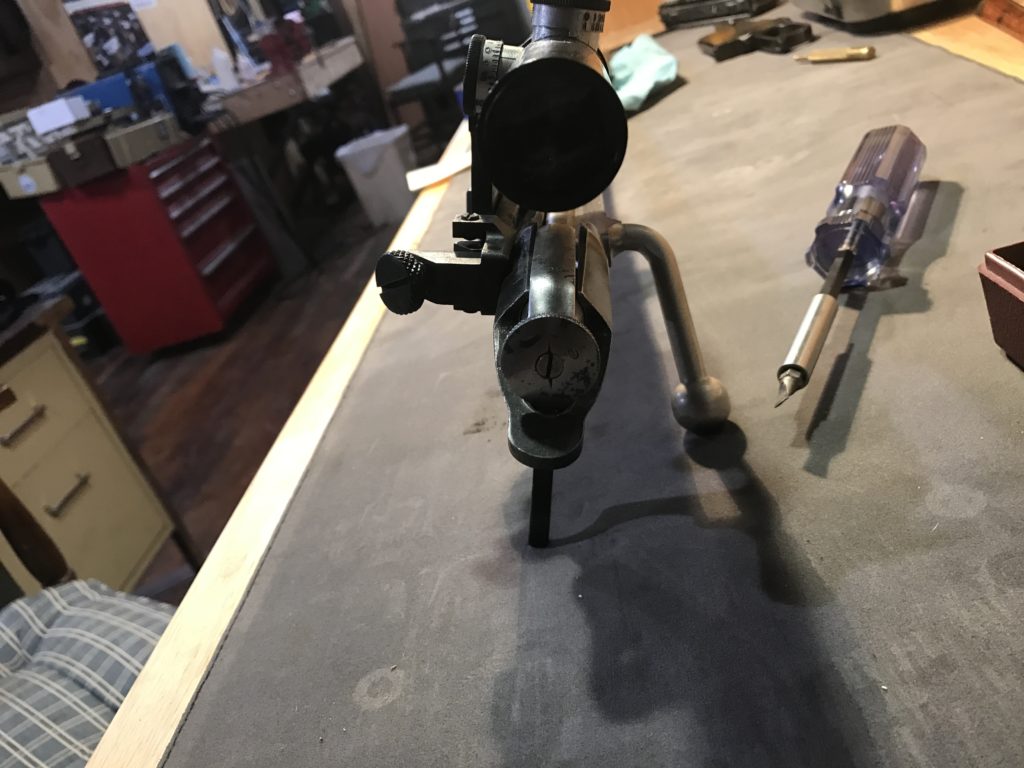
You’ll note that this style of scope sits just to the left of center. That’s they way these things are designed. I did ask the customer if he wanted it fully to the left or rotated some more towards center. This was where he wanted it.
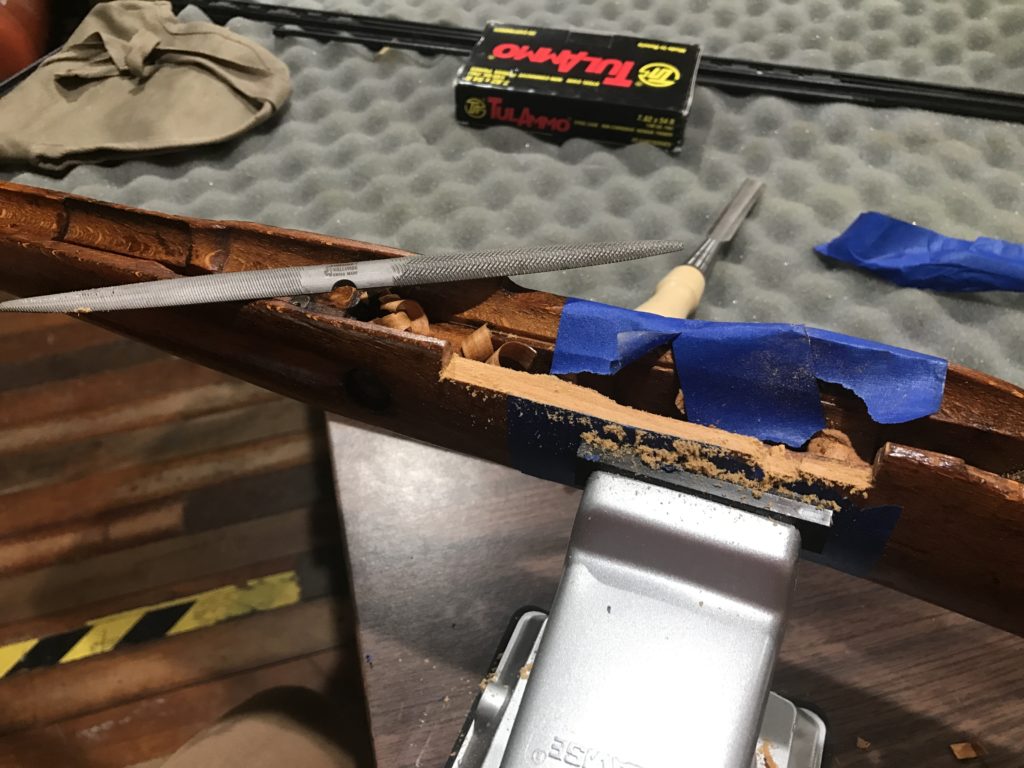
Modifying the stock
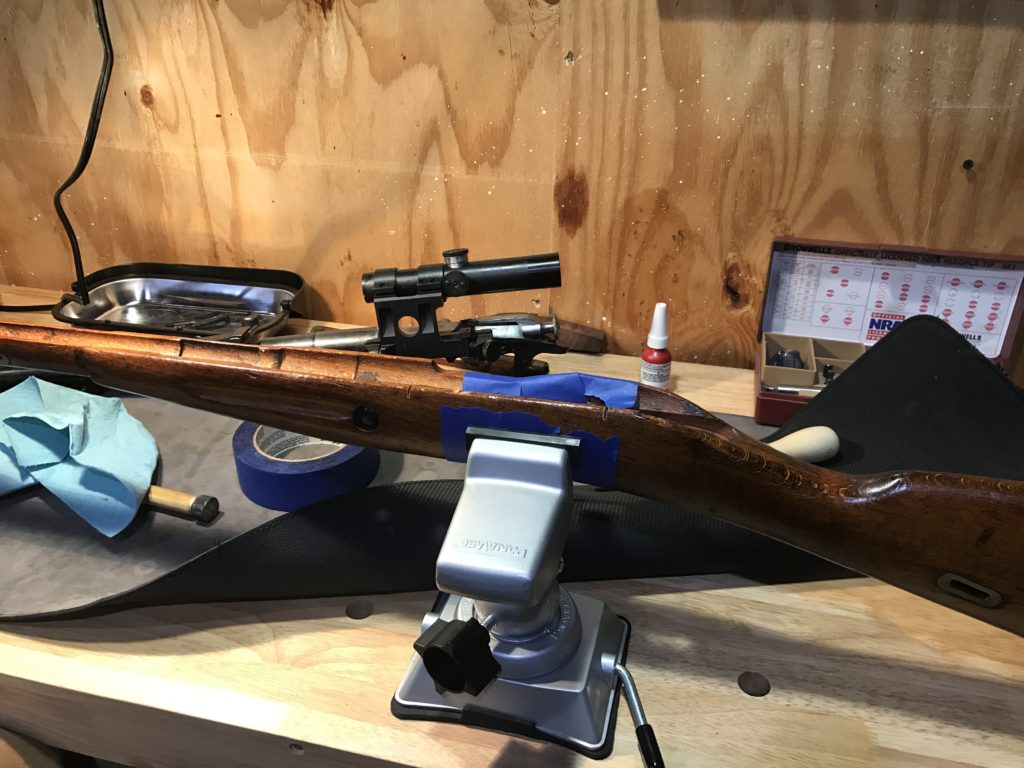
Doing the machining work is mostly setup. Once you get everything dialed in and locked in place, it goes pretty quickly. Doing the wood work is all hand work and test fitting. It’s enjoyable work because it’s quiet and meditative but it does take a while.
The finished product
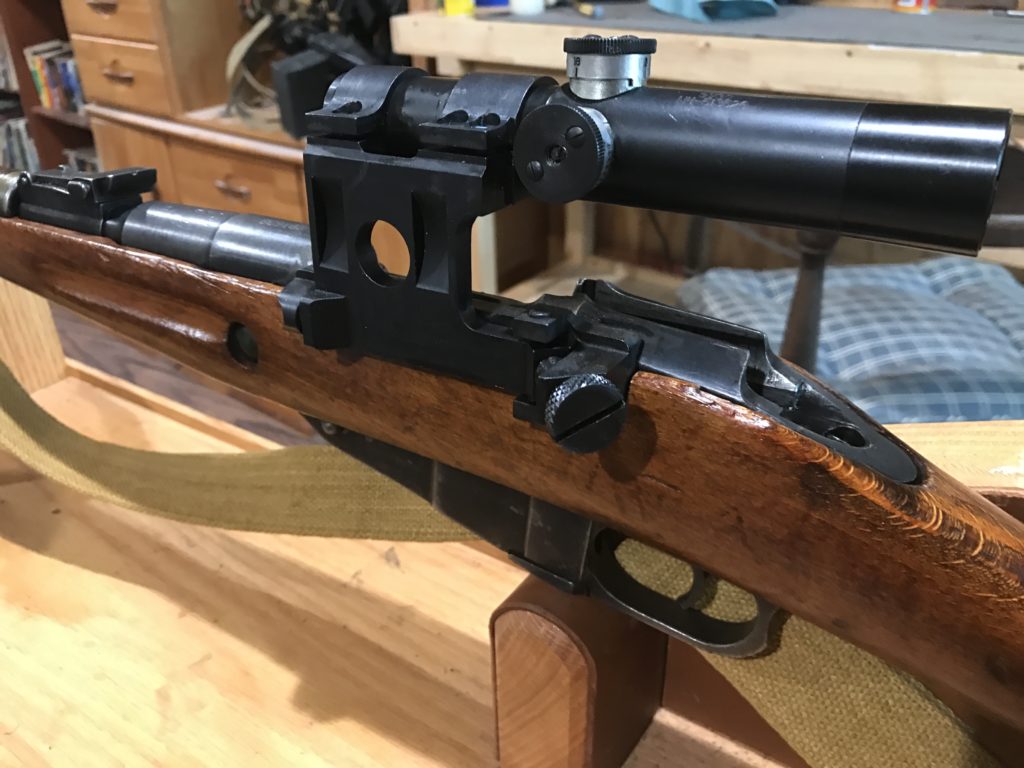
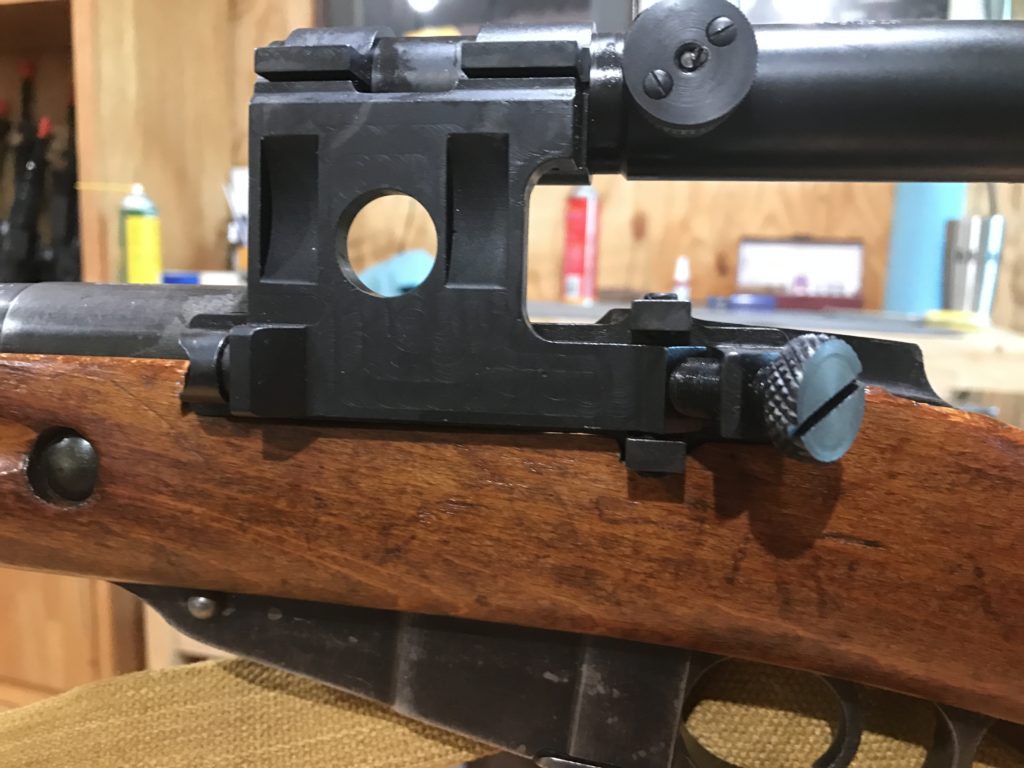
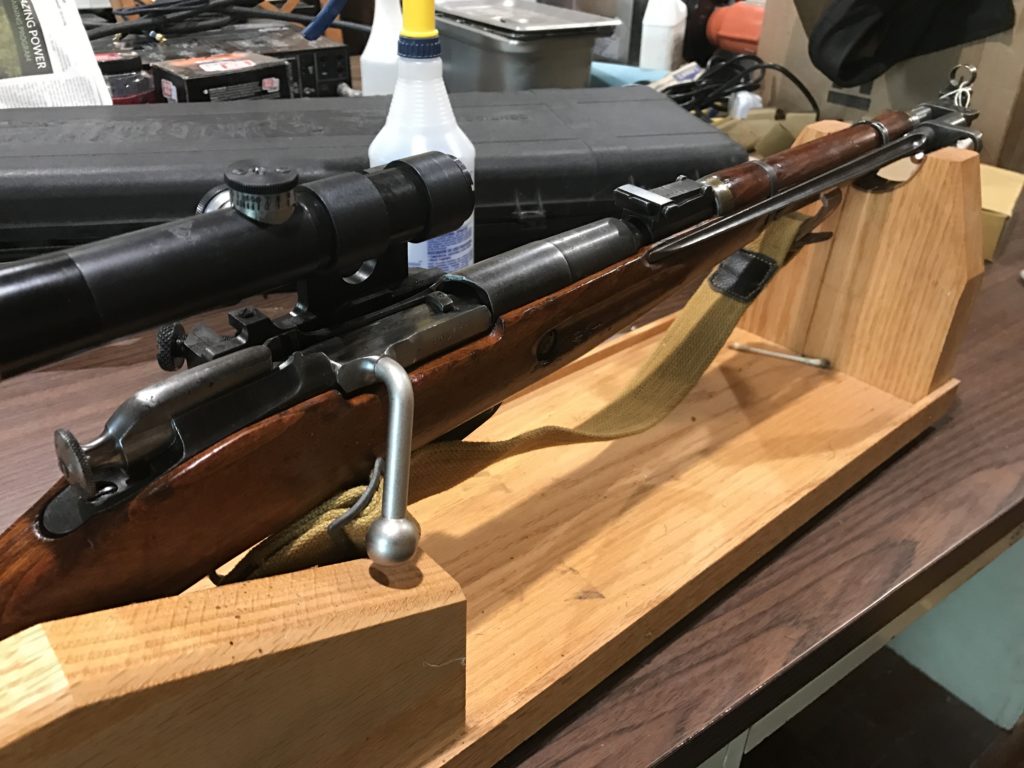
I simply bore sighted the scope onto the gun and left the dialing it in to the customer.
All in all this was an enjoyable project. For what the customer had in the rifle, the kit, and my labor, I’m not sure he had his money’s worth out of it as a pure shooter but for the cool factor he has a really nice gun.
Hi! i just noticed that this post is quite old but i find it so amazing do you by chance still do this? if so i would love to pay to have it done!!
Hello Dan, I am so glad you did this piece on fitting an Accugear scope on a Mosin 91/30. Like you, I watched Youtube and noticed the pins were not used. I am not an armorer but I thought I would give it a go as I enjoy doing small modifications to some of the weapons I own. I bought a drill press plus 5.2mm bits and the #9 drill bit (online only). With no instructions with the scope, this piece of information was invaluable. I found some images of a sniper scope mounted on a gunbroker type site and printed them off to get an idea of position. Setting the drill to slowest speed and having lube oil to hand, I began drilling the screw holes with the supplied 5.2mm bit. I am glad I got spares because the supplied bit shattered on the first hole. Once the screw holes were tapped (never done this before either) full turn then quarter back repeatedly, I positioned the locking screws and ground a slight half moon on the main screw heads. I did stamp the screw head and scope body with an A so that the same screw would always be in the correct hole. The next piece of information you gave was followed: pins to the freezer, drill with #9 bit with plenty of lube oil (now using a magnet to police up the filings during drilling) and heating the cleaned up components (assembled) with a heat gun rather than flame. The pins went in very easily. left to cool for an hour or so and everything was solid. A great tip, thanks. I bought a laser bore sighter and only had to make a tiny vertical adjustment with the outside screws to be spot on before trying it out on the range at a later date.
I came across your article by accident but it has been the most useful for this project. Thank you so much for taking the time and effort to share you knowledge to the shooting fraternity.
You are very welcome. I’m glad you were successful.
I really enjoyed and appreciated this guide. I just performed the same work on my mosin with a couple of differences. I also watched your progress here as a guide. I used a former PU rifle with plugs and the accugears kit. My scope ended up just to the right of center and the mount required a bit of fitting to bring back. Also, as an interesting point. “Sniper Style” “restored to functional” mosin rifles such as the one you built are selling at rock island and gunbroker for 1500-2200 depending on condition and quality of the work. This is in 2021. So, maybe your client is realizing more of the value of your work.
I’m the customer. Dan did an excellent job and at a reasonable price and would recommend him to anyone. My son and I took the Mosin Nagant to the range and first shot we where on the paper. We made the appropriate adjustments and now it’s zeroed in and shooting great. I expect my son to cherish this gun for a long time and expect it will stay zeroed as well due to the work Dan did with mounting the scope. Thanks, Vince
Thanks Vince! It was a fun job. Let me know if I can help you in the future.