Sometimes I have really cool projects that I’m working on. For instance the golf ball cannon we made for Christmas, along with the brass monkey shot holder was about as cool as it gets. Or the hydraulic lift/drop trailer that we made for moving pigs around the farm. Those are fun and exciting projects.
But sometimes you just need to knock something out to get it off the list.
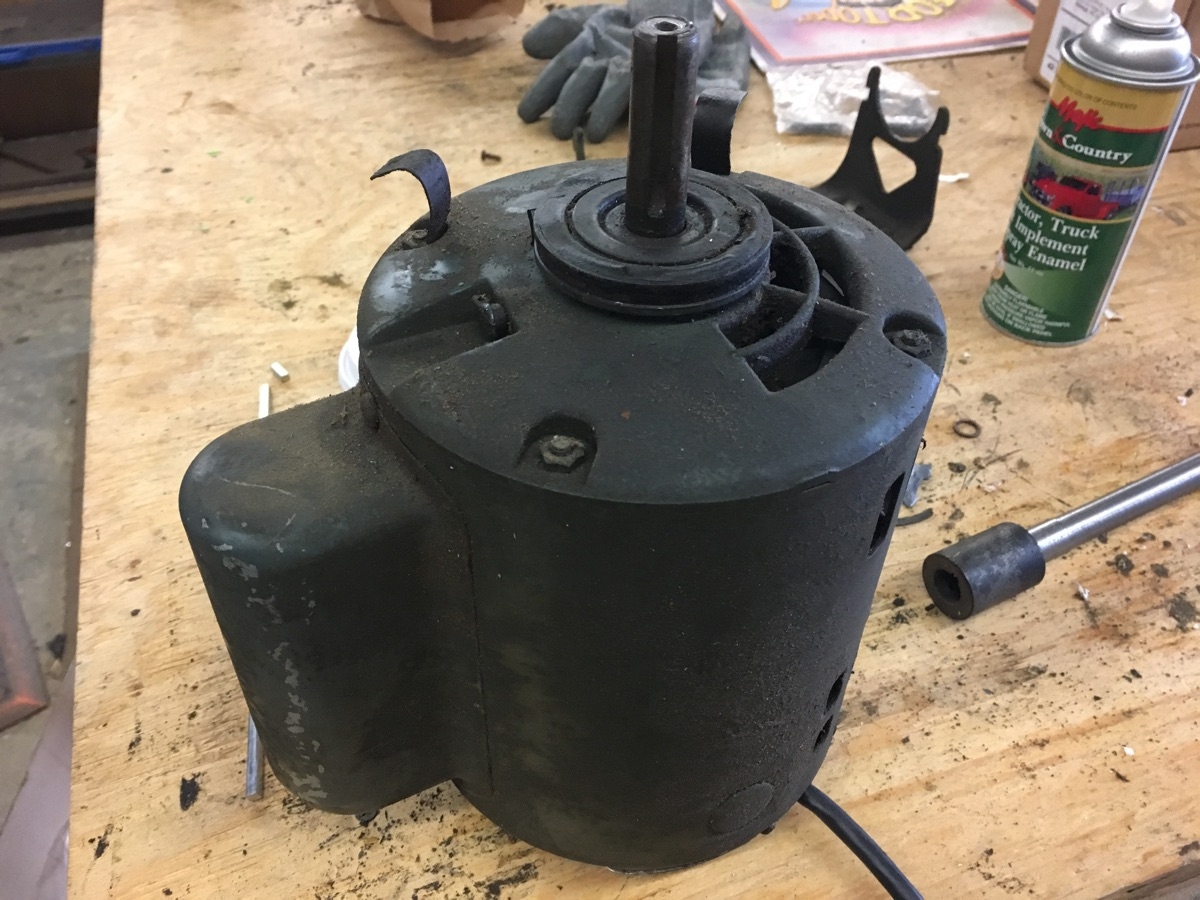
I had this really old GE motor hanging around the shop. I don’t recall what it came off of, but I think it was from my dad’s time. Based on the name plate, and the condition and type of cable attached to it, it’s really old. Like 60s or 70s.
Step 1 was to find out if I’d been keeping this motor around for all these years and it didn’t even work. Luckily I had a cable in the shop already so a quick rewire and test.
It works!
For all the grinding stuff I have in the shop, the one thing I don’t have is a wire wheel. Wire wheels are great for cleaning up rusty metal, or cleaning up uneven surfaces. They don’t remove metal, just polish it, which is perfect for when you are welding something made from scraps and cut offs. Something we do all the time here.
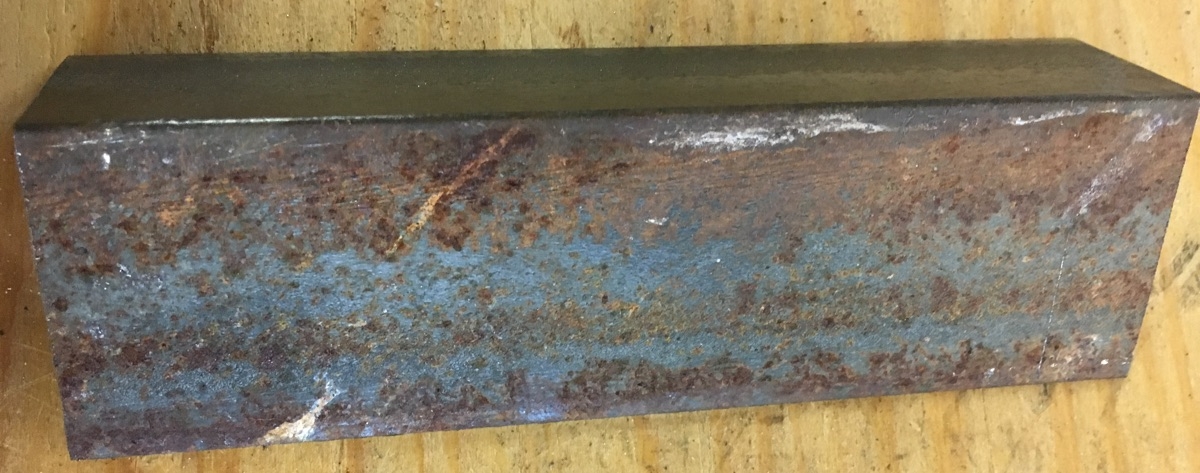
The above is a good example of what we deal with. This is a cutoff from a previous project. It’s perfectly good metal, once all the surface rust is taken off. Normally we’d use a hand held grinder to clean this up for welding. However with a wire wheel, and about 20 seconds of work, it can look like this.
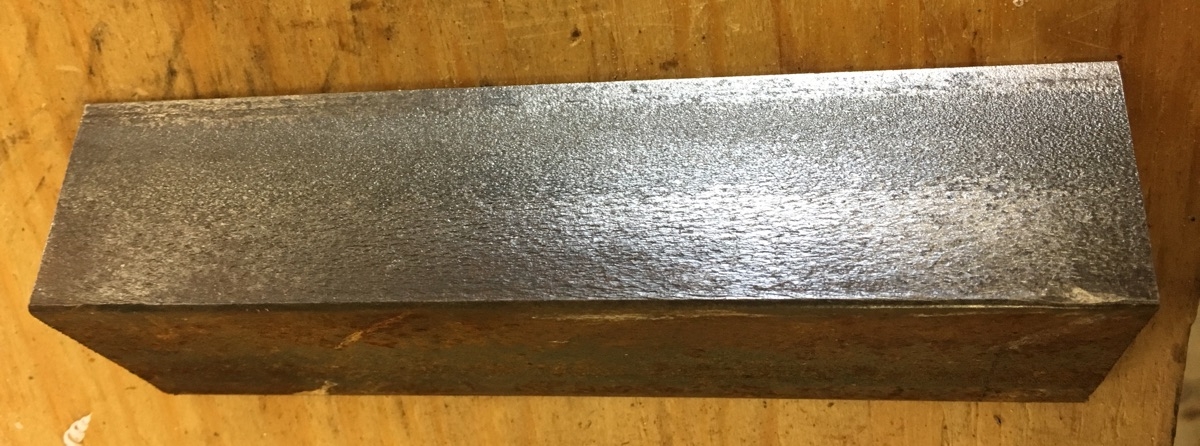
This is really handy when you are putting together quick projects. But despite having two belt grinders, and a bench grinder, I didn’t have a wire wheel grinder. But I did have an old motor that ran 1750 RPMs on 110 volts.
Step 2, after figuring out that the motor worked, was to make a shaft that would extend the short stub from the motor out about 8″ so there is room to work around the wire wheel. That is important when you are trying to clean up all sides of something oddly shaped.
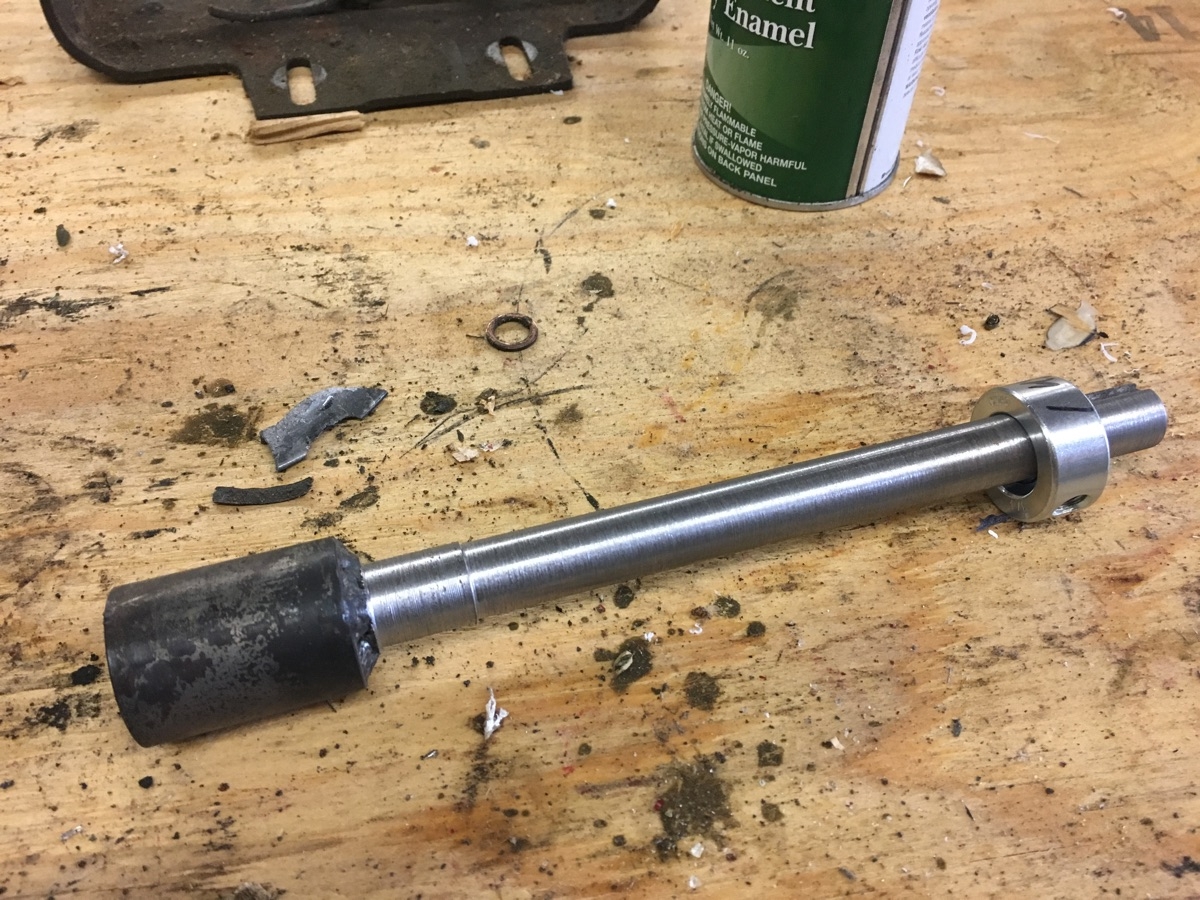
This was a fun little lathe project. A few pieces of scrap metal and some lathe work and we go from scraps to something useful. First I turned down the larger coupling you see on the left. Once I had it the correct size, I broached a keyway so that it could mate to the key on the motor. Then a different piece of metal is turned down to the extension. That’s the shiny bit. Then I TIG welded the two together and turned the extension to final size, truing it up on the lathe in the process.
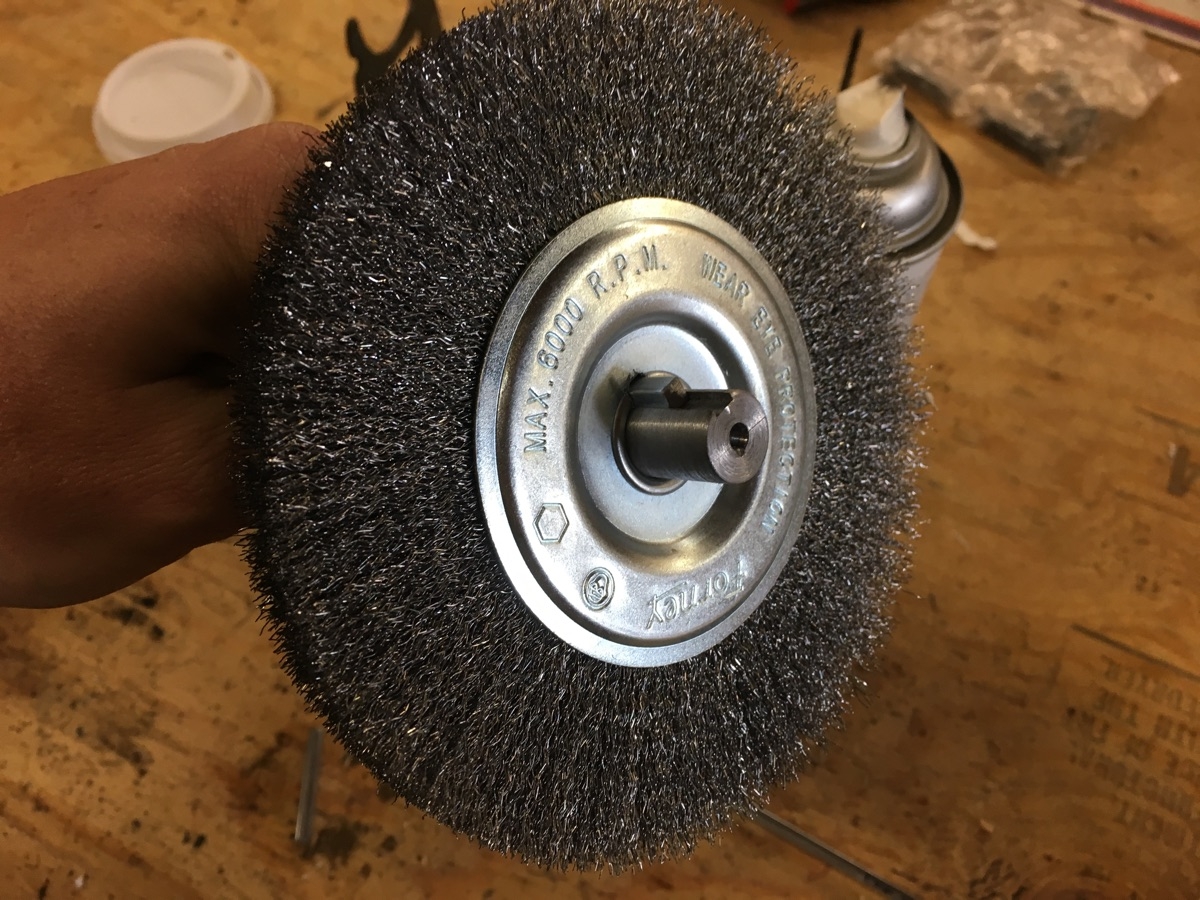
This end of the shaft had a keyway cut on the mill. That’s the slot you see cut into the end of the shaft on the top. I hand filed a keyway into the wire wheel, attached two locking collars purchased from Agri Supply, and fired it up.
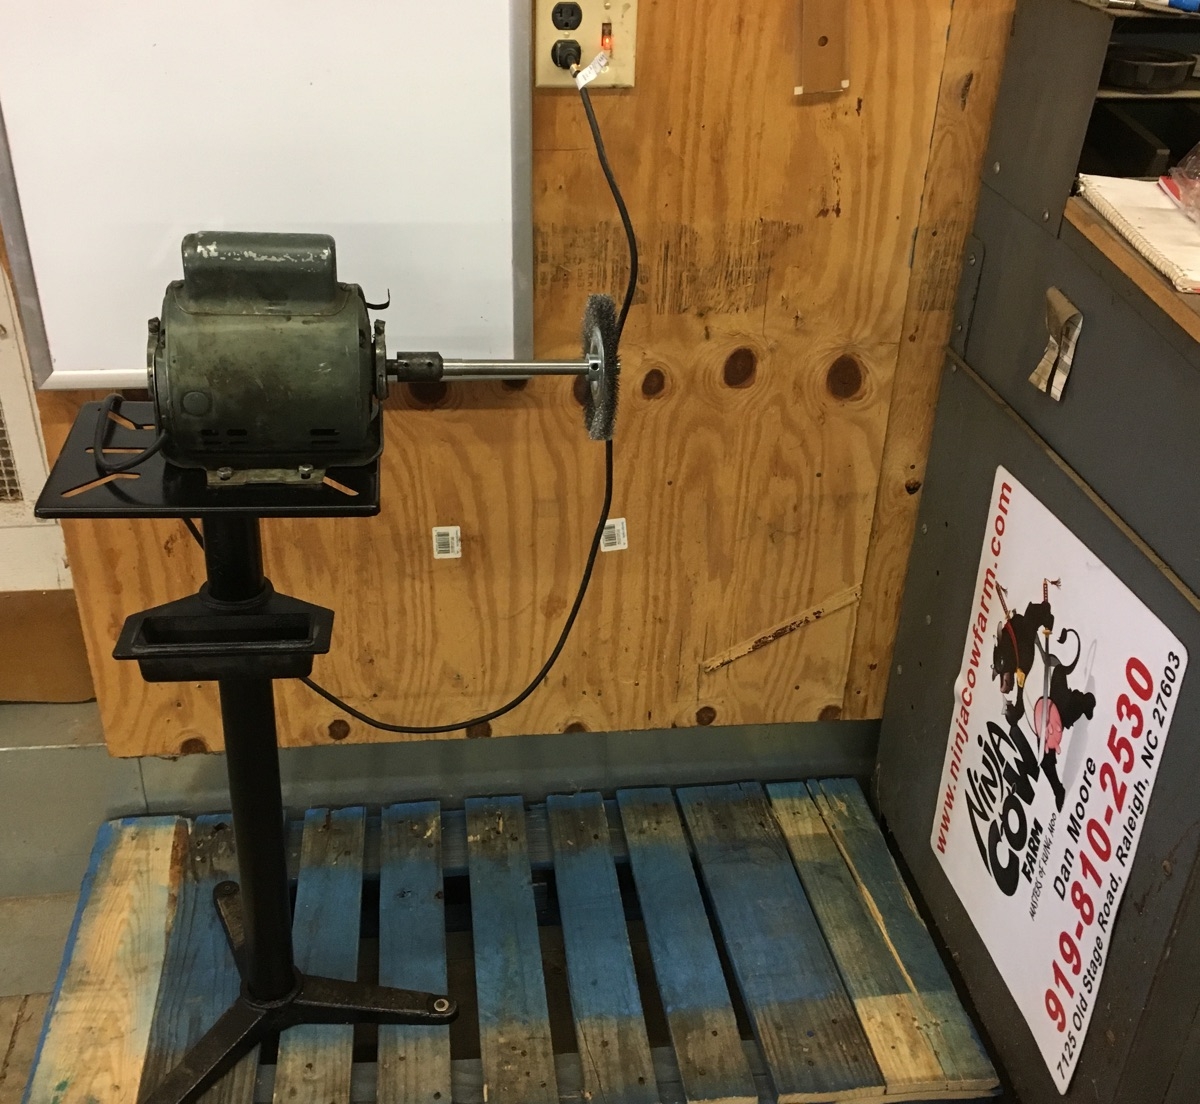
The intent of this project was to get it knocked out quickly. With that in mind, I purchased a stand from Amazon.com. Of course I ended up having to fix the machining mistakes on the stupid thing, plus deal with the fact it was too short (missed that in the description). I also had to redrill the holes in the “universal” mounting plate, because of course they didn’t line up. I could have built a better stand in the time I spent fixing this one but oh well, it’s done now.
I already had a switched outlet at this location so it’s simply walk up, put on safety glasses (wire wheels are scary), and flick the switch for a quick clean up. Easy. Total direct cost, about $15.00 and about 4 hours of labor. Everything else was scrounged around the shop.