I’m continuing to get my gunsmithing stuff set up. I’ve nearly completed installing a DRO on my Bridgeport mill and I’ve done my first job on the mill with what has already been installed. I needed a new vise on my gunsmithing bench and I only knew of one vise to use.
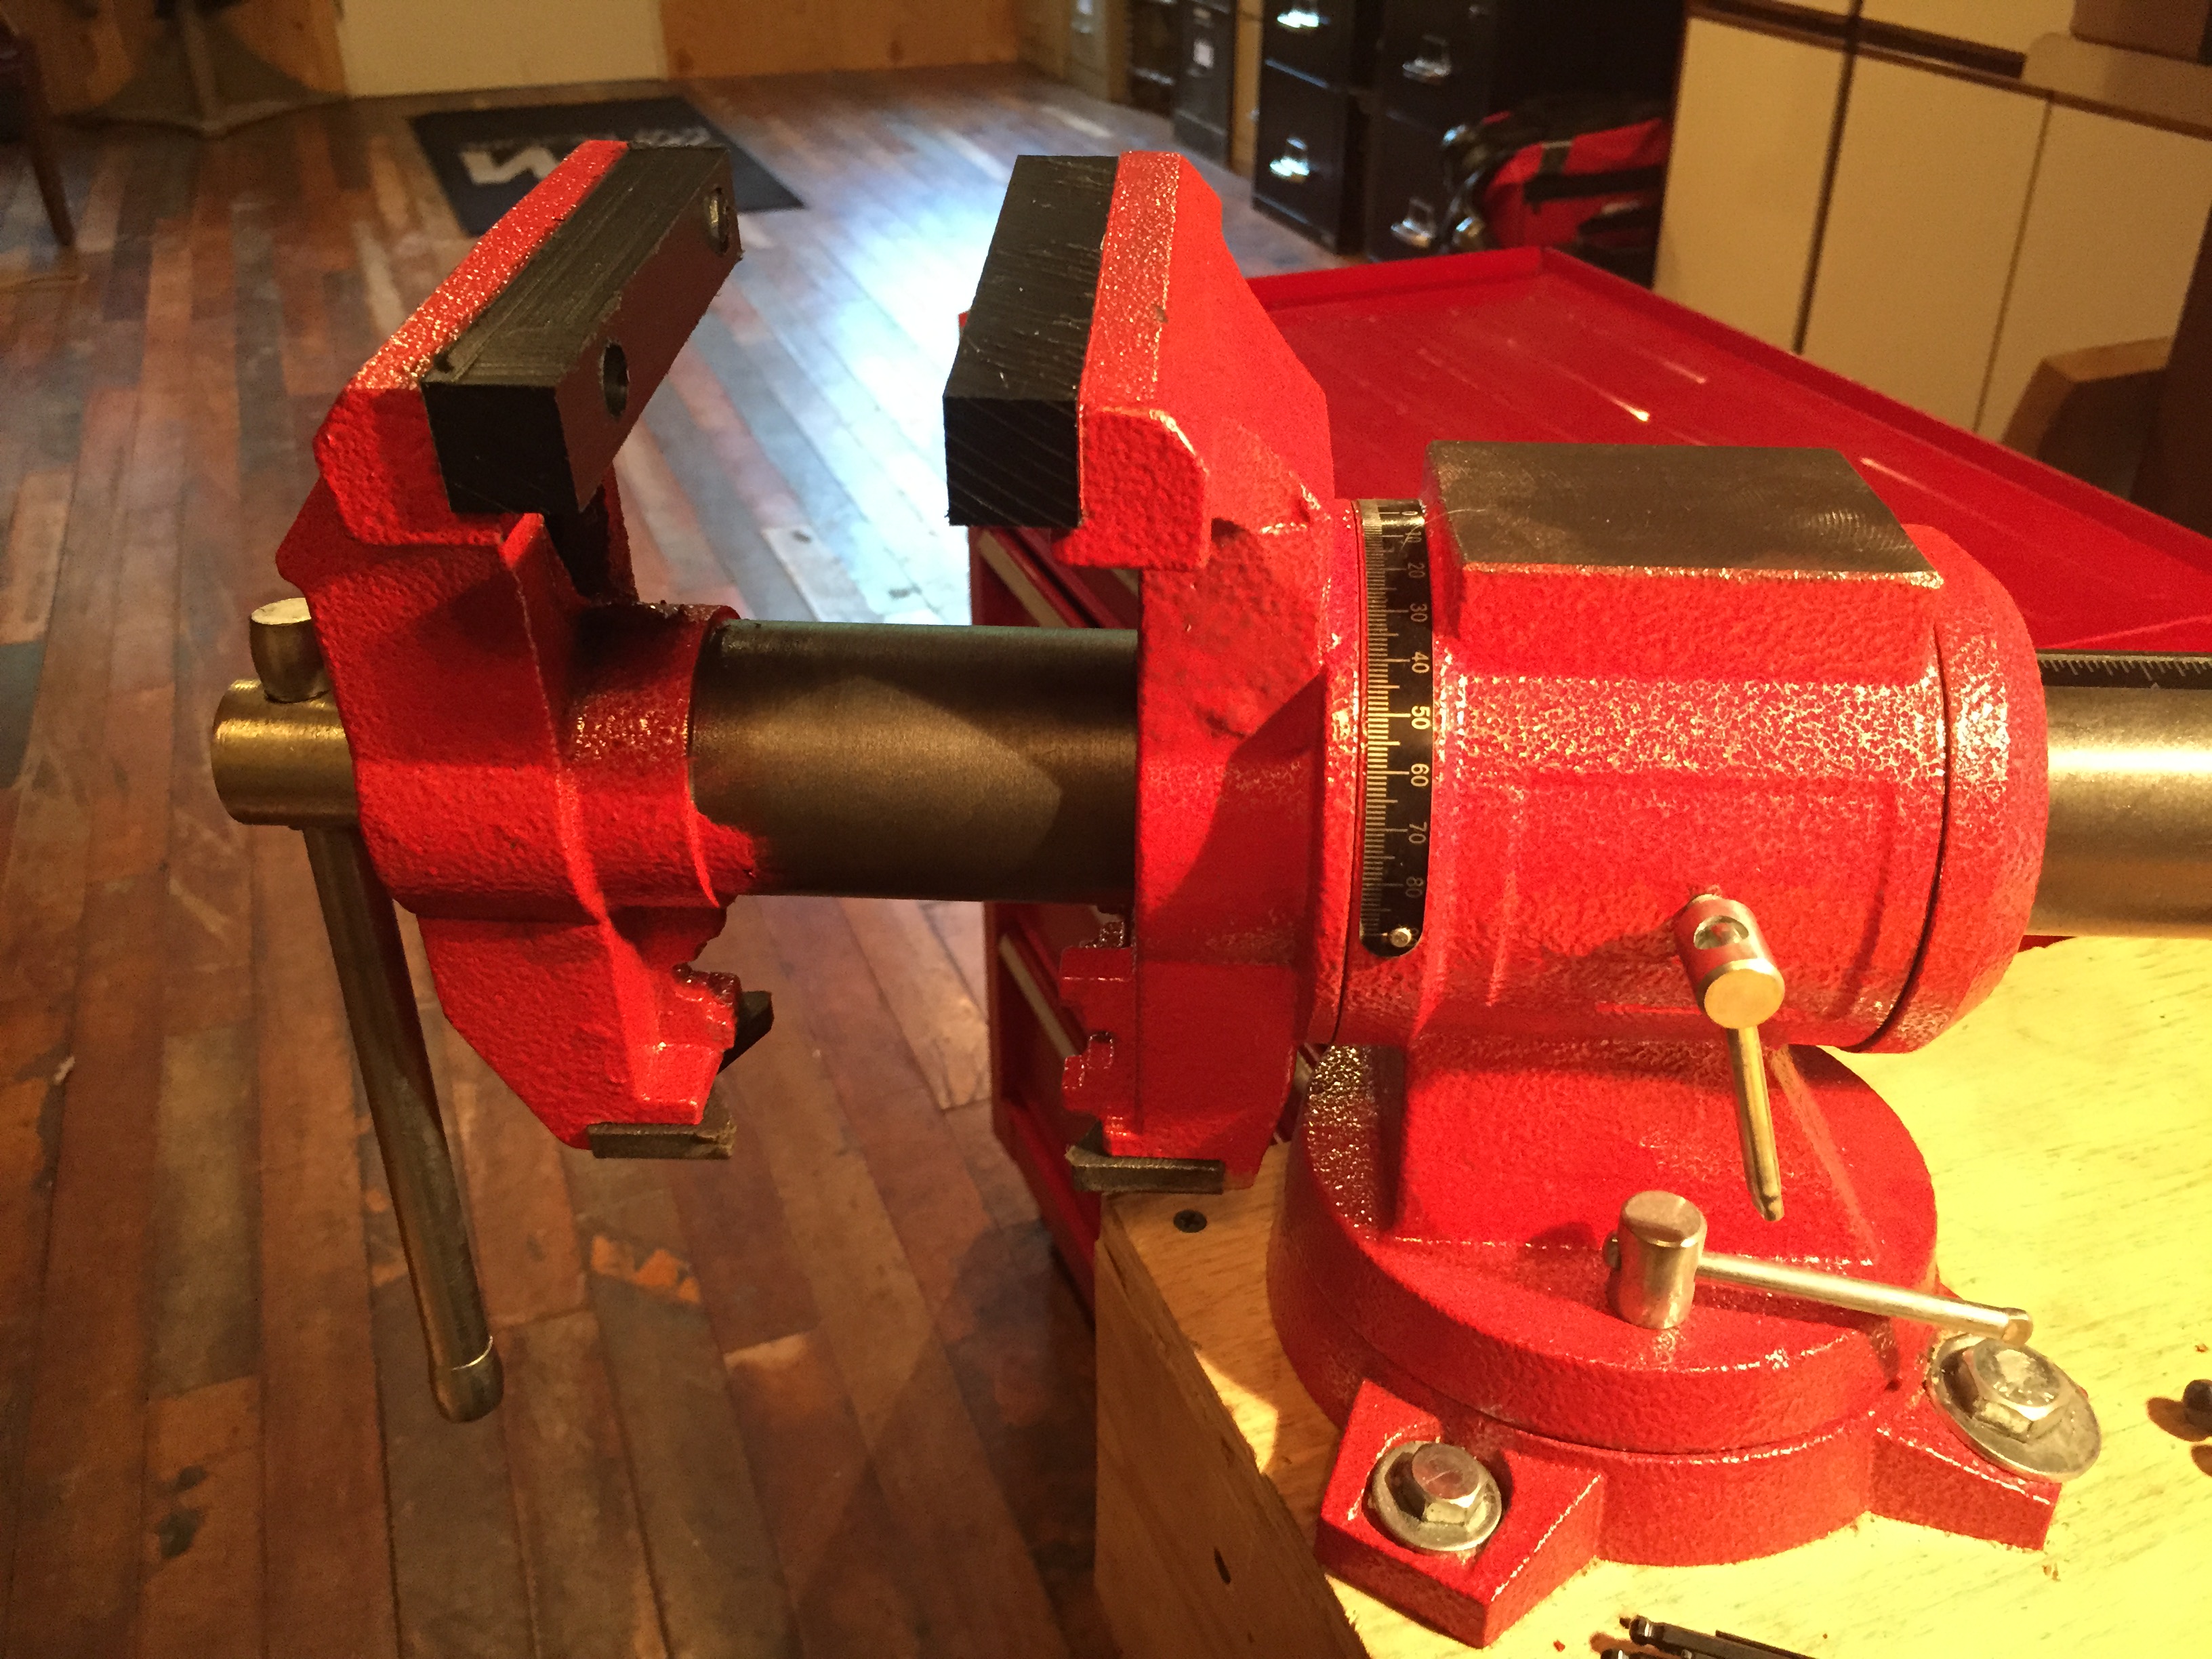
This looks like a relatively normal vise but it is unique in that is rotates 360 degrees so the bottom jaws can be swapped for the top jaws. Yes that would be 180 degrees but the point is besides clamping and swiveling on it’s base, it also rotates. This means that if you are working on something and you need it held in a different position, you don’t unclamp it. You just loosen it slightly and the vise itself will rotate. This makes it a much more usable vise in my opinion. Also, this particular vise is readily available from my friends at Agri-Supply. Yes this means it’s cheap Chinese junk but I’ve beaten on one of these for years and until I broke it by asking WAY too much from it, it did fine.
I mentioned that I’d done a project on the mill. First, here is what a Bridgeport mill looks like.
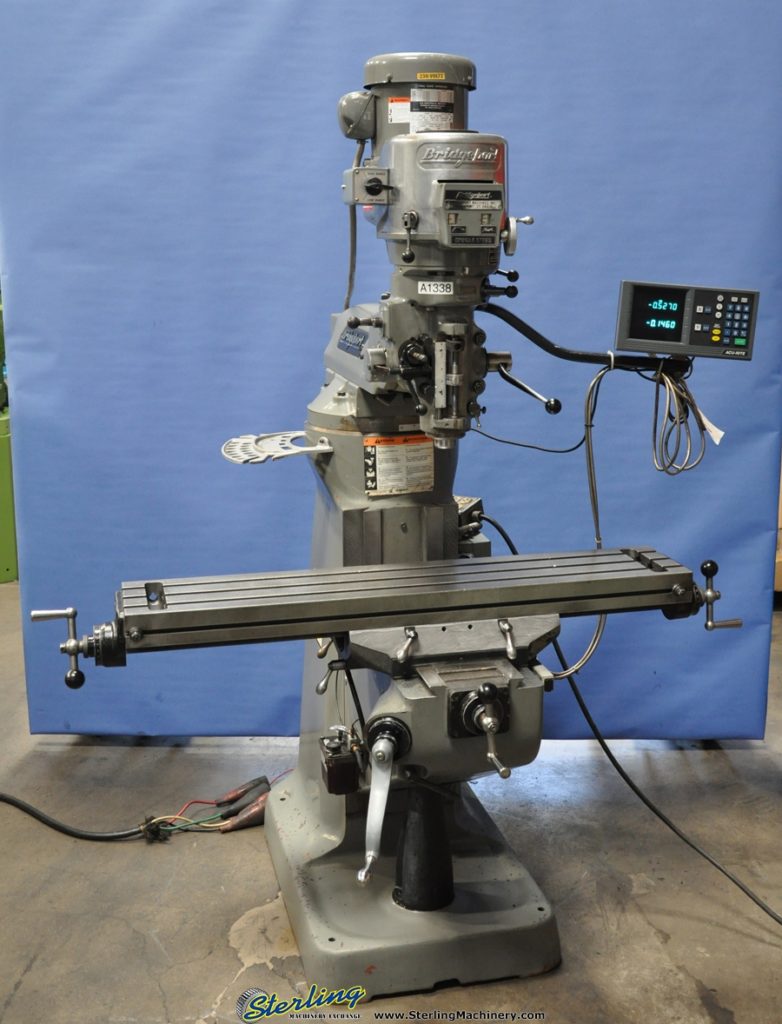
It’s an internet image because I’m not at the shop to take a picture. Plus this one is clean and mine is NOT.
And here is what my DRO looks like.

This thing is accurate to the tenth of a thousandth of an inch. It also has all kinds of functions that I have no idea how to use. You always want your equipment a bit smarter than you so you have a chance to grow. Kind of like buying shoes when you were a kid.
So back to the vise.
If you look, the jaws are black. Those are pieces of Delrin, milled and drilled on the mill to replace the metal jaws the vise came with. This gives the vise semi-permanent soft jaws so I don’t mess up the finish on guns or gun parts. It was a joy to work with the new DRO and making these jaws was a snap. I can’t wait to finish the install of the DRO and move onto the lathe for it’s own DRO. But that will be another post.