This year, one of my favorite instructors, Tim Carrick, was teaching checkering. You’ll note that the link doesn’t go to his website, or Facebook page, or anything he’s created on the internet. Tim eschews computers and all of his business is word of mouth. When I talked to him last year, and again this year, he is 18 months behind on work, with zero advertising!
Since I know I need to learn checkering, and Tim was teaching it, I signed up for the class. Tim had joked that on day one of class, he’d have 10 students, day two would be 6, and by the last day he’d have a couple left. Checkering is hard. I always enjoy learning from Tim so I knew I’d make it to the end. Well, the day before the end, I had to leave a day early to go get goodies for the farm store.
Checkering is the process of filing lines into a wood or metal in a method that creates a pattern. The purpose is to give something that would otherwise be slick a nice grip.

It also can be very beautiful when done by an artist, which I am not. Since I don’t plan on making stocks anytime soon, cutting in checkering isn’t high on my list of skills needed. But since I do plan on repairing stocks, that means I need to be able to recreate a checkering pattern so that I can make the repaired stock look as good as new. Tim is a master at fixing stocks and I learned a ton from him last time. When I say fixing stocks, I mean going from a stock that is literally shattered into pieces and ending up with something that looks brand new. He routinely works on $50,000+ guns. He knows his stuff.
Luckily, I have a stock from one of my guns that needed the checkering replaced where a previous owner had decided to sand the wood down and then shellac the stock with some horrible finish. I’d already taken the stock all the way down to bare wood and refinished it. Now it just needed to be checkered and I could put the gun back to together and then sell it which would get one gun out of here and money in my pocket instead, which I have much more room for.
But before I could jump right into working on a stock, I had to learn the basics first.
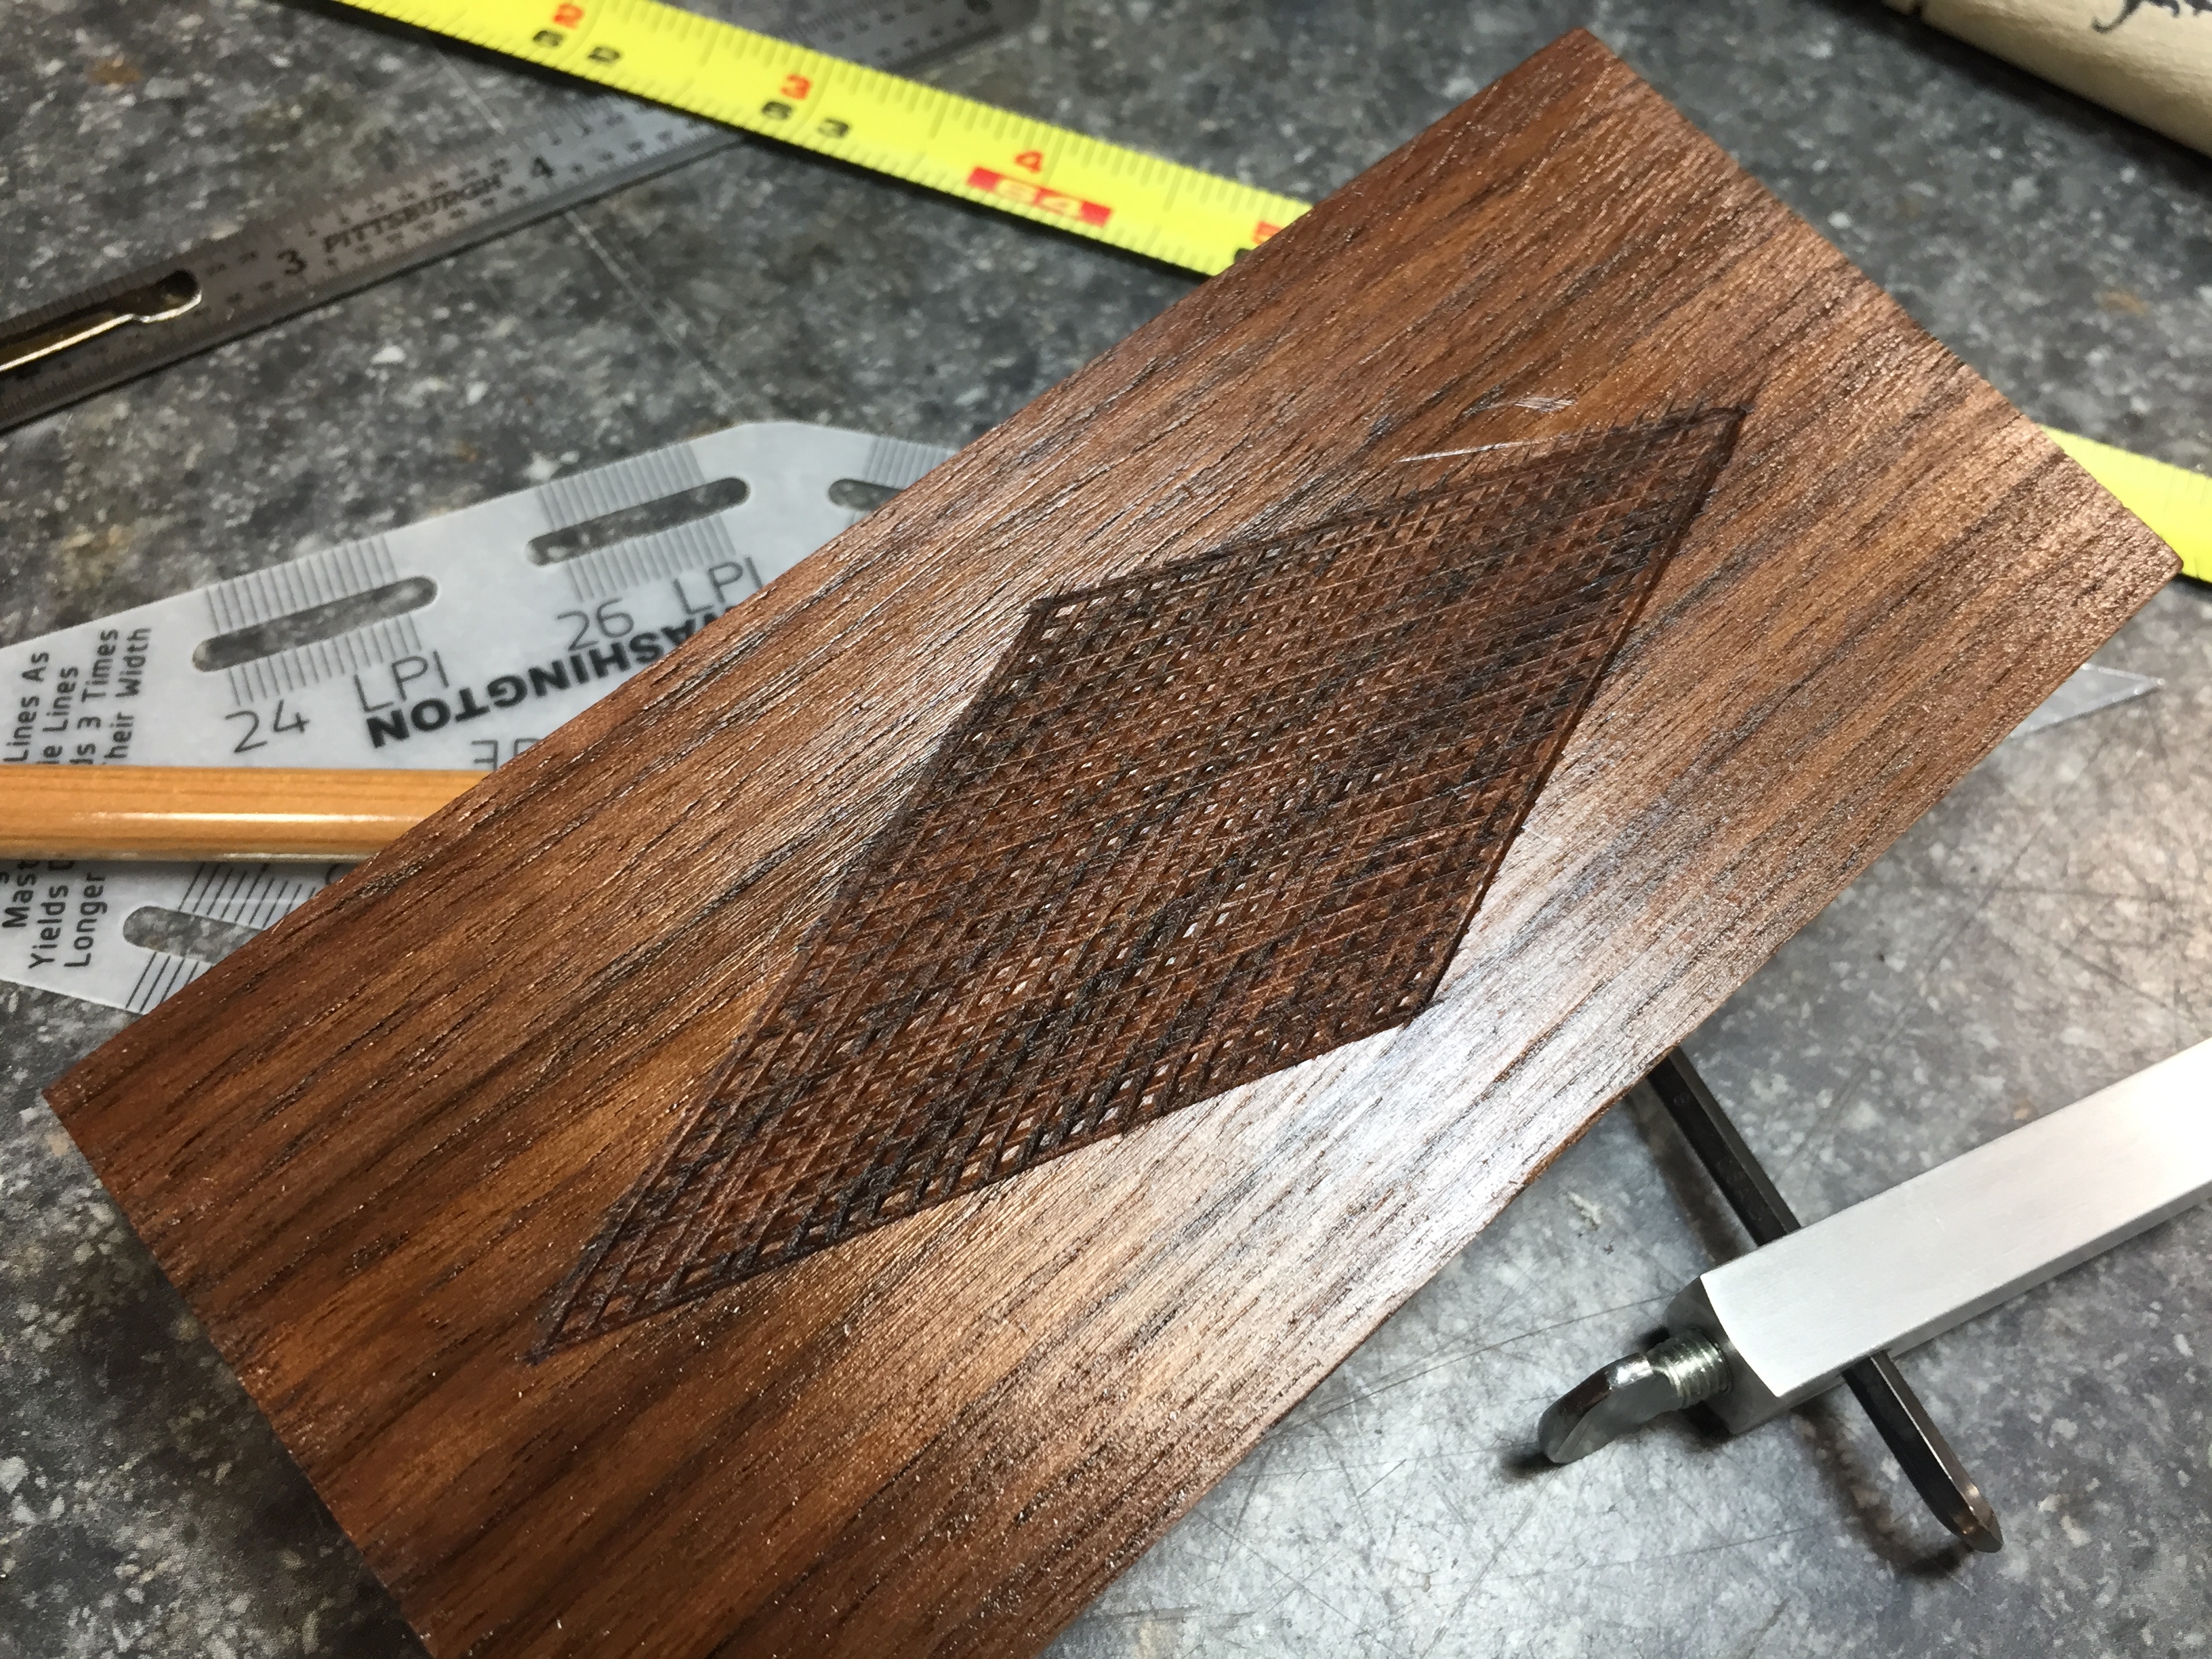
This is as simple as it gets. It’s also harder than it looks. This is about 1/2 days worth of work, and it’s not finished! Each line has to be filed or cut about 10 passes, each direction. And with every stroke, it’s hard not to mess it up. If you do mess it up, add more time for trying to fix your mistake before you move on. For Tim, this is about 30 minutes worth of work but we were learning so cut us some slack!
Once I’d gotten good enough that I could cut these patterns with some consistency, it was time to move on to checkering an actual stock.
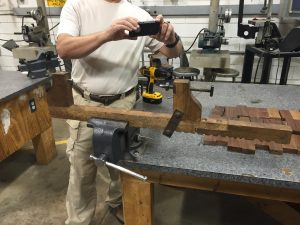
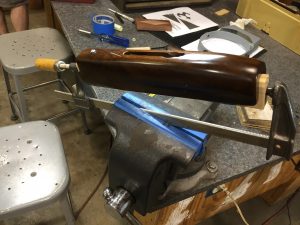
As with a lot of work, you can’t do any actual work till you make the jig to hold the work. This is a piece of pine, custom cut and sanded to be a press fit inside the shotgun forend. Then it is drilled to accept the checkering cradle, which itself is a customized clamp. Before you spend the eight hours it takes to checker this thing, you have to spend another hour making the mandrel and the clamp. Ever wonder why checkering is expensive?
Once everything is prepped properly, it’s time to do the layout and the checkering. Checkering is the final process on the repair of this shotgun. I have a day in just refinishing the stock. Not the count the days spent overhauling the gun to get it back to better than new specs. When it’s done, this shotgun will be better than new, and it’s only taken me two years to get it that way! 🙂 You never actually work on your own stuff.
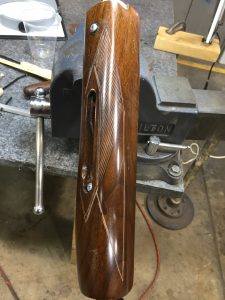
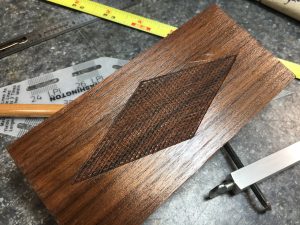
Here you can see the old checkering I was working off of. You can also see where I’ve outlined the new checkering pattern. This is just the beginning.
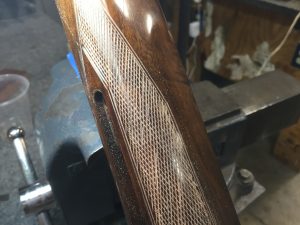
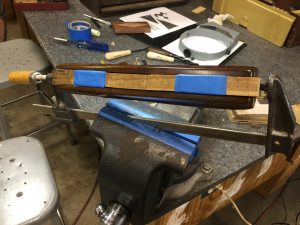
This is several hours into the job. It’s also about where I stopped. I had to leave early to get home and pick up stuff for the farm store. So this forend is now laying on my bench waiting for me to have time to finish it. Maybe next year I’ll finally get this thing done. I already have other people’s work starting to come in so as always, paying customers first.