I haven’t been posting any gunsmithing stuff lately. For some reason, I have it in my head that customers won’t like seeing these jobs on our farm website. This is despite the fact that multiple customers have told me they enjoy reading these posts. I’m gonna work on getting this mental block out of my head because there is plenty of opportunity on these type of posts. I’ve been averaging about two gunsmithing jobs per week for the past few months which is about perfect for me. Slow enough I can keep it organized but quick enough I always have a job waiting on me when I have a few minutes.
Last week I received a call from a customer asking if I could fix his bent shotgun. Bent is always a scary word because some things can’t be easily straightened but it turns out he’d only bent his ventilated ribs. But to add a twist, he had a hunt scheduled with customers on the 8th and had to have his shotgun back before then. Could I get it done in time? Sure.
“Oh, and can you replace the buttstock on it as well?”
“If I have time, I’ll get it done.”
I wasn’t worried about the buttstock so much. But getting these bends out on time was worrying me because I needed a tool from Brownells first to do it correctly and that would take a week. But first, let’s look at the damage.

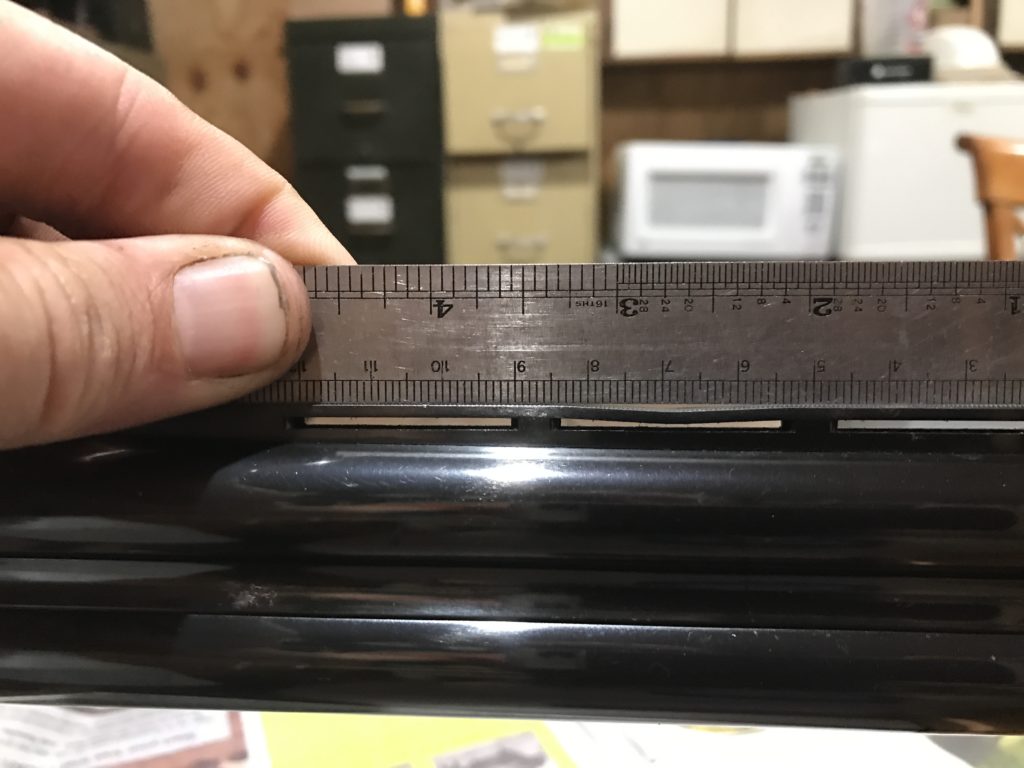
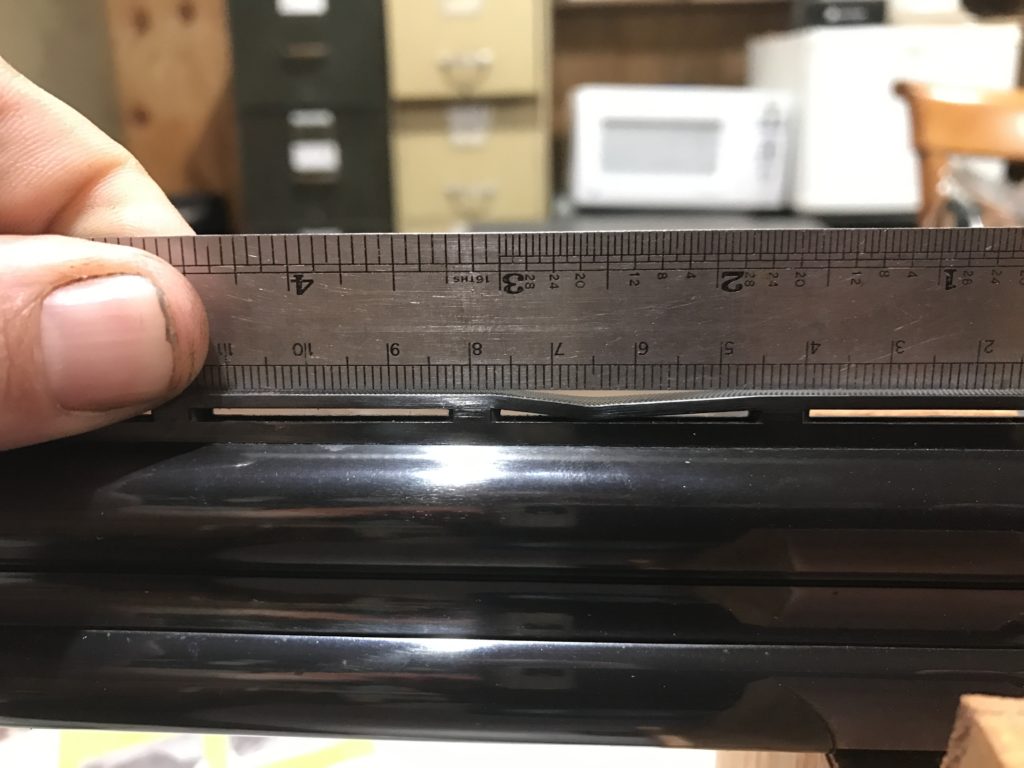
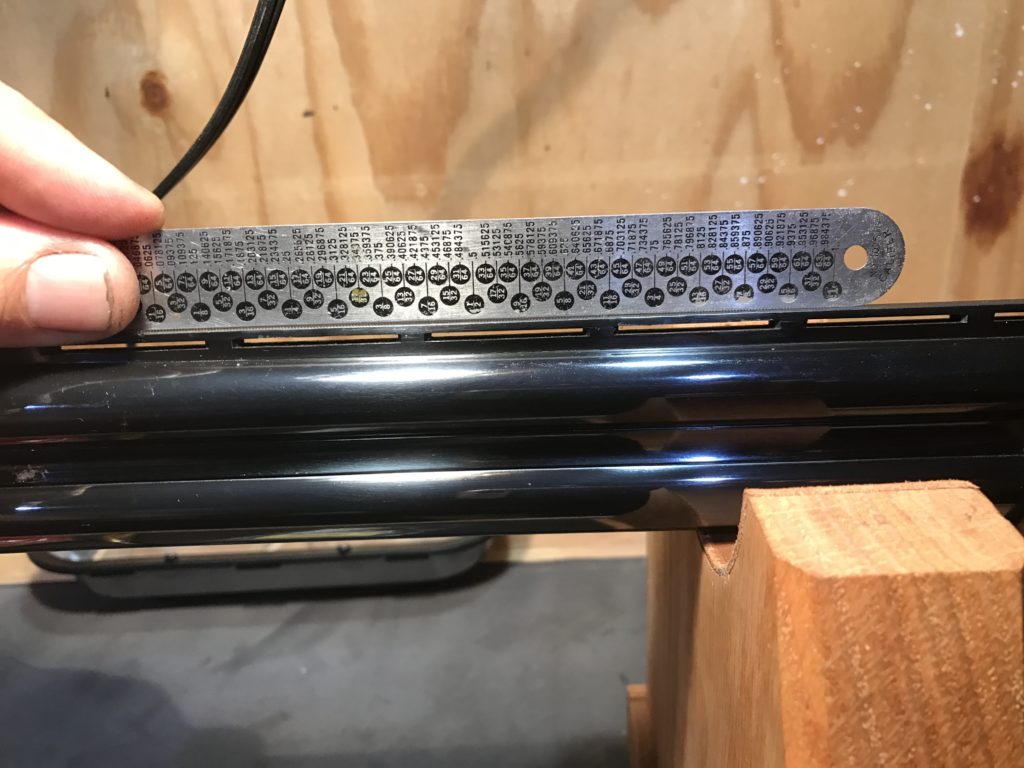
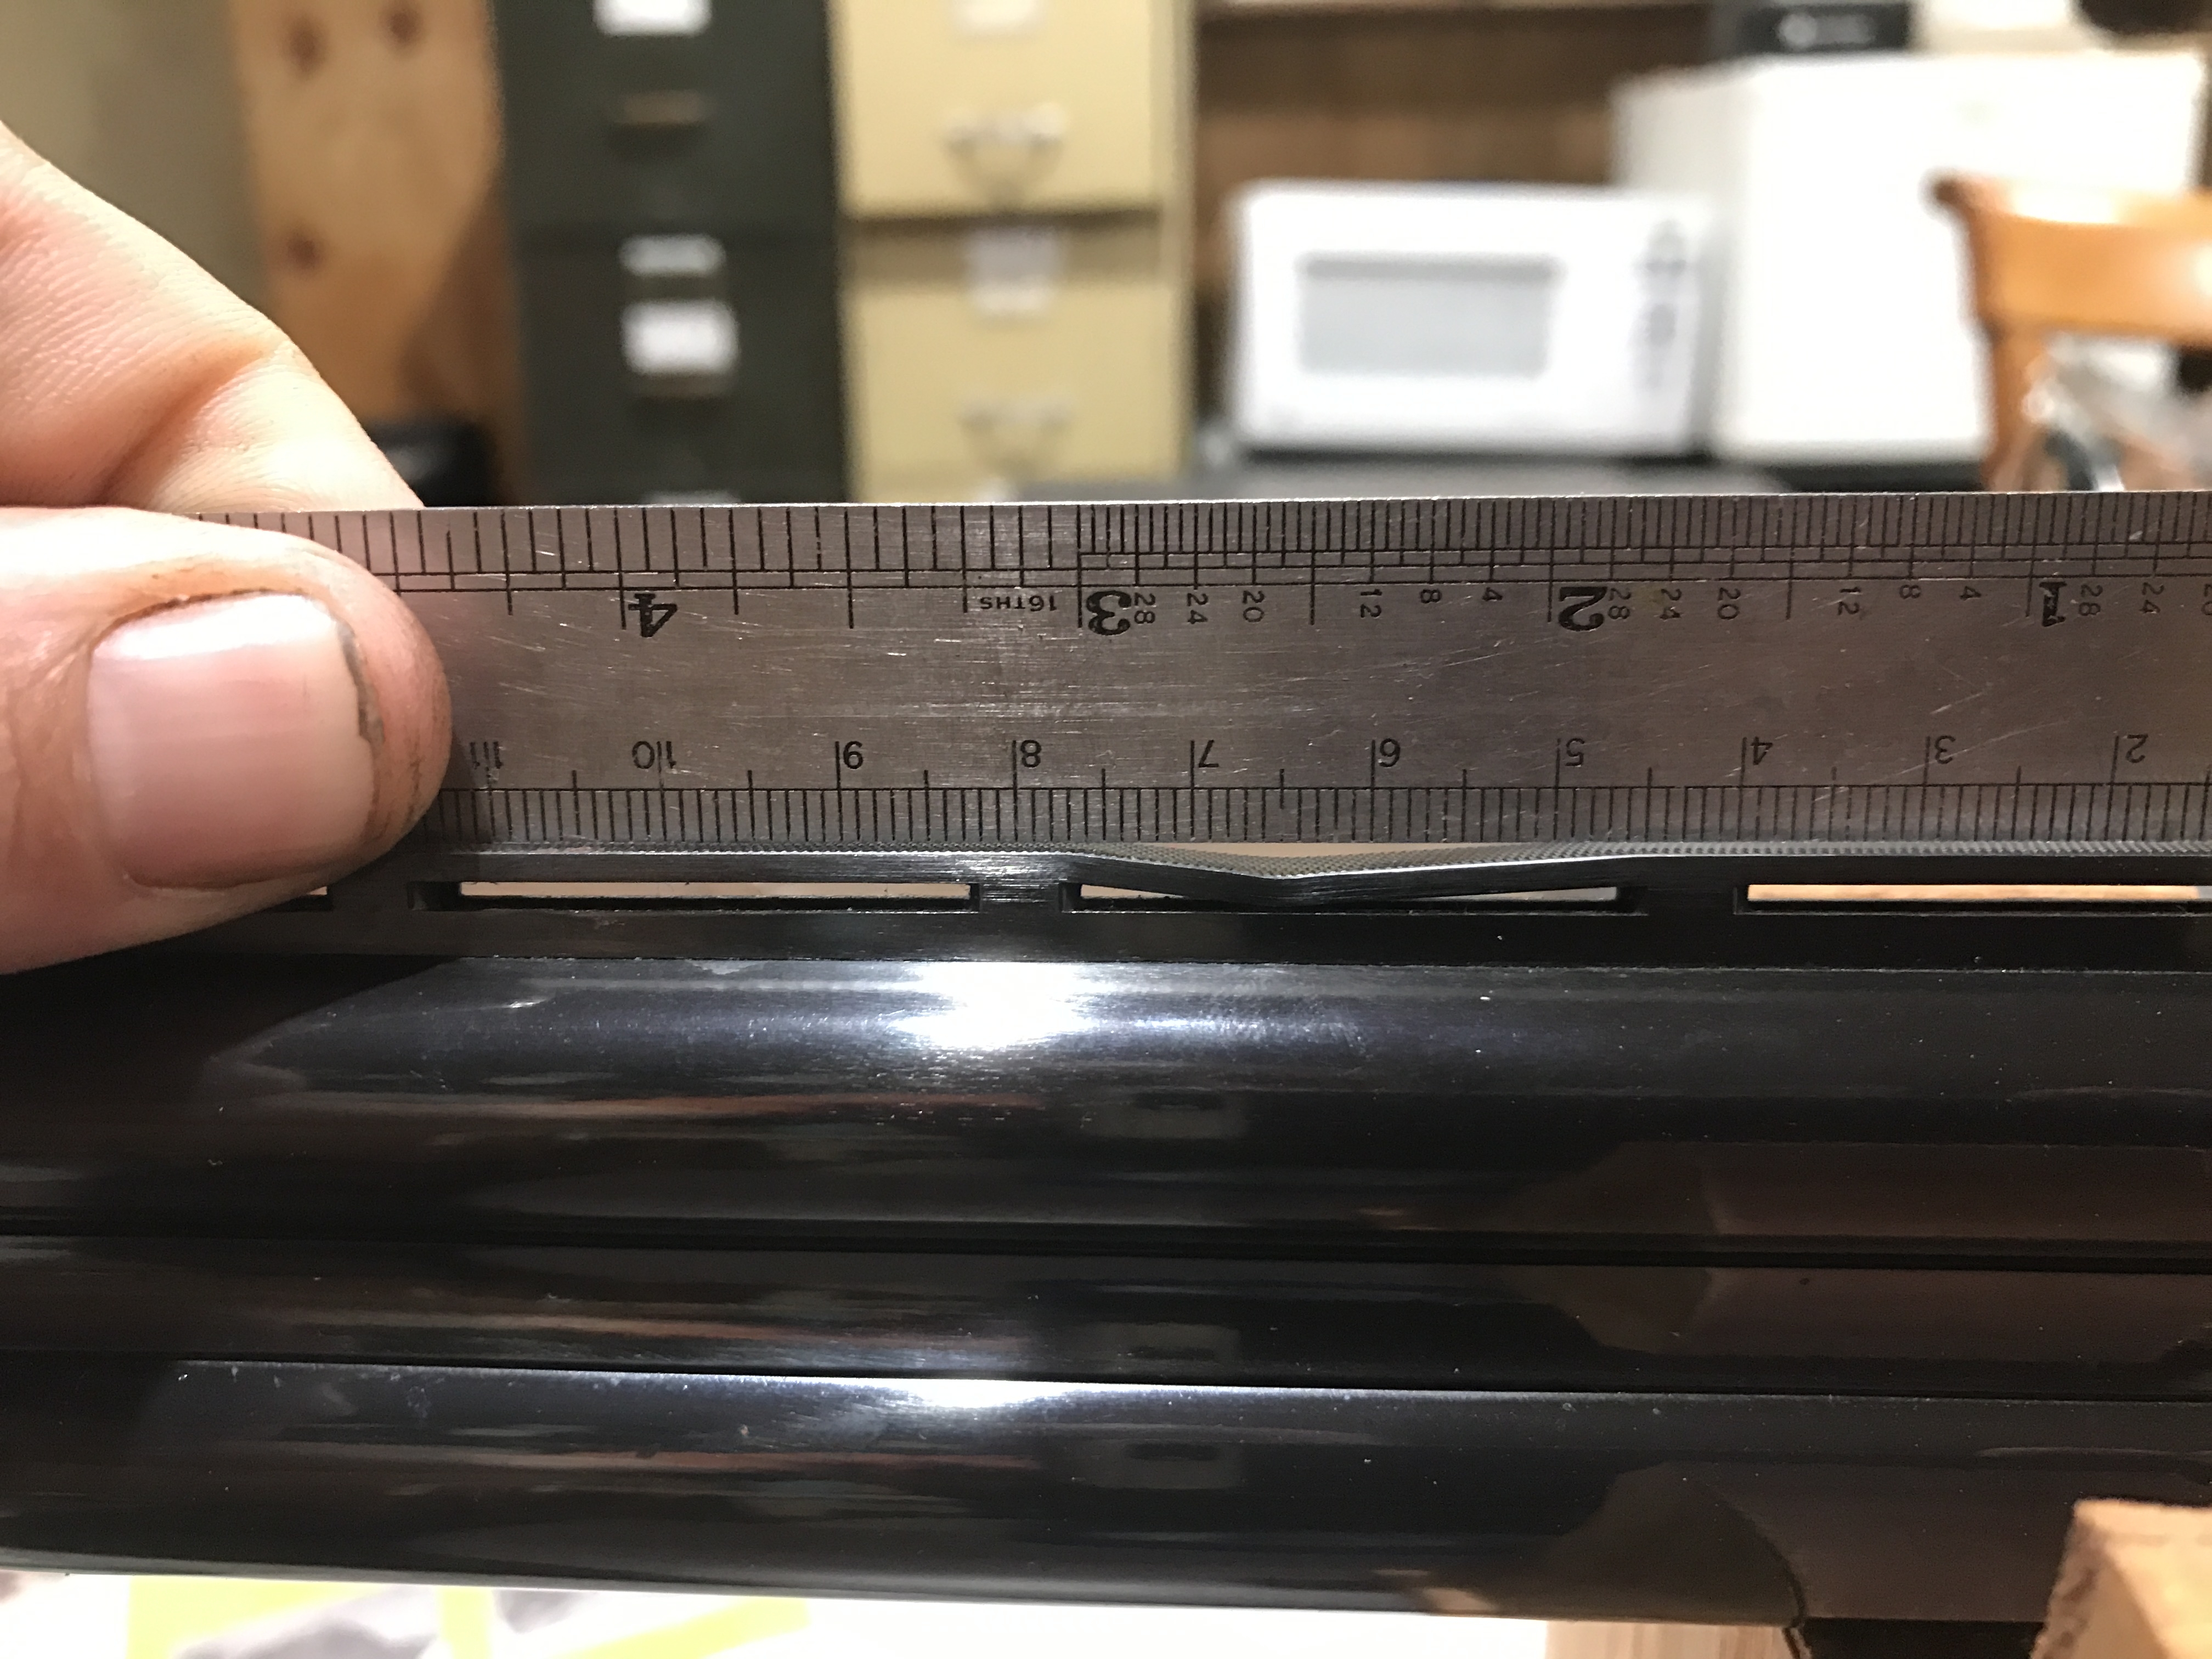
Who knows how these things happen. When you are bird hunting, moving from field to field, a shotgun can take a beating getting in and out of the truck. And ventilated ribs are really susceptible to being damaged easily. They are thin between the anchor points and there is no support. These things happen so no fault to the customer.

This second bend was pretty bad. It was all the way down to the barrel which leaves no room for getting under it to raise it. That’s solvable as you simply lift from the edges and get just a tiny bit of space to work with. You then inch your way towards the middle, resetting slightly closer each time, then raising a tiny bit, then inching closer, till you can finally get purchase in the middle. However, I decided to start with the easy one first.
The tool is basically like a gear puller but it’s made just for shotguns. Once you get it hooked in, it simply cranks and raises the bent piece back to where you want it. Or at least you hope so. In reality, it raises it up, but not machined flat like the rib is from the factory. So you begin a series of raising an area, checking it for flat, then hammering (with a delrin hammer, non-marring) back down the high spots. This of course isn’t precise so maybe you get the area you want, maybe it dips a bit again. Of course the straight section of metal is now wavy so you raise the new low area and wash, rinse, repeat. Fortunately I have a background as a blacksmith so working with metal is like coming home to me.
So to raise the original bent ribs back takes about 10 minutes. To get it flat again takes about an hour. As usual, nothing is as easy as it appears in the brochure.
Once I had the ribs flat, it was time to sand down the areas on the sides of the rib that were flared. The flaring is either from being bent originally or from the puller marring the rib a bit when did it’s work. Some 400 grit emory cloth, a backing stick, and some elbow grease and we had it back smooth enough to blue.
The gun had some missing bluing already from regular field use so while I was bluing, I went ahead and touched up all the areas that were showing wear, including some spots which had surface rust. Once everything was blued, I burnished it with steel wool to blend the finish.

If I look close enough, I can find the area where the repair was made because of a few marks on the bottom side of the rib where the puller did it’s work. There is no way to avoid that.
This was a fun job and I had it ready to go on the 4th. Plenty of time for the customer to get here and pick up his gun for his hunt on the 8th. I emailed him to let him know it was ready and he called to check later that day.
“What about the butt pad I asked you about?”
“Huh? What butt pad?”
In my rush to get his ribs fixed so he could make his scheduled hunt, I’d completely forgotten about installing a new butt pad for him. Dope! Not to worry, we can do the butt pad on another trip after the rush. The ribs were a no go item, the butt pad was just an upgrade while I had it. A bit of lost revenue but hopefully he’ll bring it back after bird season and I can get it done for him.

Well written informative article. What type of delrin hammer did you use?
Thx,
Lou Conover
Shamong, NJ