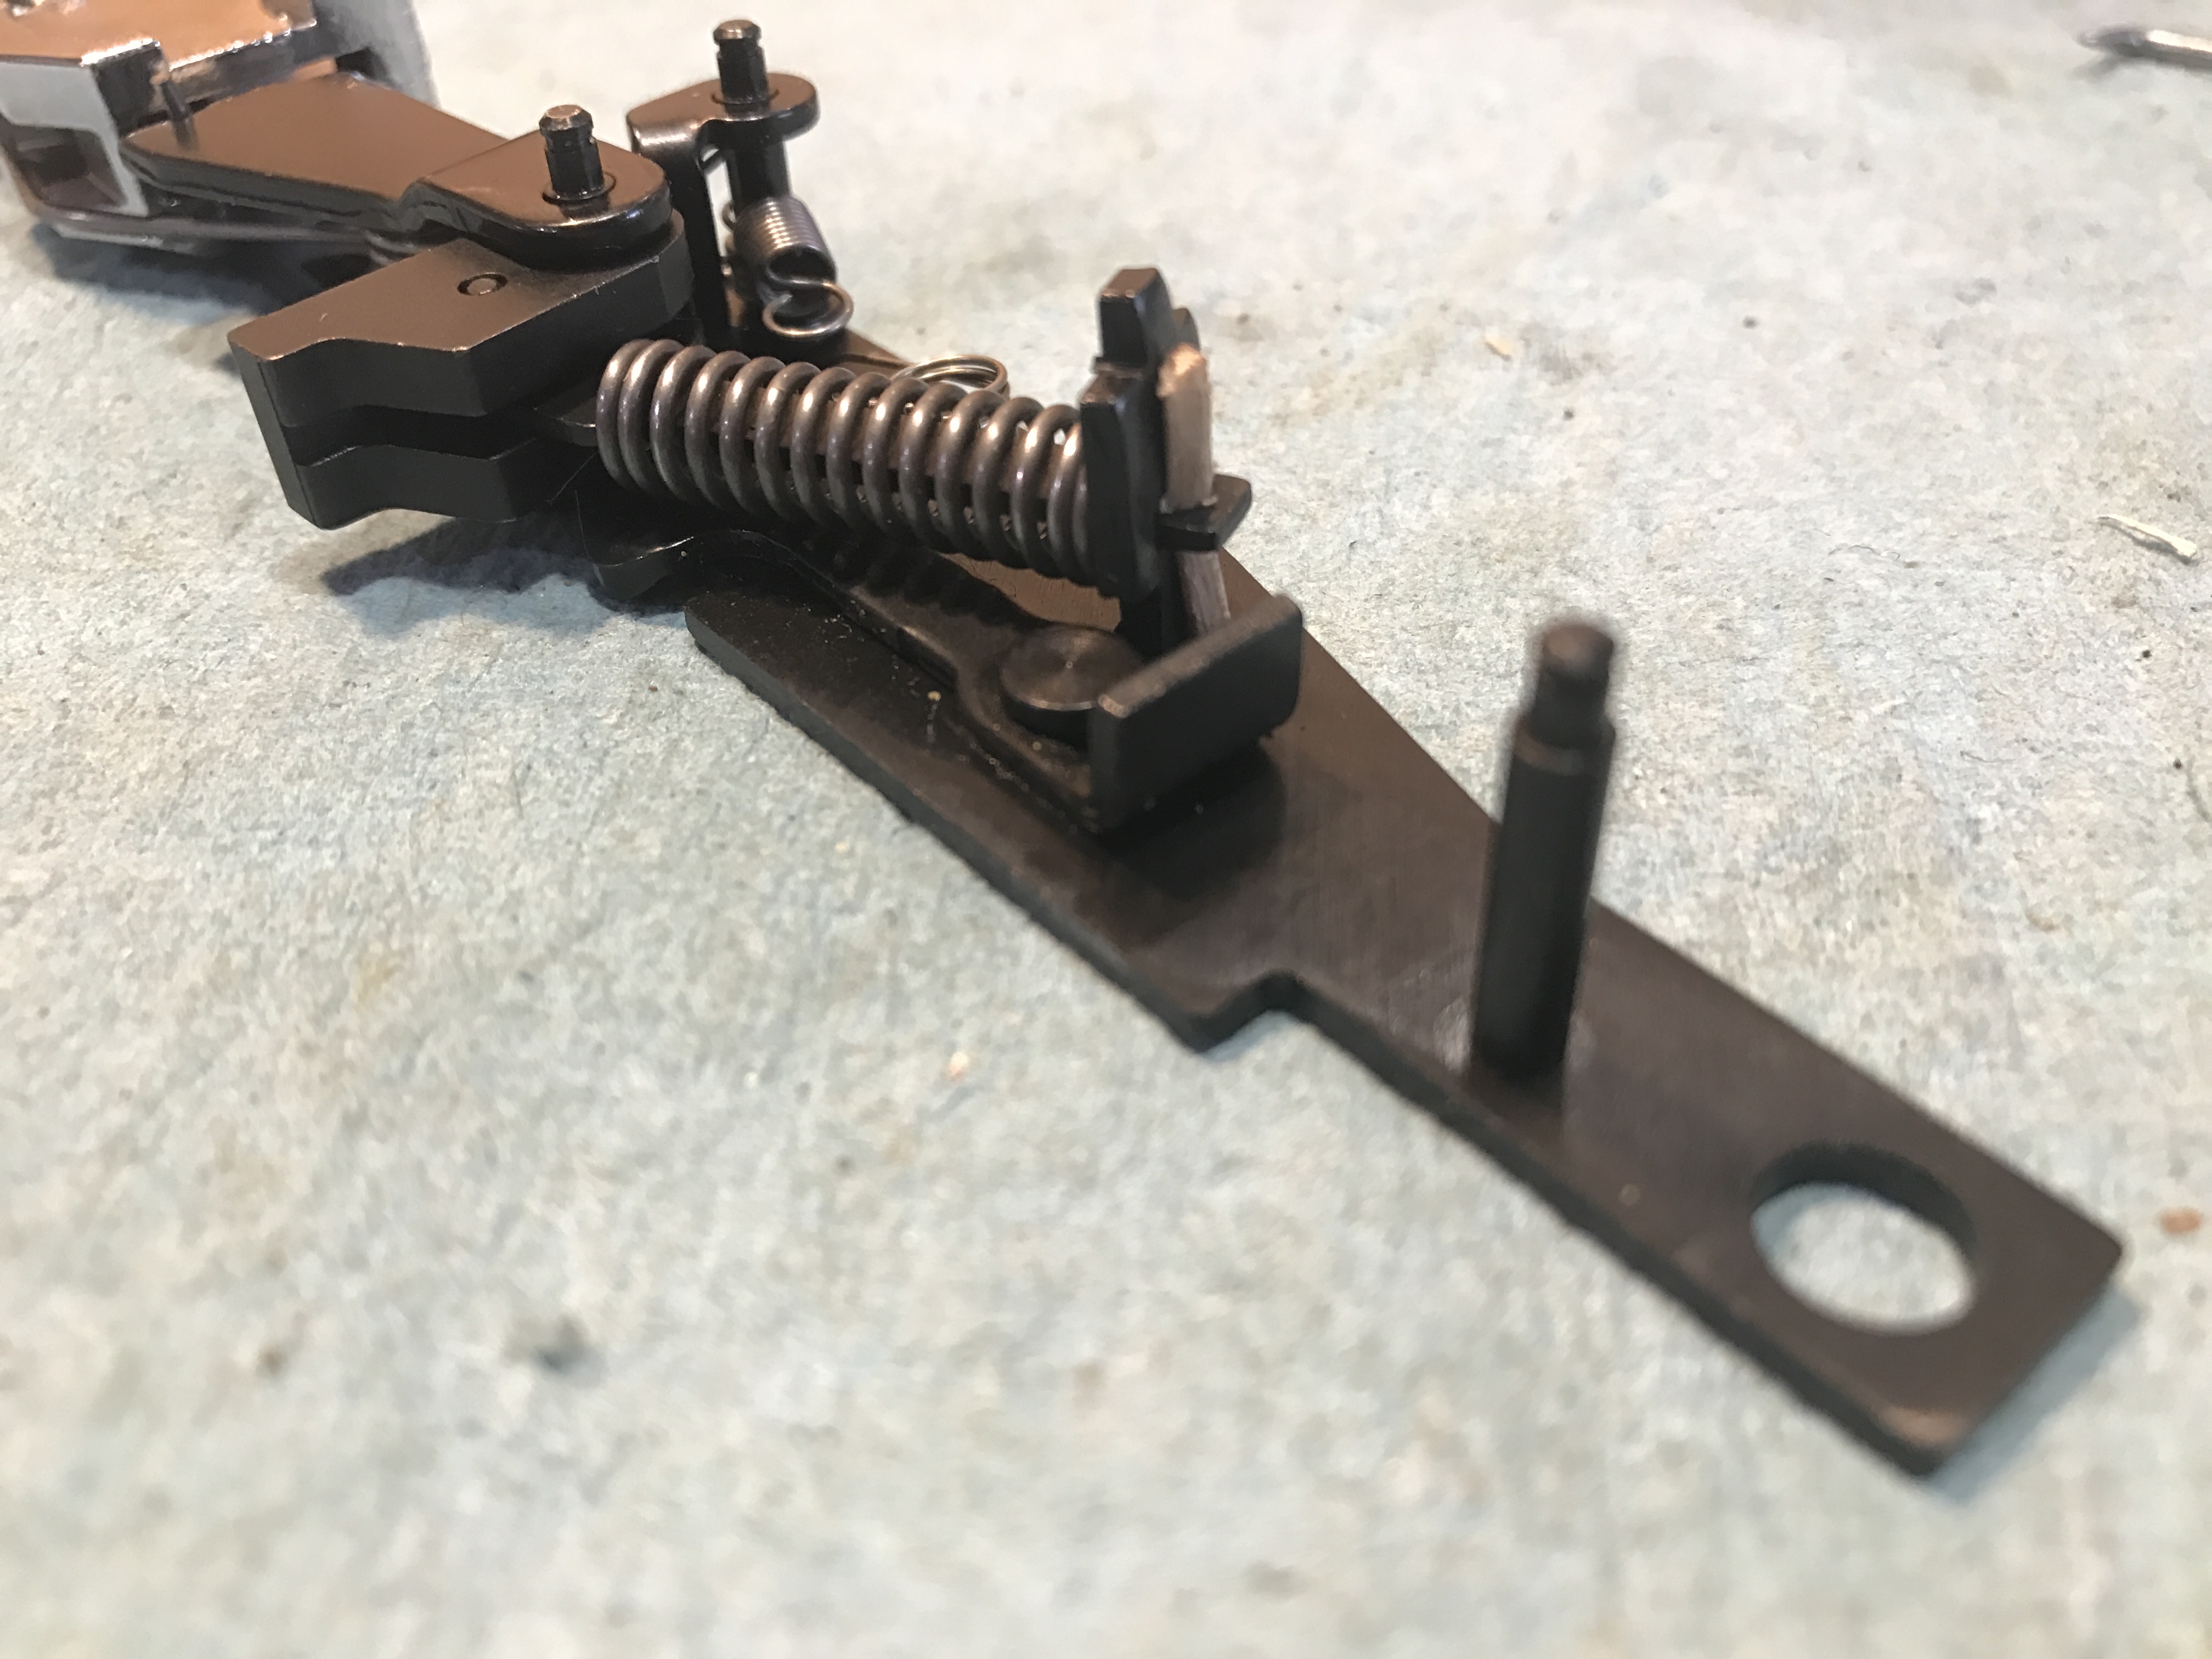
I had a neat job come into the shop recently. Not because the work was especially challenging. It was just a simple Marlin model 60, brand new in the box, with a request for a trigger job. 
No the reason it was neat was because this was my first rifle. One I still have. Although mine doesn’t look nearly this good. It’s beaten and banged. The stock is gouged and worn from years of a boy carrying it, and a brick of 22s, around a farm plinking at anything that looked good. I don’t know how many rounds have been through my little Marlin, but it’s uncountable.
However, one summer, I decided for some unknown reason to take the trigger assembly apart. Maybe I thought I’d clean it. Maybe I wanted to see the inside. I don’t remember. What I do remember was springs and parts going everywhere. I also remember being terrified to tell my dad. I believe it took the entire summer of pretending it still worked while secretly trying to get the thing back together. I had no manual, no reference books, and NO INTERNET. Can some of you remember what that was like?

Eventually my Marlin went back together and I couldn’t have been more relieved. I swore I’d NEVER take it apart again. And I haven’t.
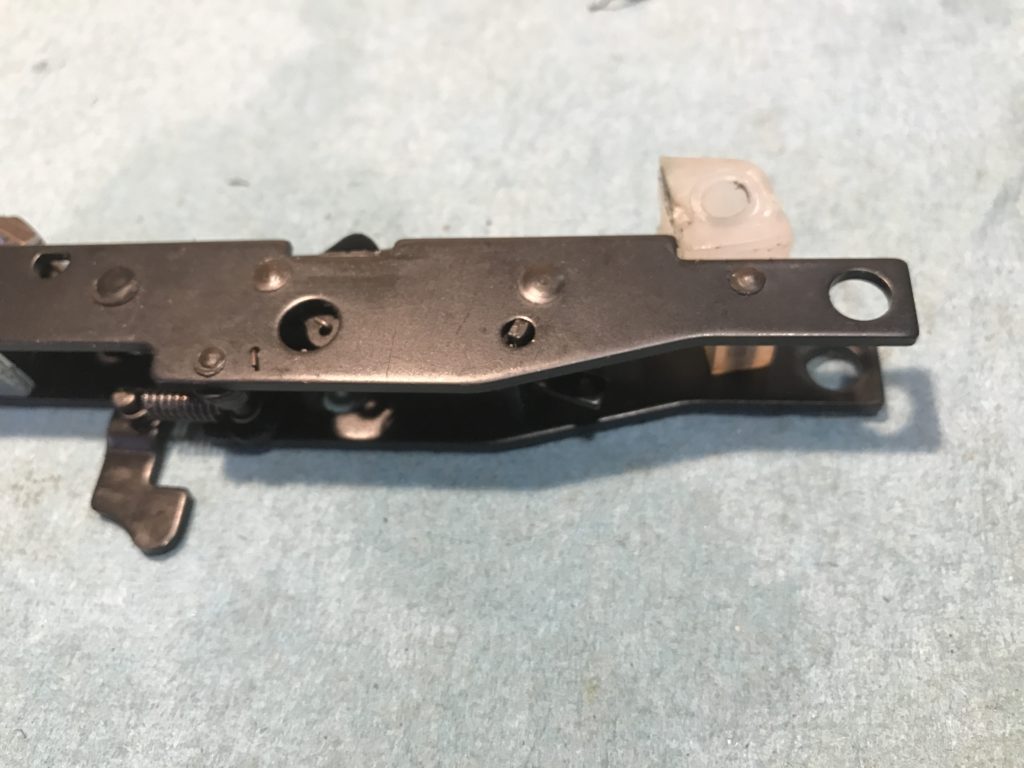
And then this job came in. I have to say, I was geeked to work on this little rifle, and scared all at the same time. Despite years of experience and training, I still remember being that 13 year old kid who was afraid of dad. Heck, I’m still afraid of him, and he’s been dead 14 years.
Before we took the gun apart, it needed to be test fired to make sure it worked. Luckily Spork was hanging around and there was a squirrel mocking us through the window. I handed him a few rounds and the rifle and admonished him to be careful. He returned shortly with meat for the table and one less fuzzy tailed rat running around the farm. It worked fine.
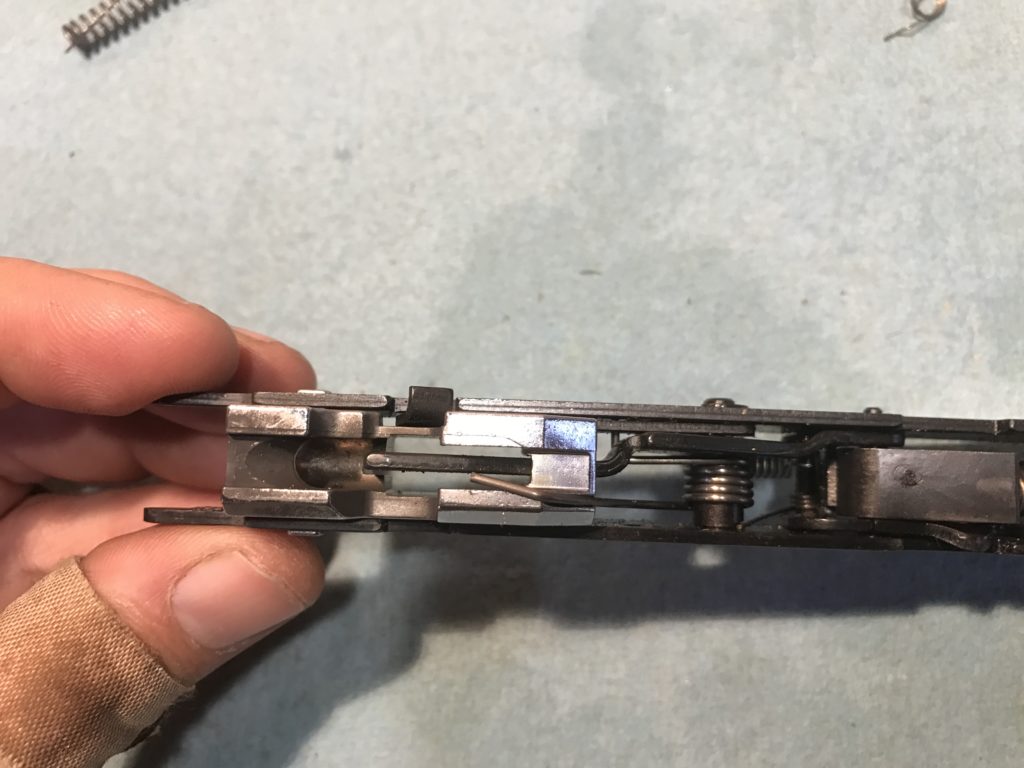
I didn’t have a digital camera back in the 80s to take before pictures with. Now my camera sits on the bench, as important of a tool as any I have. Once the fiddly bits go flying, it’s mighty handy to have shots of the assembly when it was working correctly.
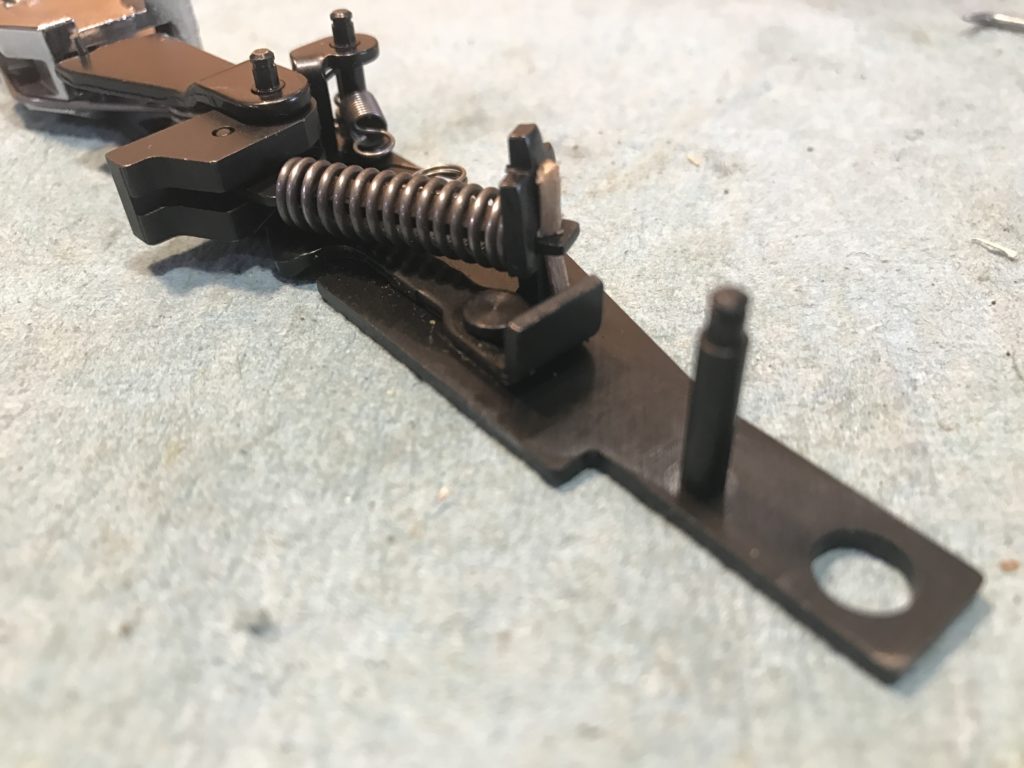
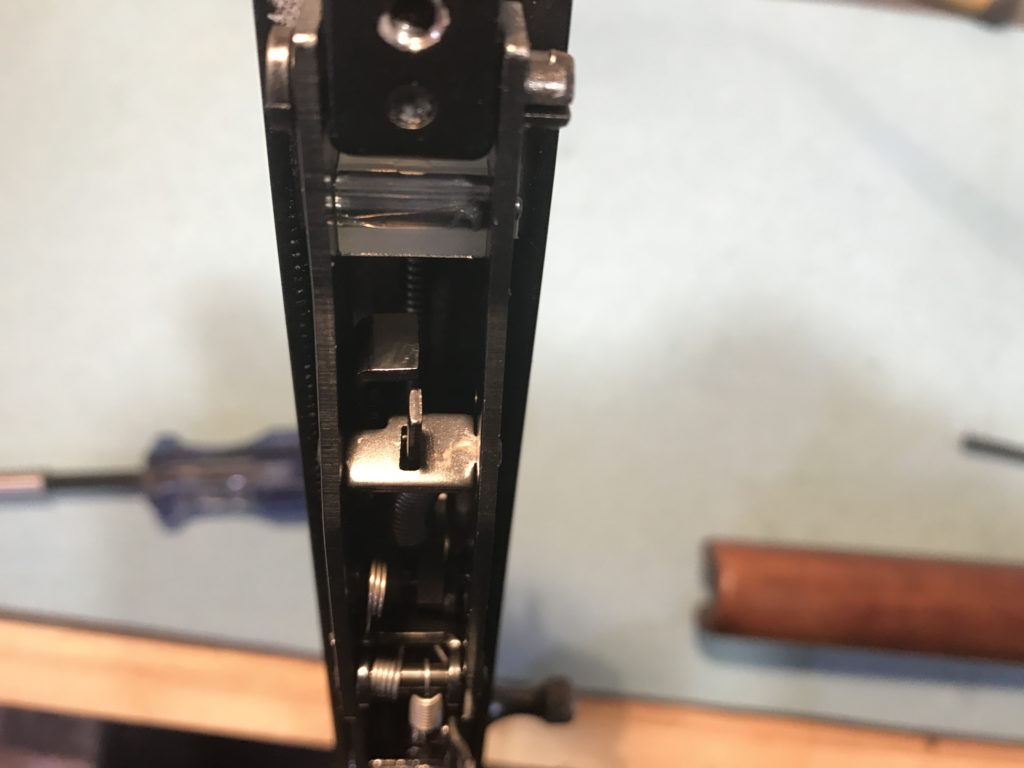
The customer had brought me a spring kit for the gun, along with a new target trigger. To get everything installed, nearly everything in the gun had to come apart. In the picture above, you can see a wooden piece capturing the hammer spring. Just below that you see a metal piece that turns up to vertical. This is the transfer bar that the trigger presses against to trip the sear and release the hammer. This is predominantly what the trigger job is on this rifle, as most of the friction happens right here.
I forgot to take a picture of the transfer bar after polish. Take my word for it. You could shave in the reflection.
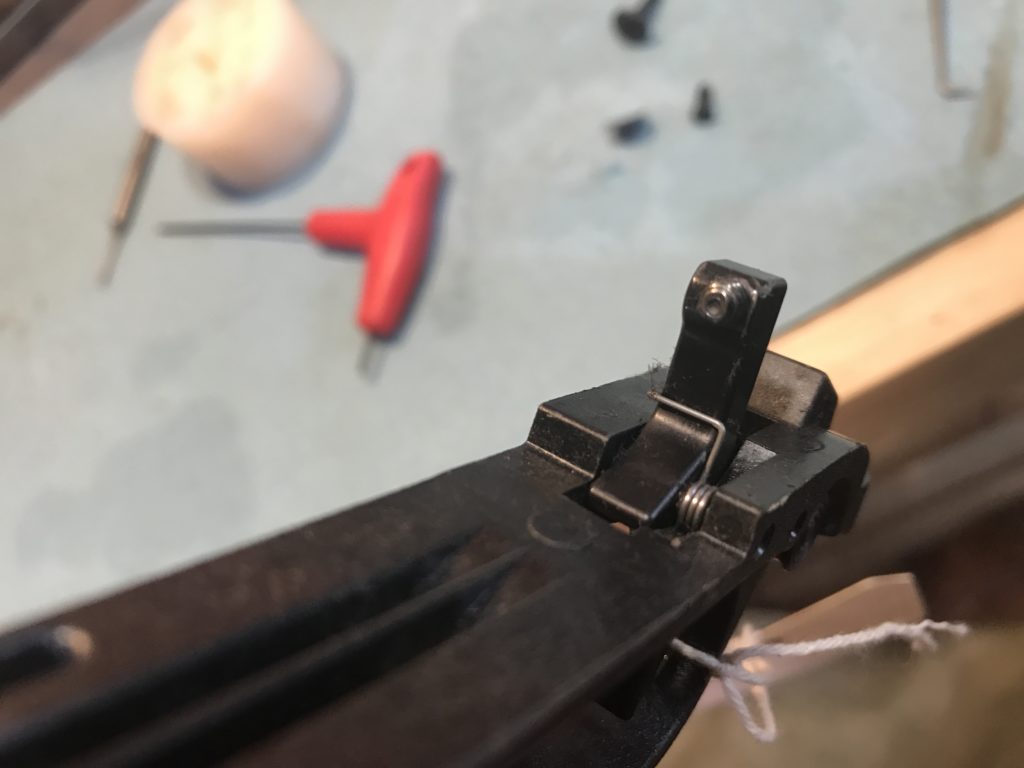
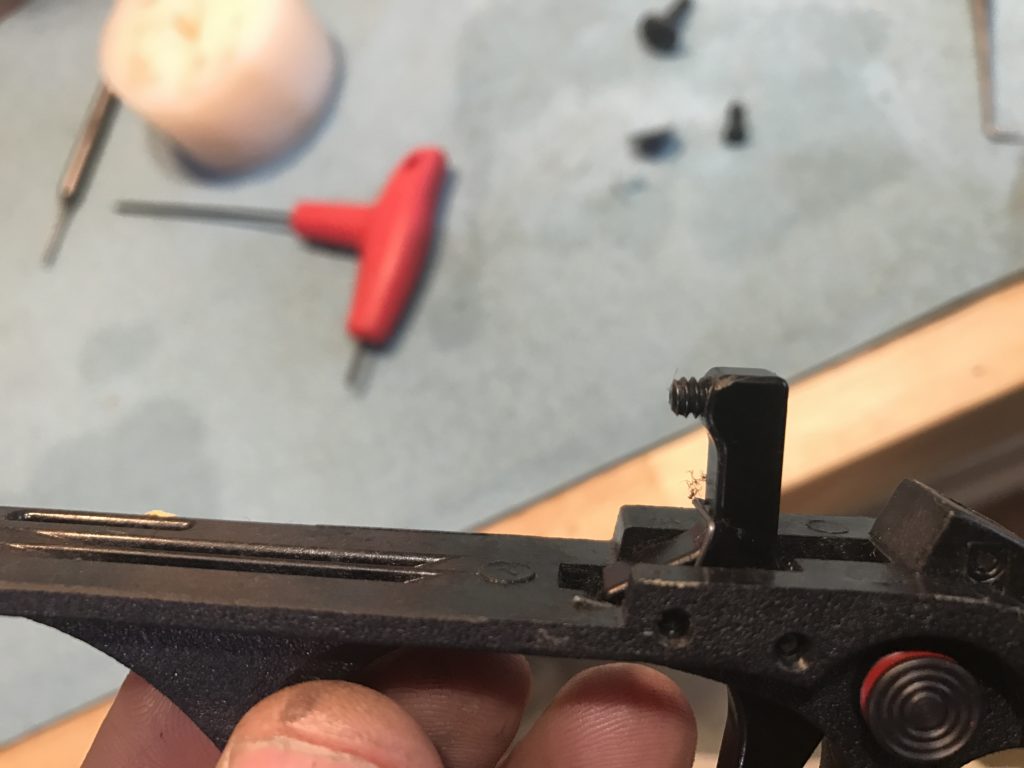
I wasn’t in love with this target trigger. I felt the bearing surface of the adjustment screw was too small compared to the actual bearing surface of the trigger and transfer bar. But, I didn’t buy the thing, I just install it. I would have preferred to see a smaller screw size, but then have two side by side for even pressure. Or some other arrangement. The adjustment screw was an off the shelf allen screw so the head of it was very sharp and rough. I buffed it as much as could be done and then set about adjusting the screw for take up.
The process was, extend the trigger adjustment screw a bit. Just guessing. Then put the trigger in the stock, with it’s requisite screw and nut. Then put the receiver in the stock with its screws. Insert a brass snap cap into the chamber and test fire a few times. Hmm, still needs more. Then take the gun completely apart, turn the screw pictured above 1/4 turn, and reassemble. Do this till the gun doesn’t work anymore, and then back it down till it’s fires but had very little take up. It only took about 20 times to get it right.
Congratulate self and then put the gun together for real for test firing. The gun now no longer works. Scratch head, then realize that out of laziness, on about the seventh time you put the gun back together you stopped putting all the receiver screws in and the gun wasn’t torqued down all the way. Meaning the adjustment wasn’t correct. Sigh.
Disassemble and do it all over again. Twenty times. Test fire, and all is good. Disassemble the gun again. Loctite the set screw in place and put the whole assembly in the cleaning tank for a bath and a lube. Blow out all the lube, reassemble the gun for the 50th time, and call the customer.
If I did these trigger jobs on this model gun all the time, then I’d be a lot faster. But when you are using unfamiliar aftermarket parts, it takes a bit of head scratching to figure it out the first time. However after test firing, the gun actually fired very well. I liked the trigger and the break. The parts kit came from MCarbo. Maybe I’ll order a kit for my old, tired gun.
The best part of the whole job was Spork. After having dispatched the squirrel on that test shot in the beginning, he showed up later that day and asked to borrow the Marlin 60 to go squirrel hunting. (No we don’t loan out customer guns.) He said he finally understood hunting and why it was enjoyable. It was both relaxing and exciting at the same time. And when hunting, when it was time to make the shot, everything else faded away. Distractions, sisters, conversation, noise. You focused 100% on making the shot and you had instant results.
I had already put the customers gun away, test fired, cleaned and ready for pickup. But I did have a nice Ruger 10/22 leaning against the wall that I’d robbed a part off of for another customer. I had the replacement part right here. Maybe he could use that? A quick installation and I sent him to the back pasture with a box of shells, and instructions to not return till he’d shot them all and verified the scope was aligned. He showed up about an hour later, all dialed in and with an empty box of shells.
I think I need to go dig my model 60 out of the back of the safe and clean it up and give it to him. Maybe we can get another million rounds through it with the second generation.
