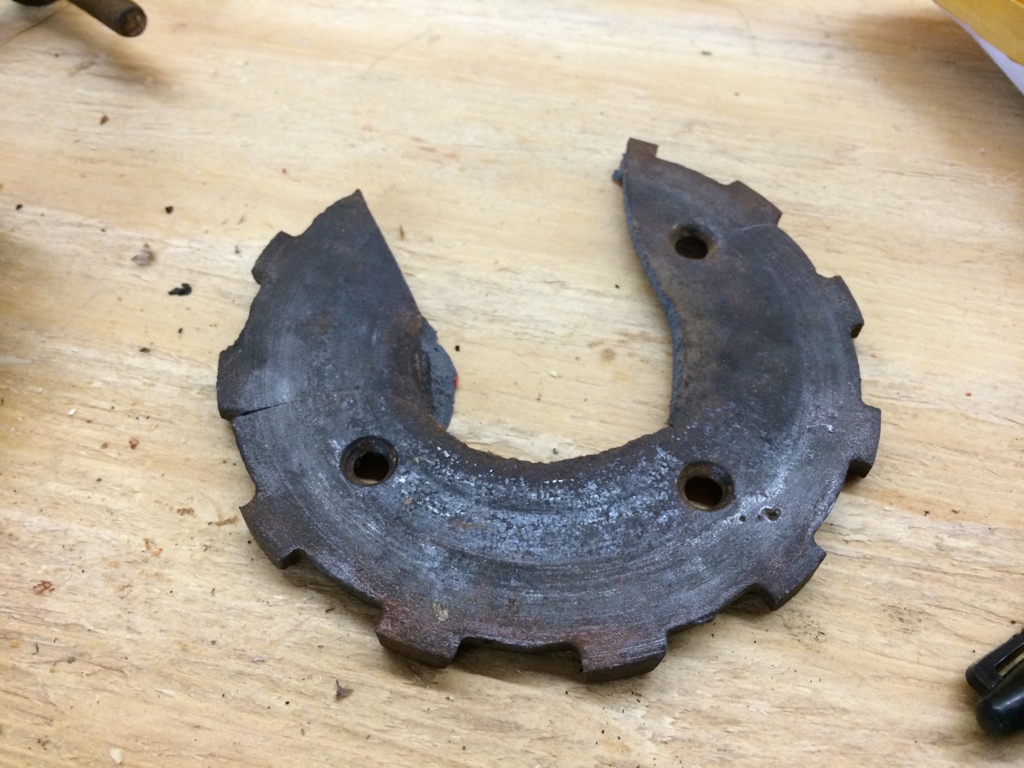
Miguel and I went to work on the apple press yesterday and worked on it most of the day. We’d be mostly done by now but I had a brain-dead moment right when we started. You see, we had to press off all the pieces of the macerator using our new hydraulic press. These parts had been pressed onto the shaft about 100 years ago and they just wasn’t going to come off easily. My brain-dead moment came when I didn’t even think about the parts being cast instead of steel. As old as this thing is of course they are cast. Well, as you can see above I cracked one of the two side pieces that encapsulate the wooden macerator. There’s no good way to put Humpty Dumpty back together again so I’m going to have to make a new one. But first we have to finish fixing the shaft.
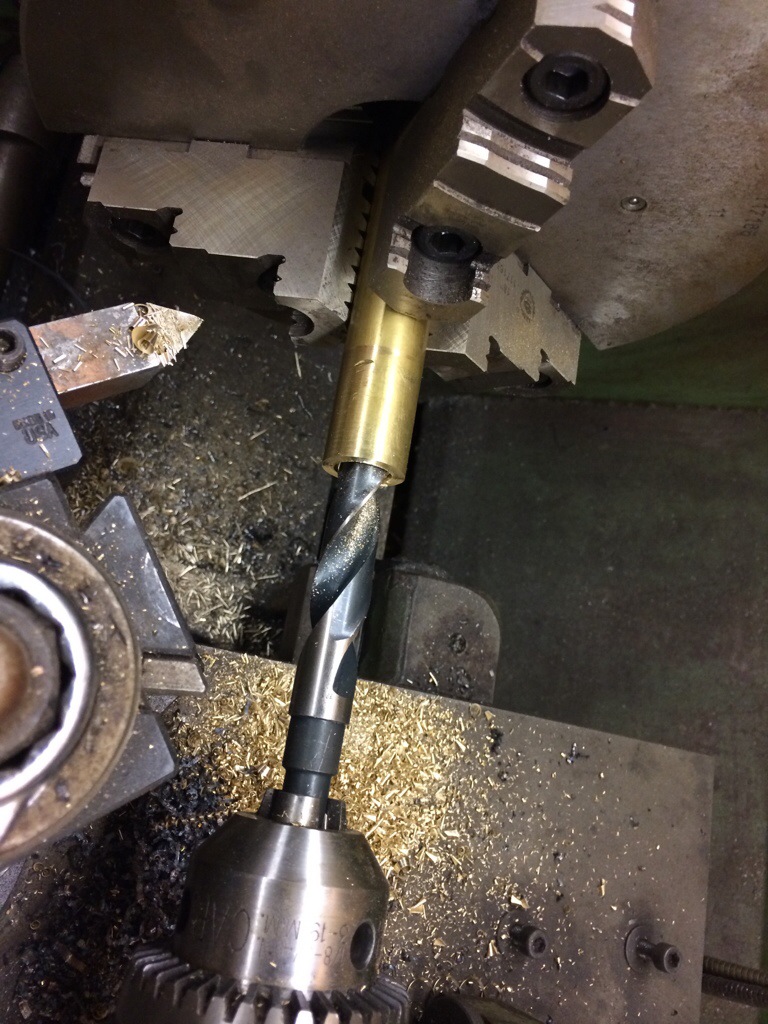
Here you see the bronze piece, already turned to dimension on the outside, being drilled out with progressively bigger bits until we hit our base dimension of .937 thousandths. The hole we need is .941 thousandths so a 15/16ths bit gets us pretty close. After that, it’s a boring bar and a few light passes.
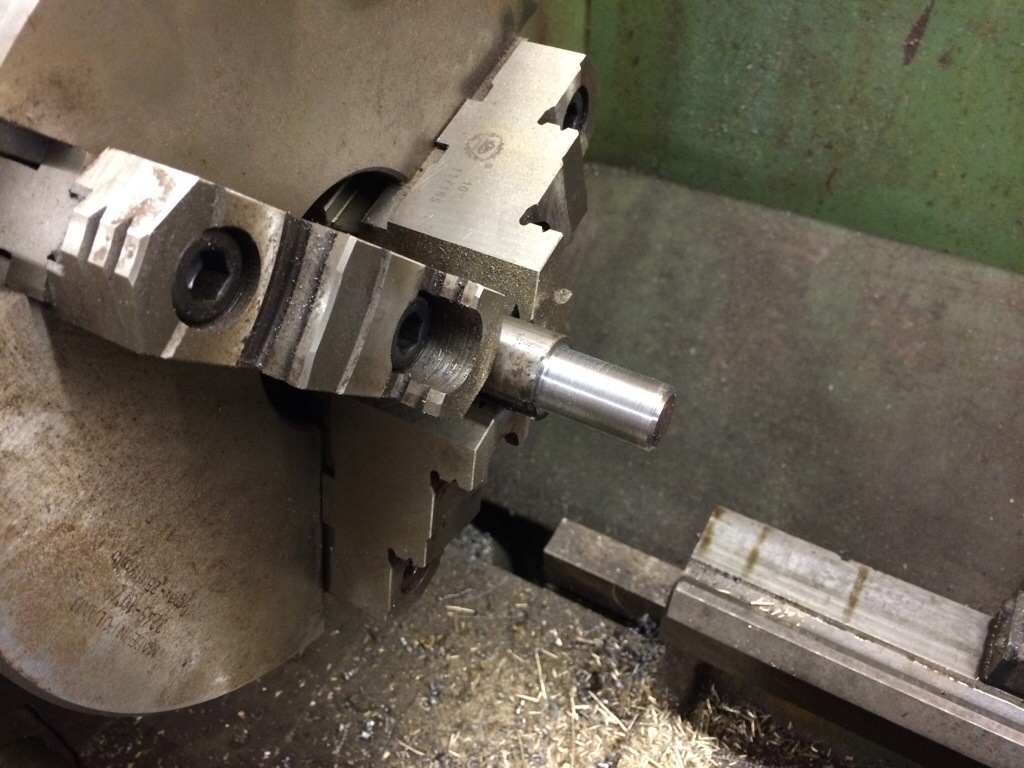
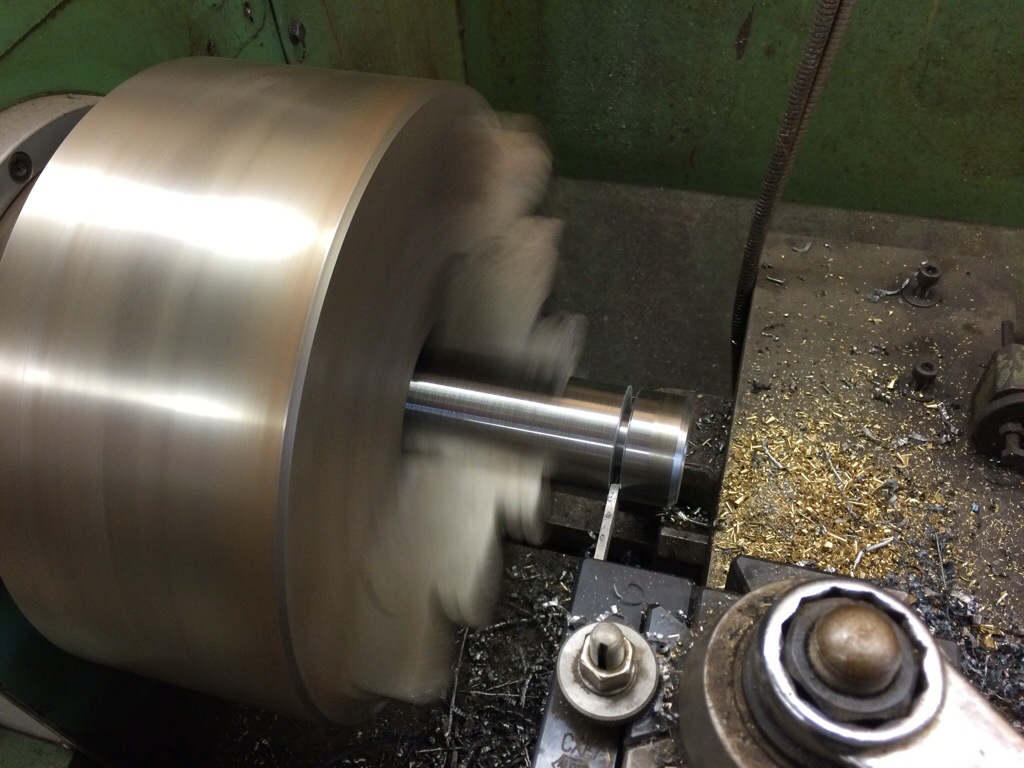
This part was anti-climactic. After breaking one of the irreplaceable pieces and struggling to get the entire thing apart, we chucked the shaft into the lathe and dressed the end until it ran true in about 2 minutes. Once it was true, two quick light passes and we had my final dimension, .9415 or 1/2 thousandth over the bronze bushing inside diameter.
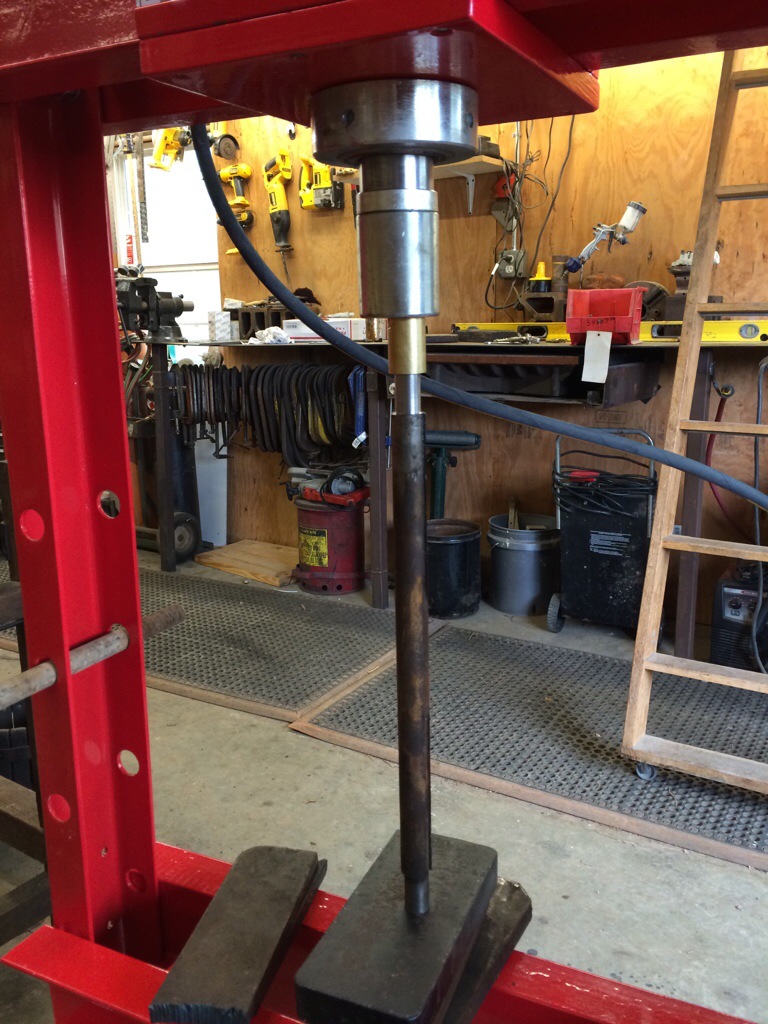
A quick trip back to the press and the shaft and bronze bushing are united. The bushing is oversized because we had to bore out the bearing so that means we cannot press all the pieces back onto the shaft from either end. We should be able to press everything on from the other end though so everything should work out.

Now onto the piece I’ve broken. We didn’t have any stock that would work for make a 5″ round plate with a collar because really, who keeps 5″ round bar lying around? So we chose instead to make the collar separate and use a piece of mild steel cut into a 5″ circle. Then we weld the two pieces together. We did have some stock that was barely big enough for the collar, thankfully. Here you can see the stock, all roughed out and cleaned up, and with the center hole drilled out. We broke the outside edge (The piece facing you) so it’s easier to get a proper weld on it.
Here we’re parting off the collar and chucking the rest of the stock into the scrap bin for possible use another day. We’ll end up with a collar that matches the old one in all ways except for the coolness of being original.
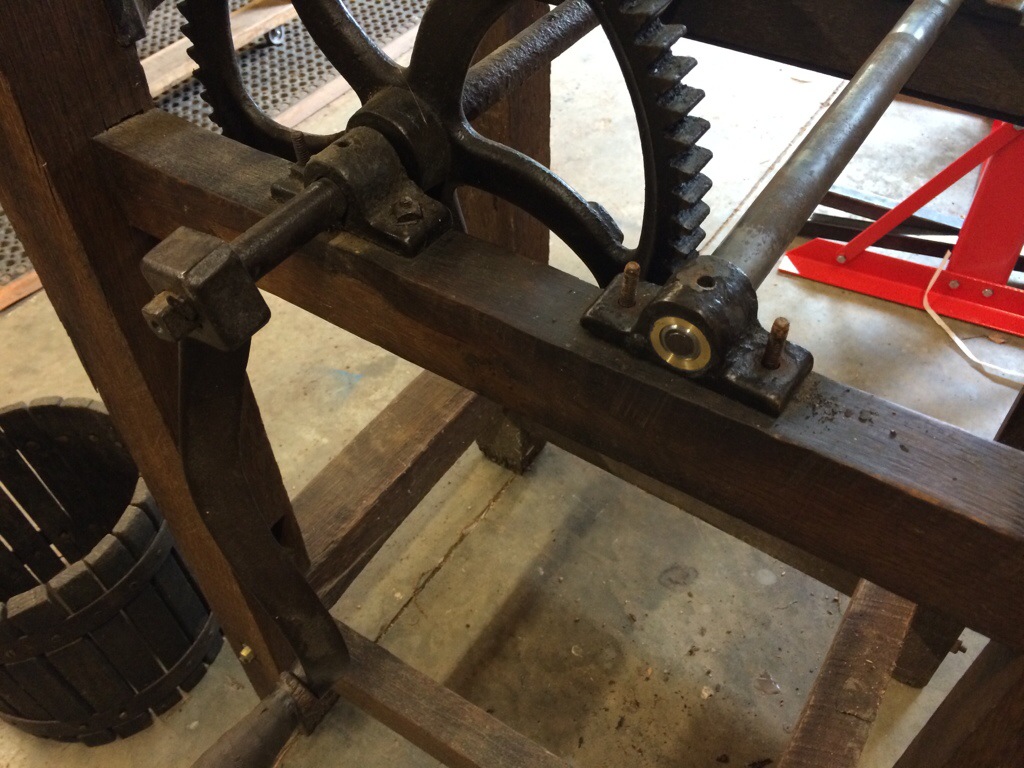
Everything put back together to test the fit and finish of the new bushing. It’s a bit tighter than perfect but can be turned by hand. The bronze will wear in nicely and as long as things are kept oiled should last for many years. The shiny bronze looks pretty good installed I think. Like we’re dressing up this old work horse.
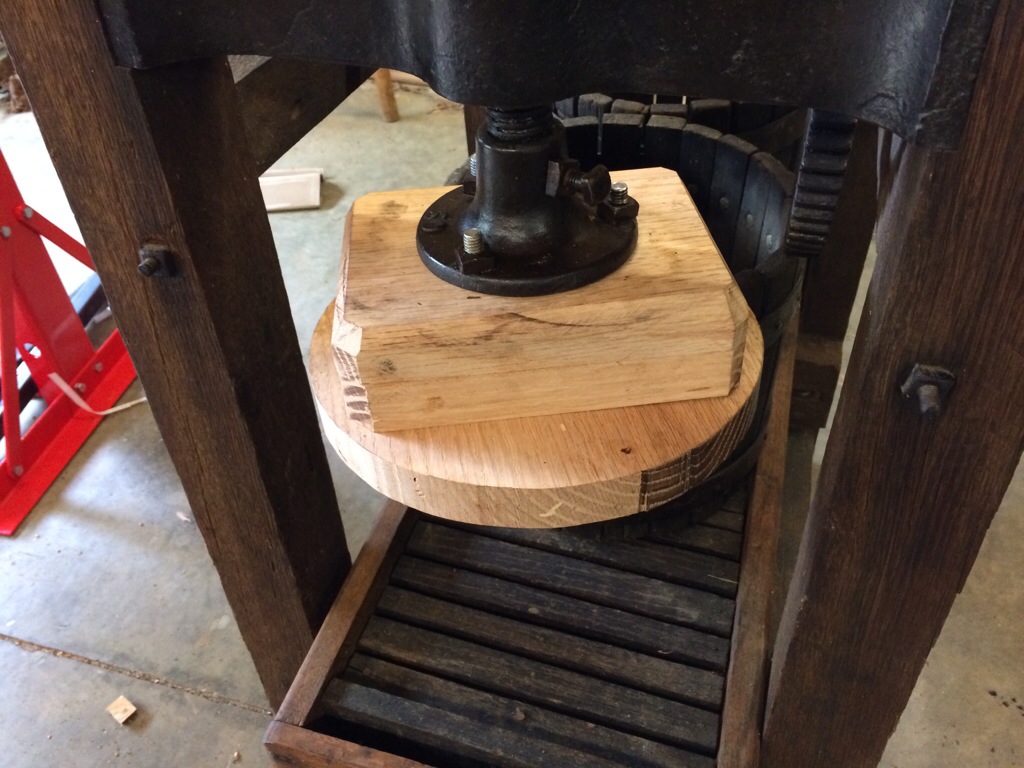
Not everything was metal work. We also had to remake the wood on the press part of this apple press completely. This is red oak, blown down when Hurricane Floyd hit our farm. It’s been patiently waiting to be used all those years and now has found a home on this apple press. It’s actually a bit beefier than the old wood so it should hopefully last another 100 years.

Here we have the plate welded to the bushing we made earlier. We’re center drilling the plate in preparation for drilling out the hole on this side to 15/16ths. Then a final pass with a boring bar and the entire thing is bored straight and true.
One thing we’ve elected not to do is to remake the notches on the outside of the circle of this piece (You can see them on the first picture). We’ve looked the press over and can’t see what function they provide. They don’t line up with the blades on the macerator and they don’t need to do anything to move the apples around because the blades do that plenty. If we get it all back together and find that the notches are needed for some reason, we’ll just take it all apart again and make them. We debated most of the day on making them so the two pieces would match cosmetically but in the end we figured it wasn’t that important to the overall result. 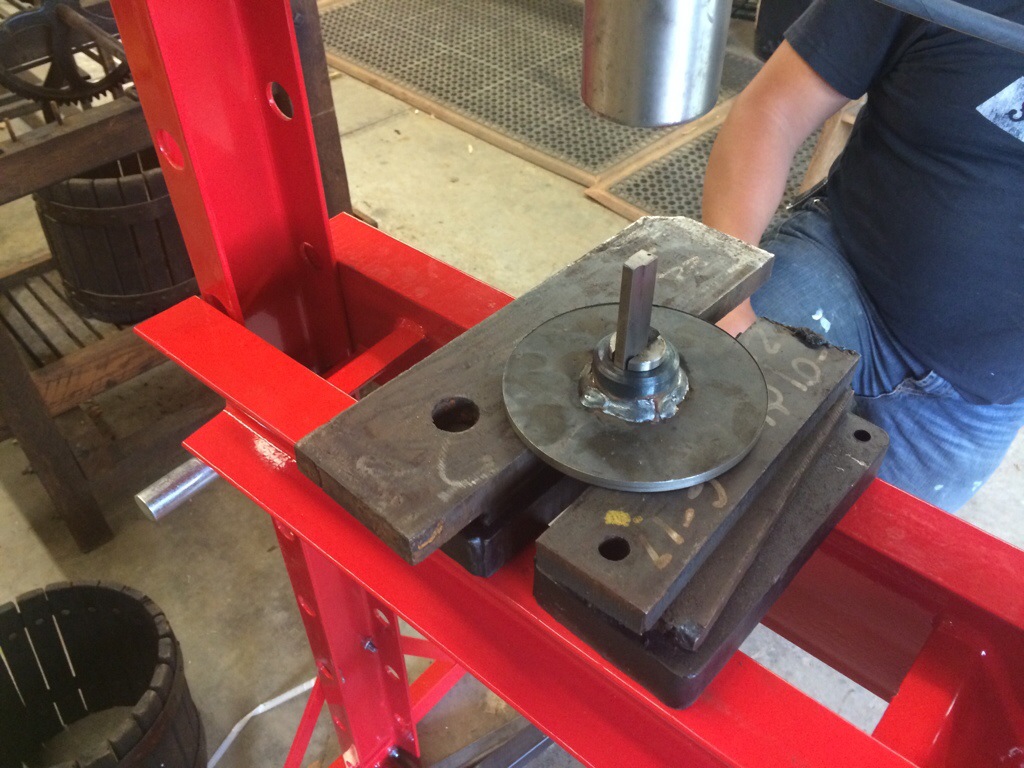
Finally here we have a 1/4″ keyway broach being pressed through the new part making a keyway like the old one had. 1/4″ isn’t actually large enough to match the old dimension. I’ll have to hand file the rest of the way but that should only take a few minutes.
As you can see, I have not dressed up the back side of this new part yet. The weld needs to be cleaned and the back side of the plate needs to be machined true. Then this part will be done. We’ve already selected a piece of red oak for the new macerator so after the last of the machine work today, we’ll move onto wood work, again on a lathe, to make a new one piece wooden drum and blade holder. Then finally we’ll make some new blades and hopefully put this thing back together and test what we’ve done.