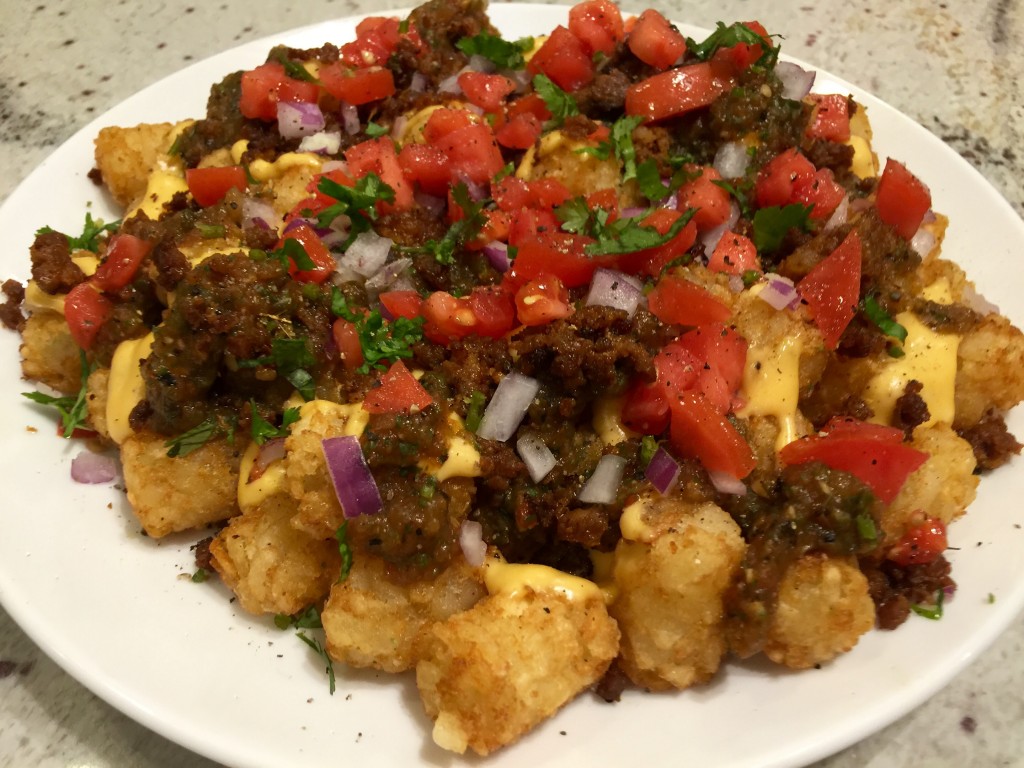
Loaded Tater Tot Nachos

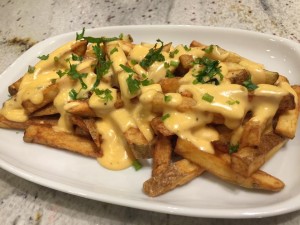
Loaded tater tot nachos with chorizo, pico and charred salsa verde

In my last tribute to chorizo before sharing recipes with other Ninja Cow meats, I wanted to share this recipe that is sure to please the whole family–kids and parents alike.  Loaded tater tot nachos with a homemade ooey gooey cheese sauce!

What you need:

  • 1 bag of frozen tater tots
  • 1/2 pound of chorizo
  • Salsa verde (recipe is here)
  • 8 oz of fresh shredded cheddar cheese (pre-shredded loses flavor/aroma and is akin to pre-ground versus fresh ground pepper)
  • Your favorite hot sauce
  • 1 tablespoon of corn starch
  • one 12 oz can of evaporated milk
  • 4-5 roma tomatoes
  • 1/2 of a white or red onion
  • 1-2 jalapenos
  • salt
  • 1 lime
  • 1/2 of a bunch of cilantro

What you do:

  1. Make your pico de gallo.  Slice the roma tomatoes diagonally and remove the excess moisture and seeds with your fingers.  Dice.  Mince your onion and jalapenos (remove the jalapeno seeds if you don’t like spice–this way you mainly get the flavor).  Chop your cilantro.  Mix everything in a bowl, salt and squeeze the juice from 1 lime into the mix.  Let rest.
  2. Brown your chorizo after removing it from the casing, drain the excess fat and let rest on a paper towel lined plate.
  3. Do you own a deep fryer yet?!?  I alleviated my guilt by using coconut oil in my deep fryer 🙂 Deep fry the tots at 375 until they are a nice, crispy brown and salt. About 4 minutes.   Alternatively, you can bake the tots per the package instructions.
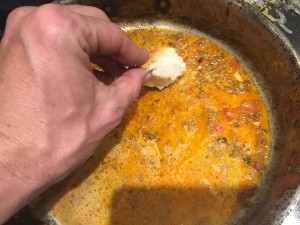
  4. Meanwhile, toss the cheddar cheese with the corn starch.  Throw it in a pot on the stove over medium heat and add the evaporated milk.  Stir constantly until it starts to simmer and immediately take it off the heat.  Add a healthy dose of your favorite hot sauce and serve immediately.  No worries if your timing is off.  You can easily reheat on the stove and stir.
  5. Plate and serve!  I added the ingredients in this order:  tots, cheese sauce, chorizo, charred salsa verde, pico.

The cheese sauce is a real hit in my house and goes well with lots of dishes.  I have had it with cheese fries and burritos when going for more of a Tex-Mex type of dish.  I have also used half cheddar and half pepper jack with great results.
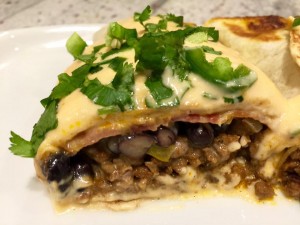
Ninja cow beef, bean, bacon and queso burrito
Ooey gooey hand pressed cheese fries

We are restocked on pork

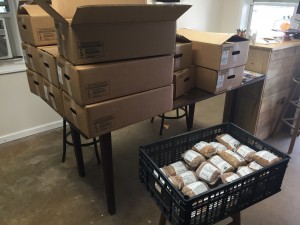
600 pounds of pork, waiting to be put away

Today I made my big round trip to the processor and to some of our farmers to pick up goodies. I grabbed 600 pounds of pork from our processor which included bacon, of course! I also got an entire assortment of sausages, ribs, our famous pork chops, and even some ears for dogs. Plus all the other assorted goodies that come along with a fresh hog. I’ve already sent out emails to the people on our waiting list so if you are looking for some porky goodness and didn’t get an email from me, let me know what you are looking for or better yet book a visit to our farm to buy some meat. We are fully stocked on eggs, milk, jams, honey, vino, etc, etc.

Shrimp and Chorizo Tacos

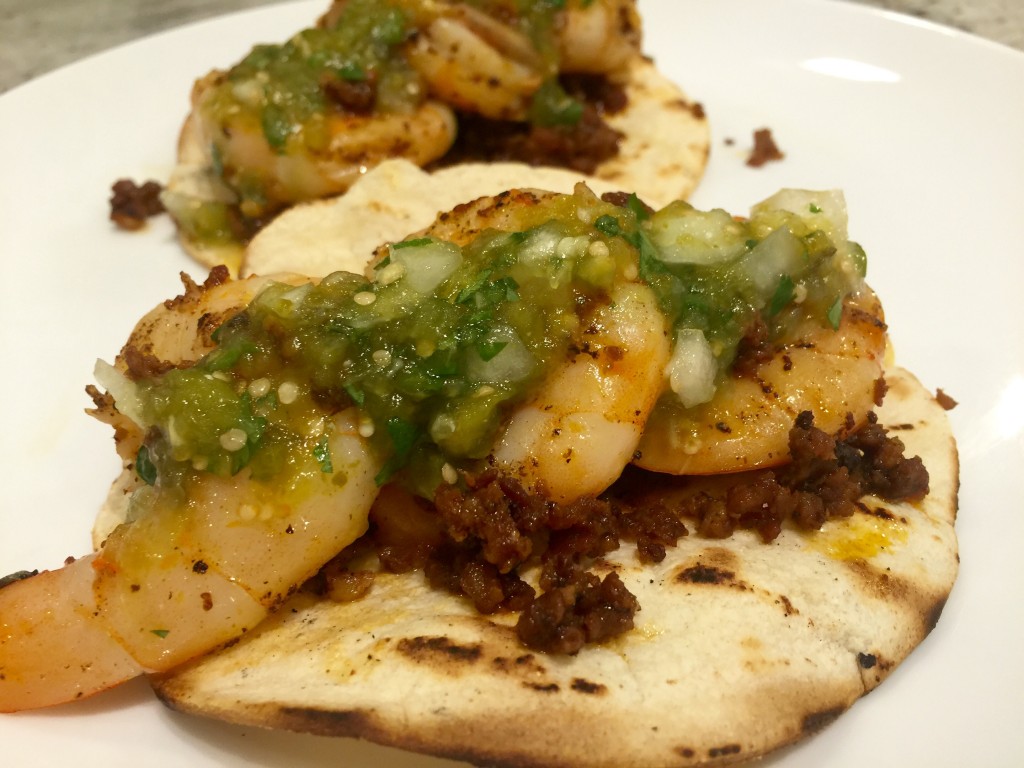
Chori-shrimp tacos with salsa verde

Tacos are the perfect vehicle to eat meat.  If you have good meat, just about any combination will be delicious.  This recipe calls for Ninja Cow chorizo and shrimp.  Like Dan, I only get my seafood from Earps.  Period.  That place is amazing, locally owned by good people, and has the best fresh seafood around.

What you need for the tacos:

  • 1 pound of peeled and deveined shrimp;
  • 1/2 pound chorizo (about two links)
  • 1 tablespoon of butter
  • 1 tablespoon of olive oil
  • salt & pepper to taste
  • corn tortillas (flour if desired)
  • 1/4 teaspoon of baking soda

What you do:

  1.  Dry brine (i.e. toss) the shrimp in 1 teaspoon of kosher salt and 1/4 teaspoon of baking soda and let rest for 30-45 minutes. This will result in more firm, crisp shrimp.
  2. Brown your chorizo after removing it from the case.  Add cayenne or any other chili desired if you want to kick up the spice.  Drain excess fat and place on plate with paper towel.
  3. Toast your tortillas.  I like to toast corn tortillas in cast iron three at a time in one stack.  Toast, flip the whole stack, flip the toasted tortilla to expose the raw side, flip the stack, and repeat until they are ready to be removed 1 at a time. Place cooked tortillas in a clean kitchen towel to keep them warm.
  4. Cook the shrimp on medium/high heat in olive oil for 1-2 minutes per side.  I add a tablespoon of butter for flavor once the shrimp are in the skillet.  You want to cook the shrimp until lose their transparent appearance and remember, they will keep cooking even after you remove them from the skillet.
  5. Assemble and enjoy.

The real star of this recipe and many of the Mexican themed meals I make, is the salsa verde.  Pictured above is normal salsa verde and you can also make it “charred”.  The difference is boiling the ingredients before blending versus roasting the ingredients in the oven (or on a skillet) before blending.   I find that charred salsa verde has a more complex flavor with smokey notes.  Boiling the tomatillos can be difficult because if you let them go too long and they split, you will lose a ton of flavor.

What you need for charred salsa verde:

  • 8-10 tomatillos (remove the husk/stem and wash to clean off the sticky residue);
  • 2-3 jalapenos with/stems removed;
  • 1/2 of a white an onion quartered;
  • 2 cloves of garlic peeled;
  • cilantro;
  • salt;
  • 1 lime

What you do:

  1.  Line a baking sheet with aluminum foil and place tomatillos, jalapenos, onion and garlic cloves on it;
  2. Broil for 3-4 minutes per side until all of the ingredients start to get black and charred;
  3. Place ingredients into blender including draining all of the juice from the baking sheet (that is where the best tomatillo flavor comes from!).  Add half a bunch of cilantro, juice from 1 lime and blend;
  4. Add remaining bunch of cilantro chopped;
  5. Add salt to taste, but don’t be shy with it.  Salt is needed to bring out the full flavor of this salsa.

I hope you guys like this recipe and the salsa verde.  The salsa verde is a great recipe to have in your tool box.  It is extremely versatile and it is forgiving with entrees that are not perfectly cooked.  In an upcoming recipe, I will share a salsa roja before we move on to some French sauces!

The acid test of a recipe

I told you all previously that we had a new author on our blog. I was super excited to see Drew start sharing with you all the great cooking that he has shared with me over the past year. But then Drew posted his first post, chorizo with mussels. Uh oh. I don’t like mussels, not even a little bit.

I mean, I’ve tried them. Multiple times. I’m not the kind of person who turns my nose up at things and won’t try them. I’ve had food poisoning in Africa, I’ve eaten things that were raw and just stopped moving. I like to eat and try new things. I’ve probably had mussels 30 times in my life. Mussels with pasta, mussels with cream sauce, whatever. I just don’t like them. And Drew is super excited about his recipe, and then SWMBO decides that she is going to fact check Drew and make all of his recipes. Now she is excited, he is excited, and I don’t like mussels and don’t know how to tell them without hurting their feelings.

Yesterday I put on a brave smile and go with SWMBO to get mussels from Earp’s Seafood.

Ok, I wasn’t quite that brave, but I did my best.

By the way, Earp’s is the only place to get seafood as far as I’m concerned. We’ve bought our seafood there since I was knee high to a duck so at least I enjoyed the trip to Earps.

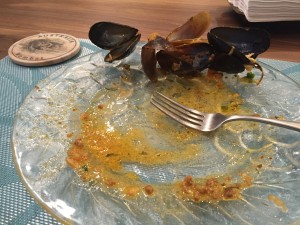
So back to the dinner, I take the kids to Jiu Jitsu and SWMBO stays home and cooks mussels and whatever else Drew had in the recipe. We get home and I’m prepared to eat a small bit and go to bed. I’m not really hungry anyway so no big deal. I’ll try it, because of course I will. Plus the kids need to see me eat it. SWMBO gives me a full plate of scary looking mussels and it also includes bread. Bread that I cannot have on my diet. Apparently it was part of Drew’s recipe so she got it despite the fact I couldn’t have it. This just gets better and better. About 45 seconds later, this is what I had.

Clean plate of mussels and chorizo
I couldn’t lick the plate, because SWMBO was looking.

I immediately went back for seconds, before SWMBO took anymore. After eating everything that was left over, I went to the cooking pan for this.

Sopping up broth in a pan on the stove
Broth of the Gods, left over in the pan

I ate the bread, the sauce, all the mussels, all the chorizo, and everything else I could find, lick, or steal. If it was this good, then I’m sure it was a pain in the butt to make. There has to be a downside.

“It was surprisingly easy” was the answer I got from SWMBO. She said she had to go to the store to buy some ingredients that we didn’t normally have on hand but the actual cooking was simple.

Simple, tastes awesome, and no cleanup since I ate everything that wasn’t nailed down. That’s pretty strong for the first recipe out of the box. I can’t wait to try Drew’s next recipe.


I messed up

Saturday we had a surprise in the store. During a small lull in between customers, the girls went into our overflow freezers in the back and found not one, but two packs of ribeyes! I certainly didn’t know they were there and I’d looked through that freezer. Sometimes cuts just get buried under something else and look exactly the same.

When I walked in the store, they were excited to tell me about the steaks and sure enough, they were right. Four beautiful ribeyes hiding in the back of the freezer, ready to be sold to someone.

However the girls had other plans. They started begging like it was a new puppy.

“Please Daddy, I’ve NEVER had a ribeye before! Can’t we have it for dinner?”

Now I know that they’ve had ribeyes before, but it has been quite a while and maybe they don’t remember it. But we had four ribeyes and with SWMBO in the count, that’s five people. Plus I could sell those ribeyes in the blink of an eye. That’s badly needed revenue in the store. Luckily SWMBO happened by and said, “I’ll just eat a different steak, cook your girls a ribeye.” So we grabbed the ribeyes out of the freezer on Sunday morning, which is our normal shopping day for our family. I put them in the fridge and went about my business with Spork all day on Sunday.

Sunday evening, after checking the cows and going to grocery store, I came into the house with all the kids in tow looking to cook some ribeyes for my family. I’d also invited Dustin up so it was going to be a party. When I pulled the ribeyes out of the fridge, they were still a bit frozen in the center. SWMBO correctly said, “Why don’t you wait and do them tomorrow?” Sadly my back was really hurting at the time and I was in a grumpy mood. In those times, I tend to bull ahead and do whatever it is I’m committed to doing rather than demonstrating any patience. I figured I could extend the oven time and get them to come out right.

I had to cook in two batches. The first one cooked with Dustin’s pork chops he’d brought. The pork chops, which were perfectly thawed, came out perfect. The ribeye in the pan with them came out seared but nearly raw in the center. This one went to the Princess who loves raw meat. For the second batch, I extended my oven time because I knew SWMBO wouldn’t eat a red steak. These came out medium well, which is grey and lifeless.

The kids were super excited to eat ribeyes, the steaks they see every customer come in the door looking for. The result? Meh. Not that great. Not because the cow wasn’t raised right, or the flavor was off. But because their farmer chef father is a doofus and didn’t let them come up to room temperature like he tells EVERY SINGLE CUSTOMER to do! Let this be a lesson to you, you can get this best steak in the world but if you don’t treat it right, it’s nothing special. Cooking and prep matter.

Oh well, it will only be MONTHS before we get this chance again. By then maybe they kids will have forgotten I messed up the cooking.

Graduation day for our pigs

Yesterday Miguel, Yarik and I sorted pigs from paddock to paddock. I messed up a text I sent to Miguel first thing, causing him to feed the pigs we were going to not feed until they were moved. That’s a problem because the way we get them on the trailer is to put their food on the trailer and they then fight to get on. Then we simply close the gate, raise the trailer, and drive them to where they need to be. Once there and in position, we lower the trailer hydraulically, open the gate, and the pigs just walk right off. It just takes a few minutes and works well. But because I “murderlized the Queen’s english” in my text, we had to crowd the pigs onto the trailer. They don’t much appreciate this method and neither do we. I had to take my shower via water hose when we were done.

Miguel with a group of pigs
The Principle of our pig school, with his kids. 

Regardless, we sorted out and moved pigs around to different paddocks. Some moved to brand new paddocks and some got resorted into new groups that were closer to each other’s size. It’s very similar to an elementary school where some kids move up to third grade, some skip to fourth, and some get held back in second grade. But for us, all that decision is based on size and weight, not end of year testing.

Now we have our finished pigs right by the barn where we can really focus on getting them full meals and letting them get that last bit of weight on before going to the processor. With our diet of pure produce, we don’t have to worry about over fattening the hogs so we can really pour the food to them and let them have all they can eat. As spring comes in and produce becomes more plentiful, this won’t be a problem to keep them eating.

Pressure Cooker Chicken & Chorizo Enchiladas

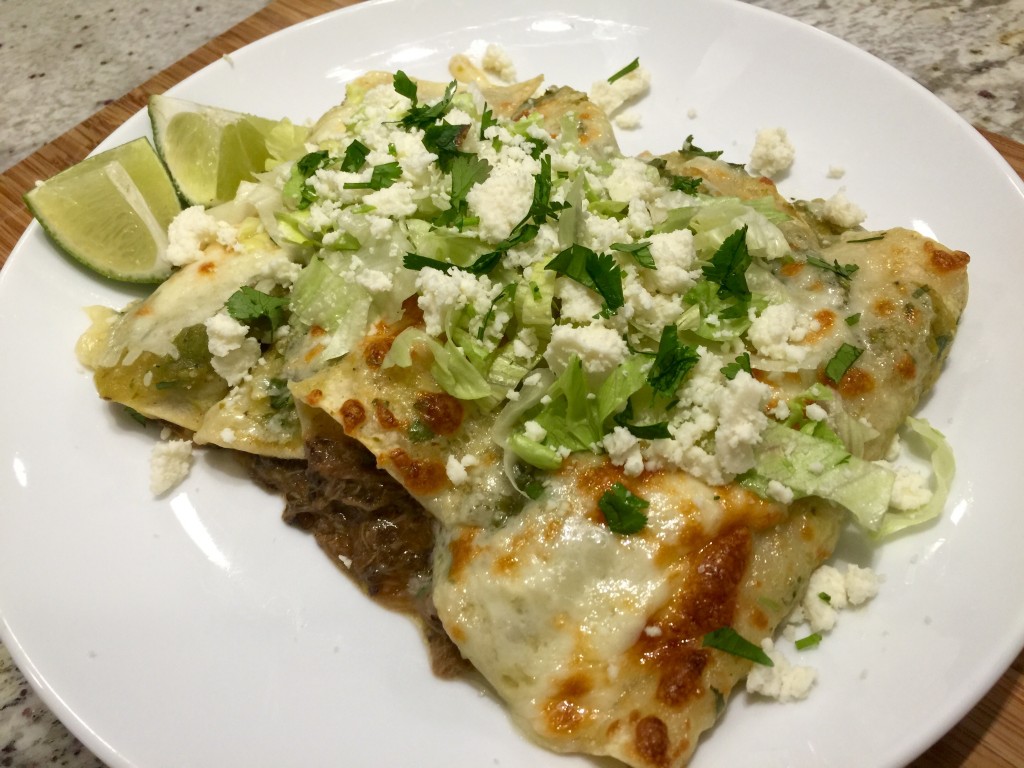
Chicken and chorizo enchiladas with charred salsa verde

One of my favorite kitchen gadgets that I have acquired in the last year is a pressure cooker.  This amazing device can achieve consistencies in 30 minutes that would take all day to achieve in a crock pot.  It really shines with meat that has bones and skin because it can pull out all of the flavor and have the meat falling off the bone in no time.  It also can turn dried beans into creamy goodness without soaking them in 30-40 minutes.  This dish works because it is loaded with flavor and keeps well in the refrigerator.

What do you need for the enchiladas:

  • 1-1.5 pounds of chicken.  I went with Ninja Cow quarters, but I also highly recommend chicken thighs.  Keep the skin on and the bones in;
  • 0.5 pounds of Ninja Cow chorizo (about 2 links removed from the casing);
  • 8 oz of dried black beans;
  • half of an onion minced;
  • 2 garlic shallots minced;
  • 32 oz carton of reduced sodium or no sodium chicken stock
  • 1 tablespoon of olive oil
  • 1 tablespoon of ancho chili powder (paprika is a good substitute)
  • 1 tablespoon of cumin
  • 1 teaspoon of corn starch
  • Quesadilla cheese
  • Queso fresco
  • Corn tortillas
  • lettuce
  • cilantro for garnishing

What do you do:

  1. Put the olive oil in the pressure cooker and set it to saute on high. Brown the chorizo for 4-5 minutes and then add the minced onion and garlic.  Sweat the onion and garlic until the onions are translucent and fragrant (2 minutes).
  2. Add the chicken stock, the chicken, the beans, and stir in the ancho chili powder along with the cumin.
  3. Seal the pressure cooker and cook on high pressure for 40 minutes.
  4. Release the pressure using the quick release method (open the valve on electric pressure cookers or run a stove top pressure cooker under cold water).
  5. Take the chicken out, remove the skin and bones and discard.  meanwhile, turn the pressure cooker on saute and bring the broth up to a boil.  Place the chicken back in the broth.
  6. Reduce the volume of liquid by boiling and stirring.  The goal is to have a sauce not a soup.  So, let it boil for at least 5 minutes.  Then slowly add a corn starch slurry to thicken the sauce.  A corn starch slurry is just a teaspoon of corn starch mixed into a cup of water.  When the bubbles are very viscous and pop like magma, then your sauce is ready and you can take it off the heat.  Salt to preference at the END of the process. Reducing liquids concentrates flavors and it’s best to salt at the end to avoid adding too much.
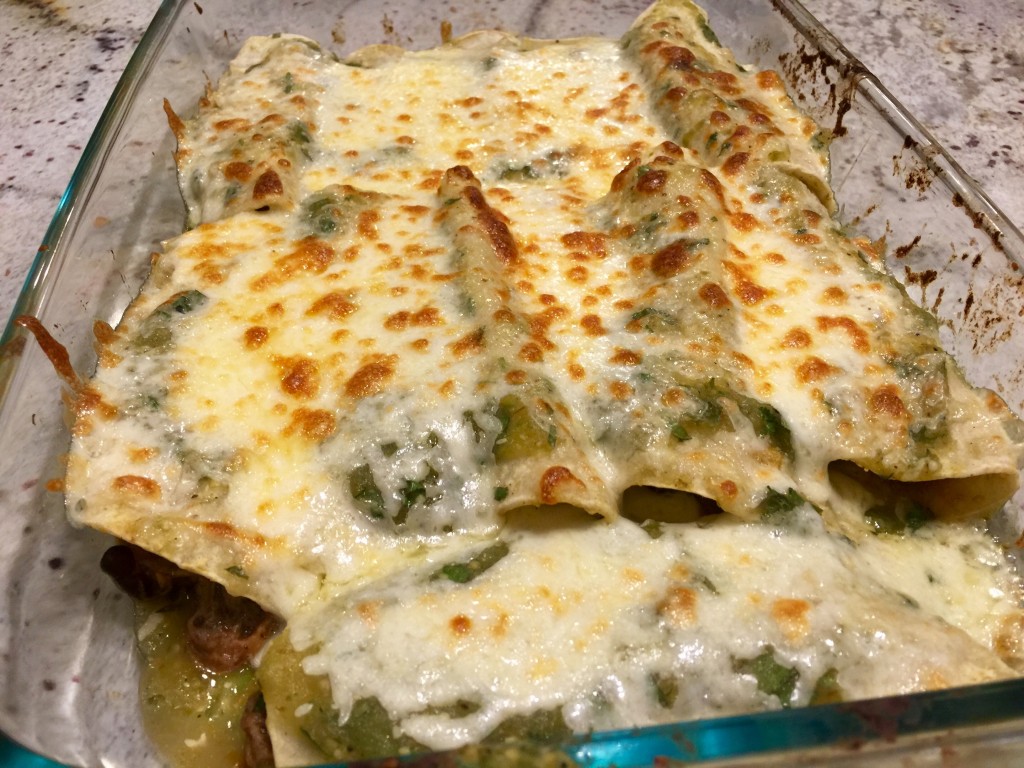
  7. Assemble the enchiladas by briefly soaking warm corn tortillas in salsa, add the meat then roll them up in your dish.  Add quesadilla cheese on top, cover with aluminum foil and bake at 350 for 20 minutes.  You can remove the foil and broil for the last few minutes to brown the cheese.
  8. Add shredded lettuce, crumbled queso fresco, cilantro, more salsa and serve.
Enchiladas fresh out of the oven

We have bacon back in stock!

I just got back from the processor and we have bacon, snack sticks, and fresh BBQ in the freezer cooling down right now.

Non-cured, nitrate free bacon

I also dropped off two hogs today to be picked up next week so even if we have a run on bacon (seems like it always happens), we should be restocked by mid next week. We are getting a little short on kielbasa and bratwurst so it was time to take a couple more hogs and get some sausage. We are well stocked on everything else and my chicken farmer is going to be here tomorrow to deliver a large order of chicken and dairy goodies, including more ice cream!

If you haven’t booked your visit to come by and shop, now is the time.

New piglets on the farm

Saturday I was giving tours, showing people our farm. We had 31 bookings on Saturday so it was very busy.

I was driving people around, acting like a knew what I was doing, pointing out all the cool stuff when Miguel asked me if I’d seen the new piglets?

Huh? What new piglets.

Yep, I’d been driving right by them.

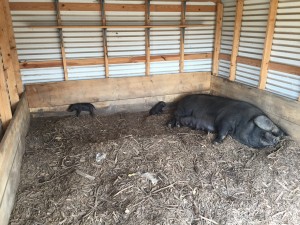
Large black sow with piglets
Large black momma with new piggies, just hours old

In my defense, they were inside the house away from everyone else and I hadn’t even looked in there.

She’d only had 5 piglets, and two didn’t survive birth so we only have 3 piglets from this litter which is a really low number. If she keeps having this small of a litter, she’ll probably go on the truck to the processor this fall. Hopefully her next litter will be a larger one. Till then, we’ll enjoy the cuteness that is large black piglets. They are the cutest piglets I’ve ever seen!

Chorizo & Chicken Sliders

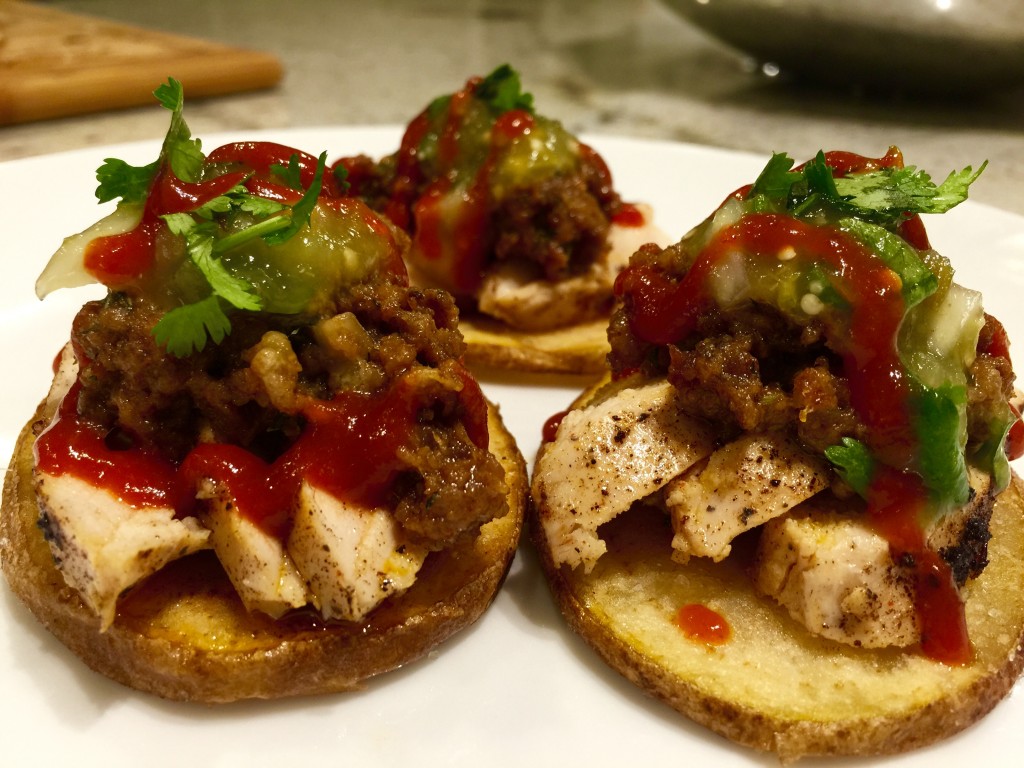
Chori-pollo sliders on french fried potato slices

Ahh, chicken and chorizo or “chori-pollo” as I like to call it.  This is a divine combination that can be served an infinite number of ways.  You can serve it as tacos in corn tortillas, flour tortillas, in burritos, straight on a plate or pretty much any way that tickles your fancy.  A few months back I got a deep fryer (which you should get btw if you don’t already have one) and I decided to make chori-pollo sliders on fried potato slices.  These delicious morsels packed a ton of flavor and hit the spot in 30-45 minutes including preparing a homemade salsa verde.  More on that in my next post.

What do you need for the chori-pollo sliders:

  • 1 pound of Chicken.  I used breasts here, but feel free to use any cut of chicken you want.  Lately I find myself gravitating towards dark meat like thighs because they are cheaper,more juicy, and pack much more flavor due to the higher fat contents, which can be mostly rendered depending on how you cook it;
  • 1 pound of chorizo;
  • 1-2 russet potatoes.  it really is amazing how far a single potato can go. I can easily feed 4 people reasonable french fry servings from a single potato, which goes to show how crazy portion sizes are at restaurants with entire baked potatoes;
  • Melting cheese to preference.  I like the Mexican melting cheeses for this one like quesadilla cheese or oaxaca cheese.  You can easily use any cheese you like that melts well such as pepper jack, Monterrey jack, cheddar or whatever you have around;
  • Salt & pepper;
  • Ancho chili powder or paprika;
  • garlic powder;
  • cumin;
  • 1 tablespoon of virgin olive oil.

How do you make them:

  1. Season the chicken however you like it. I typically keep it simple and allow it to complement the Ninja Cow seasoned chorizo.  I usually roll with some salt, pepper, ancho chili powder, garlic powder and cumin.  No need to marinade this one and no need to go super heavy with the seasoning.  Mix up the seasonings in a bowl and lightly dust the chicken with it.
  2. Add olive oil to the skillet at medium to medium high and saute your chicken on each side until cooked (feel free to cut into it if you are not sure whether it is done. It should feel firm and not rubbery.  Touch the tip of your ring finger to the tip of your thumb and feel the muscle beneath your thumb.  That is the firmness you are looking for).
  3. Meanwhile, add your chorizo to another skillet and saute until well browned.  You can break it up fine or leave it in course chunks for a more juicy end result.  Render the fat from the chorizo, drain the fat and place the chorizo on a paper towel lined plate to remove excess grease.
  4. Cook your potato slices in the deep fryer at 375 until a nice, golden brown for 4ish minutes (the potatoes in the pic above could have gone longer to be honest).
  5. Throw the chorizo back in the skillet and add your cheese over medium heat until melted.  If you like it ooey and gooey, add a lot of cheese.  If you are not a huge cheese fan, just use a little or none at all.
  6. Salt the potato slices and plate.  Garnish with salsa, cilantro and/or your favorite hot sauce.

Immediately enjoy or if you are in my house, be called strange and usual as everyone else eats while you take pictures of your creation as your plate gets cold 😉